Ploy
A 3D printed, strategy based board game from 1970.
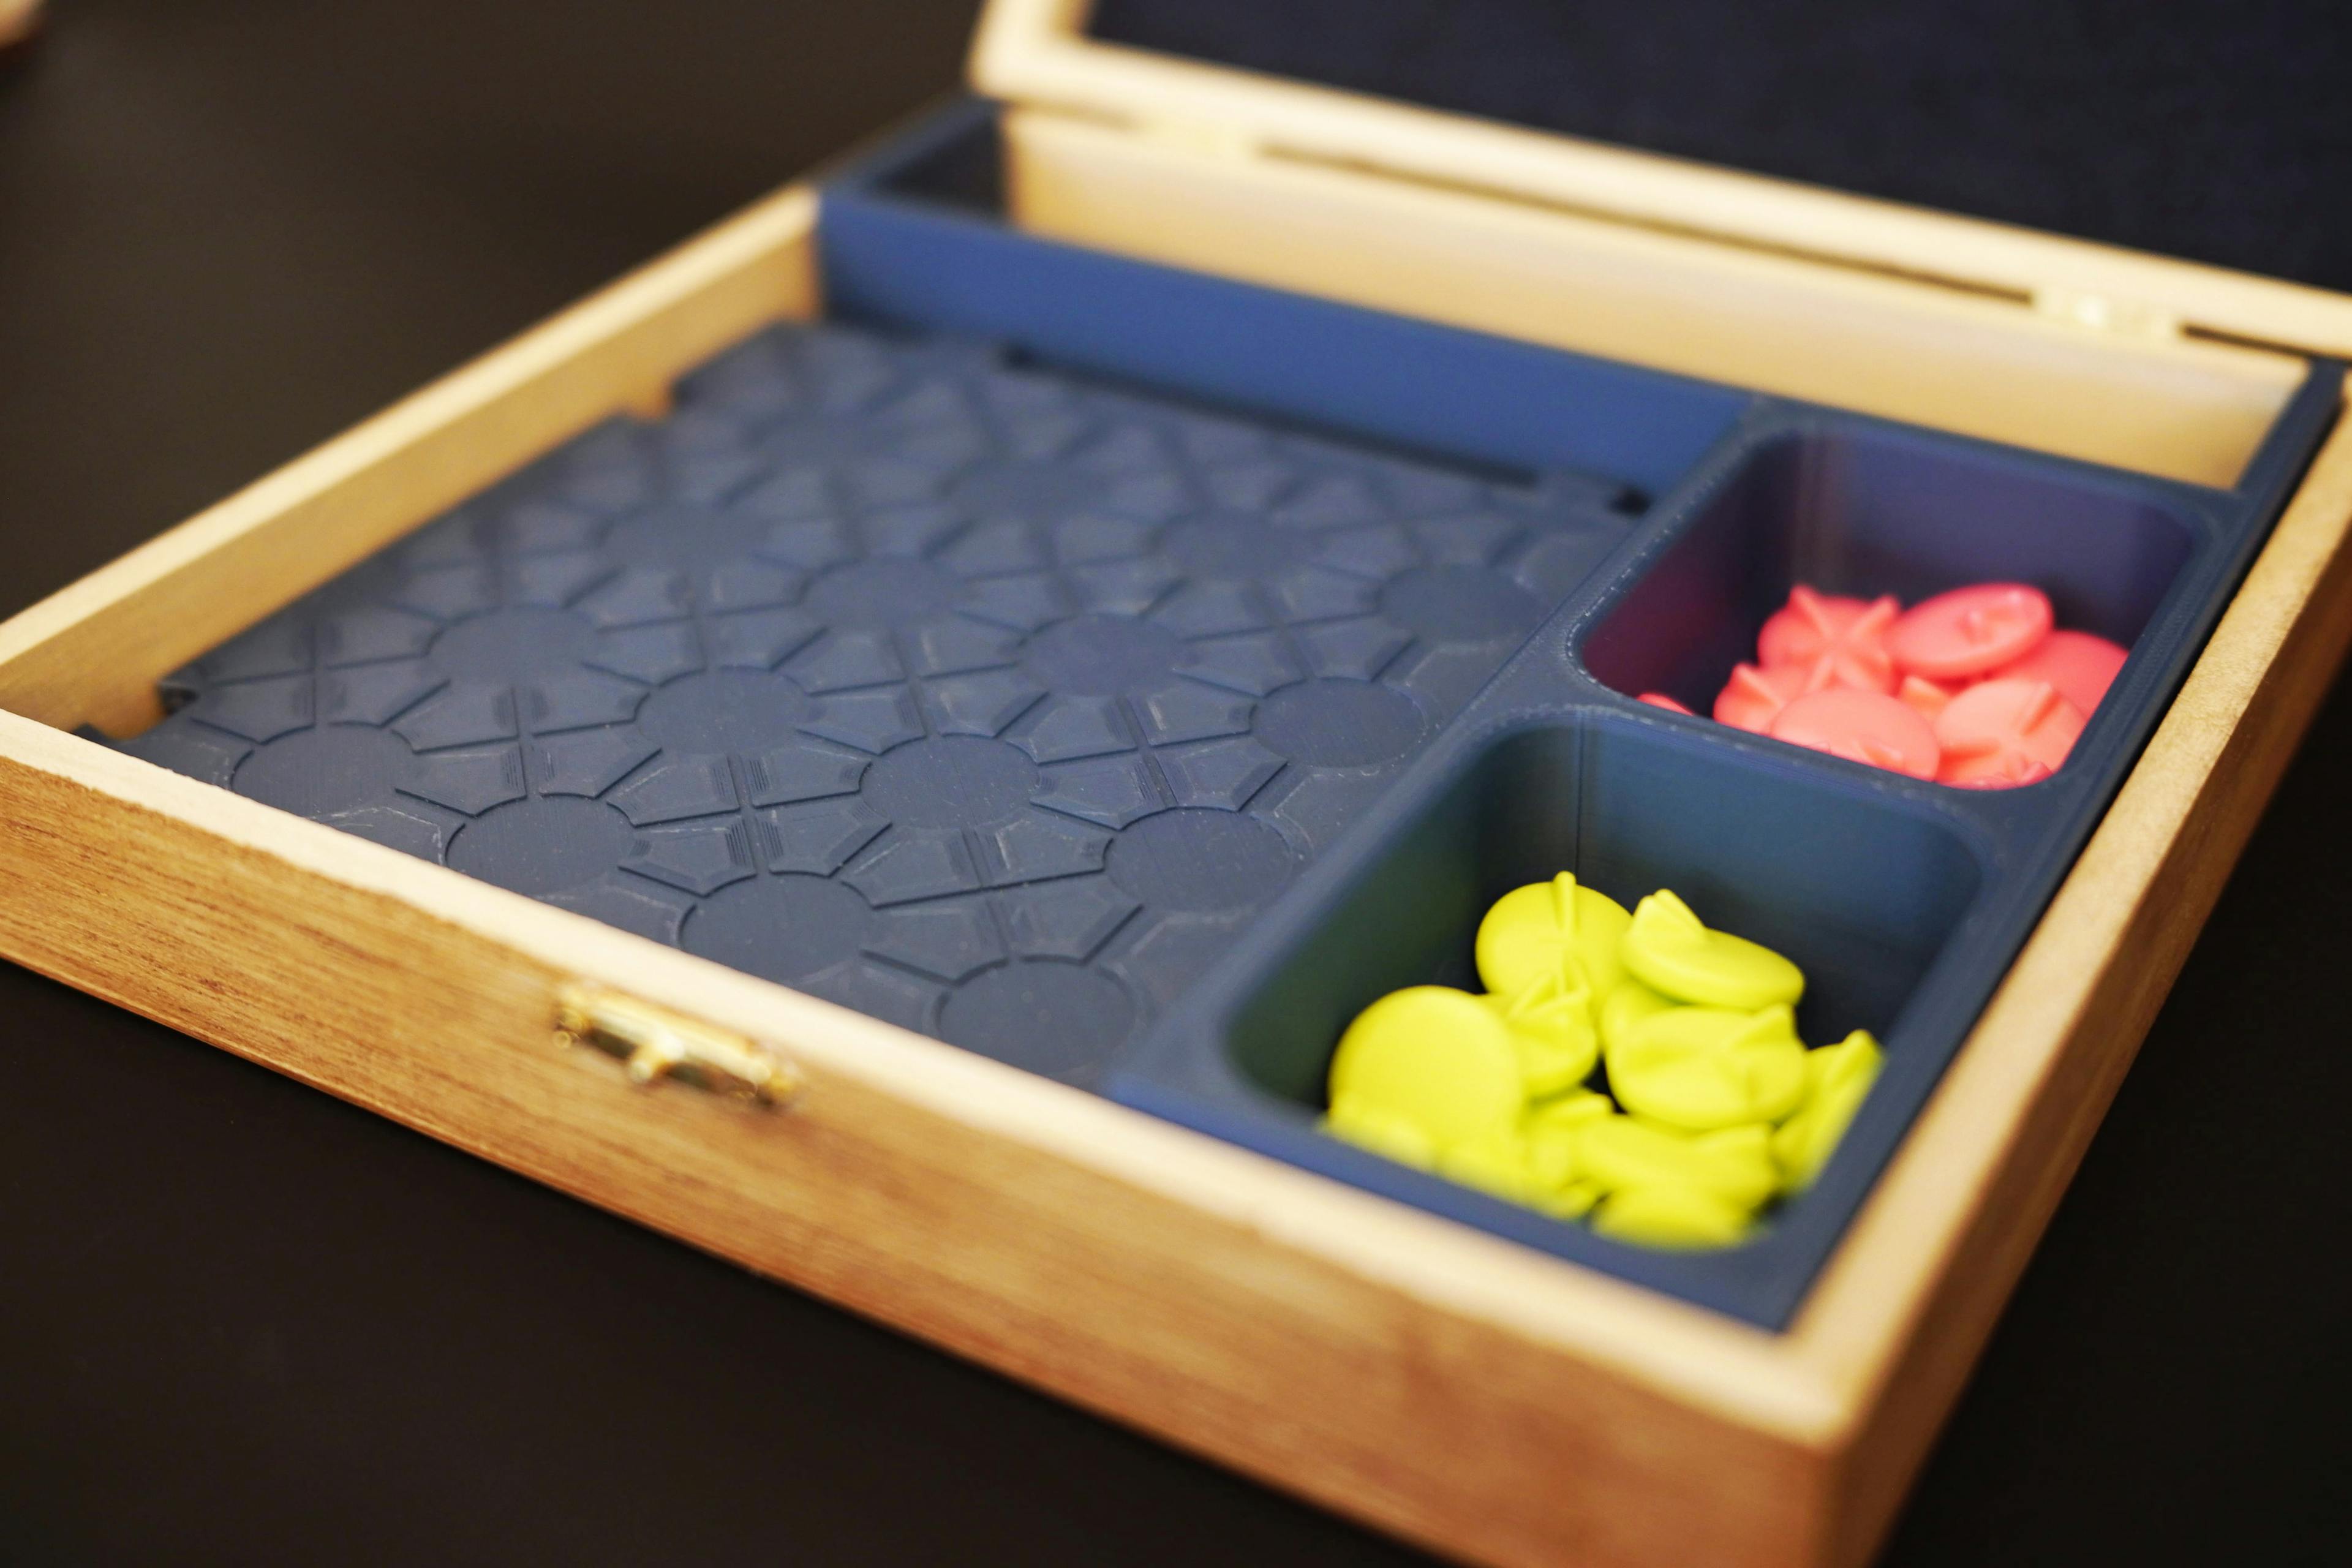
I recreated an out-of-production board game at ¾ scale and 3D printed two sets, along with a custom storage box for each.
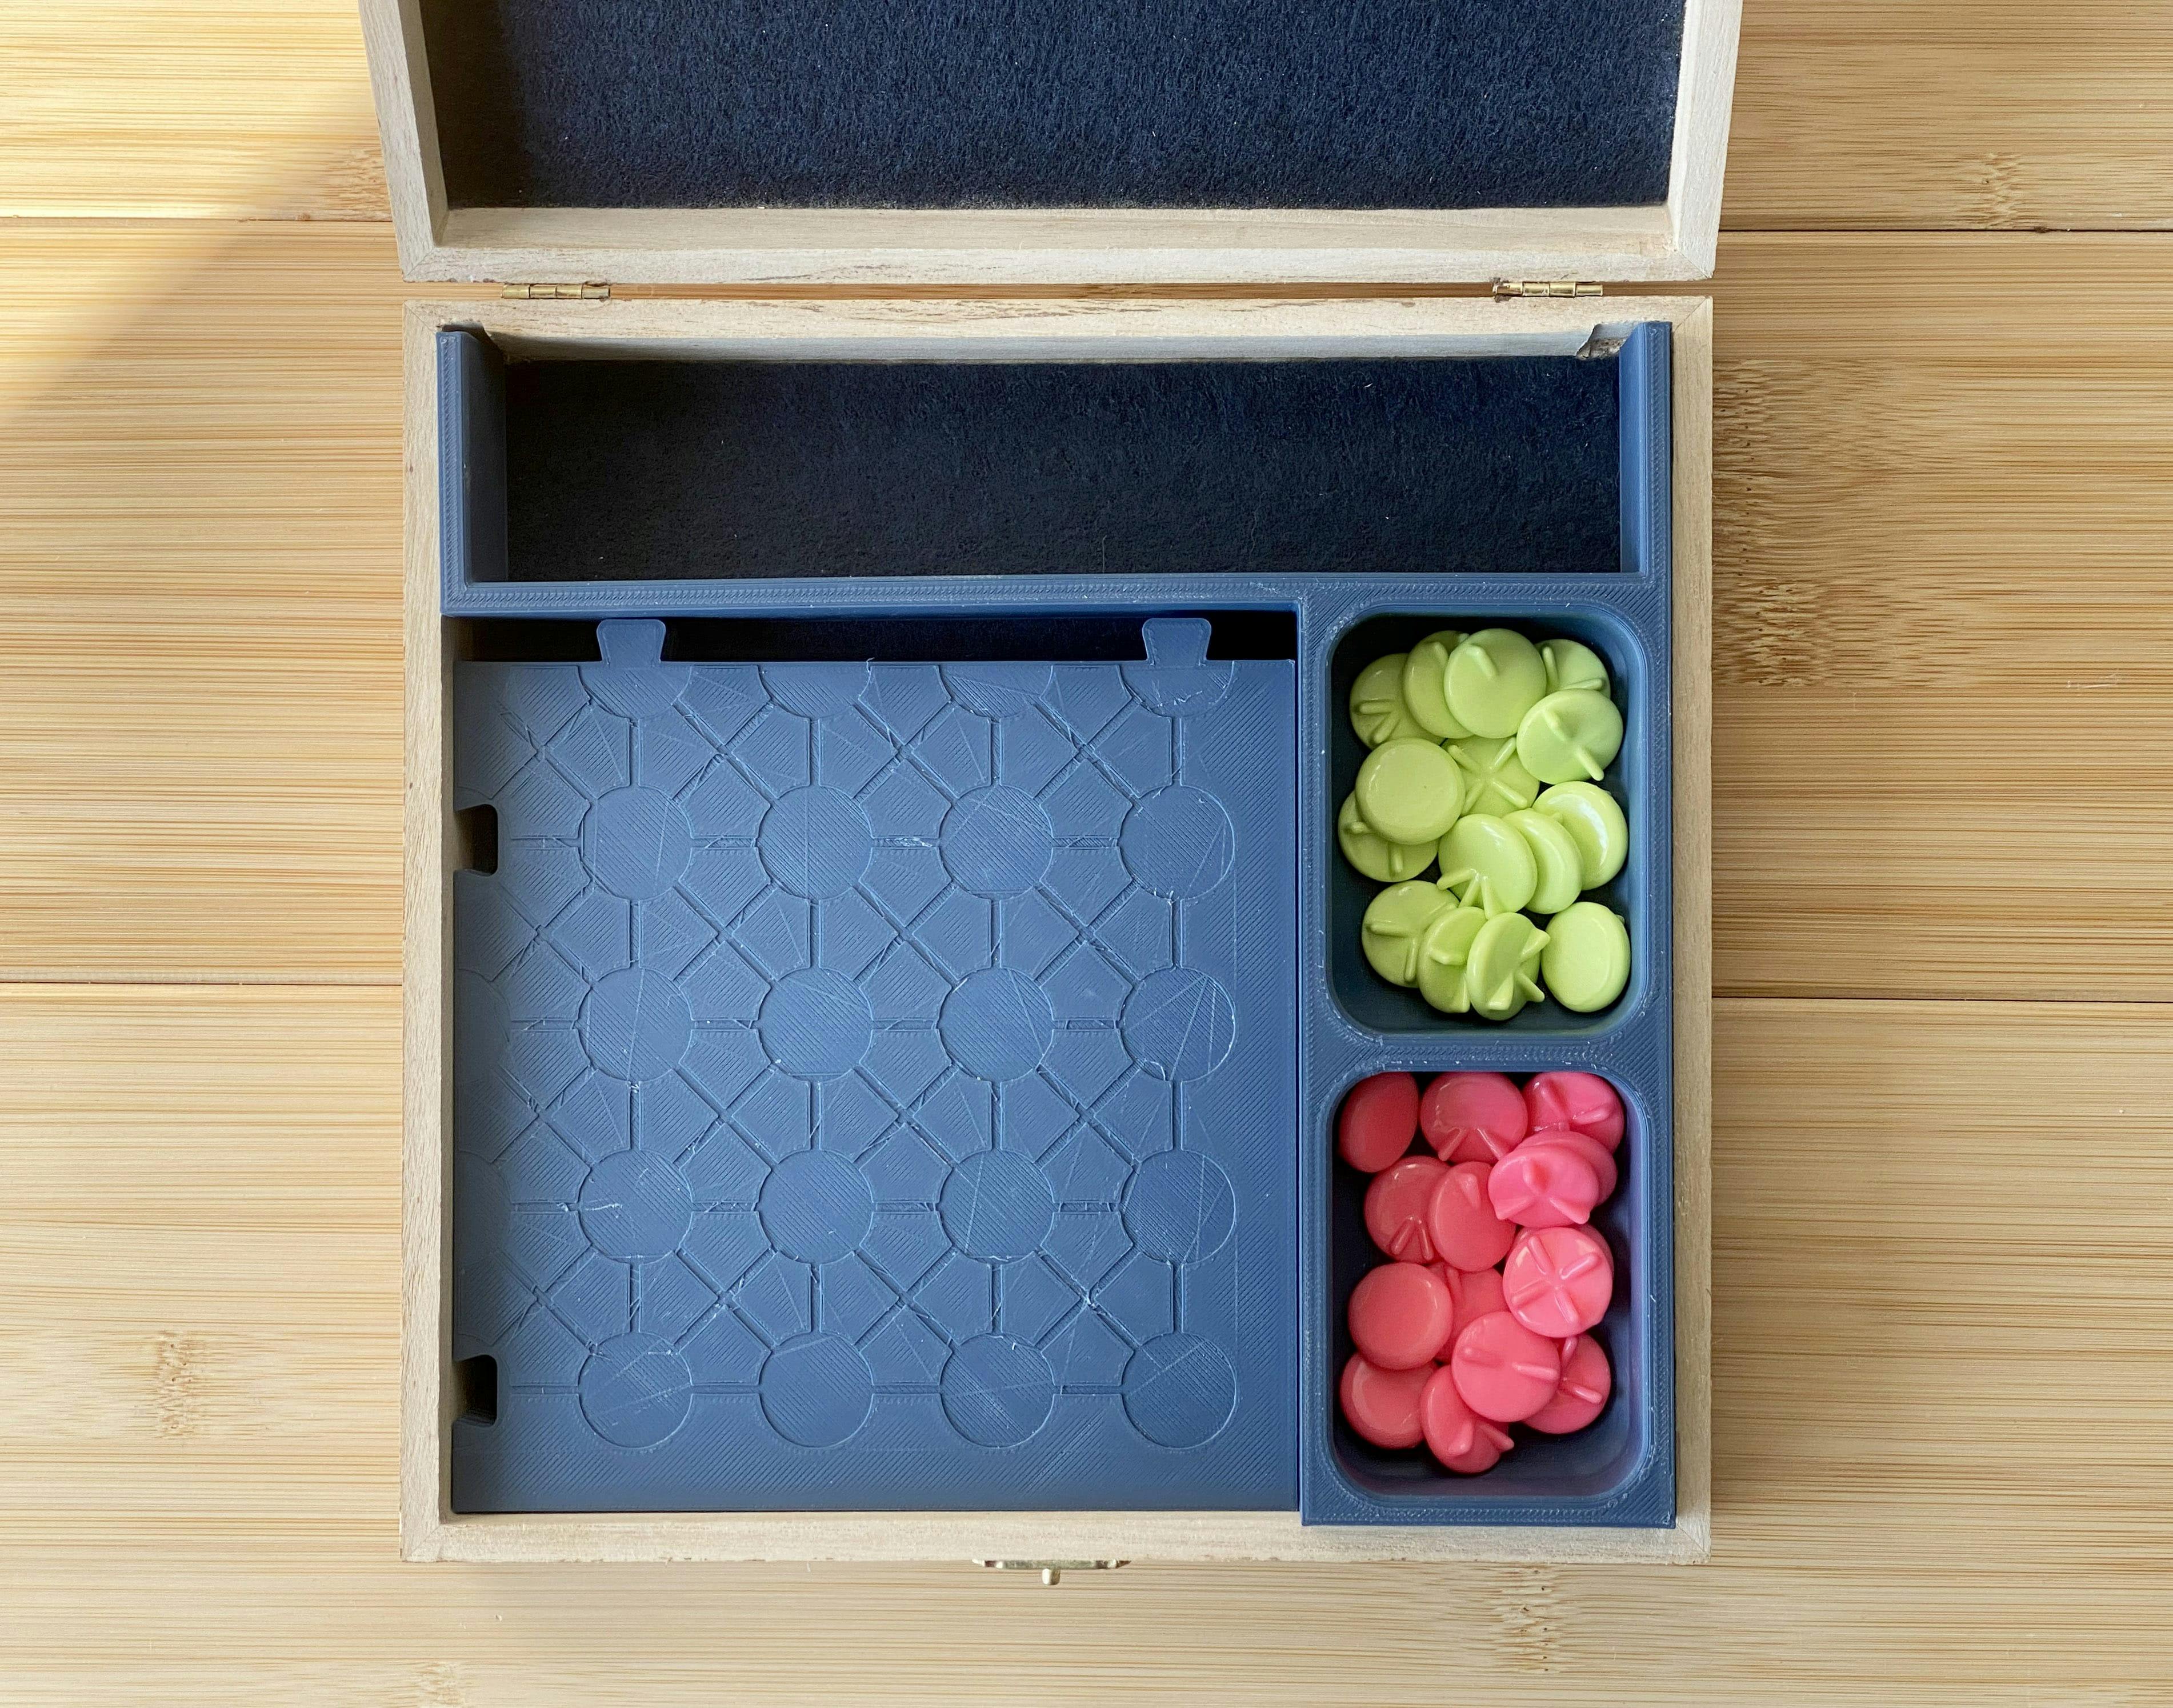
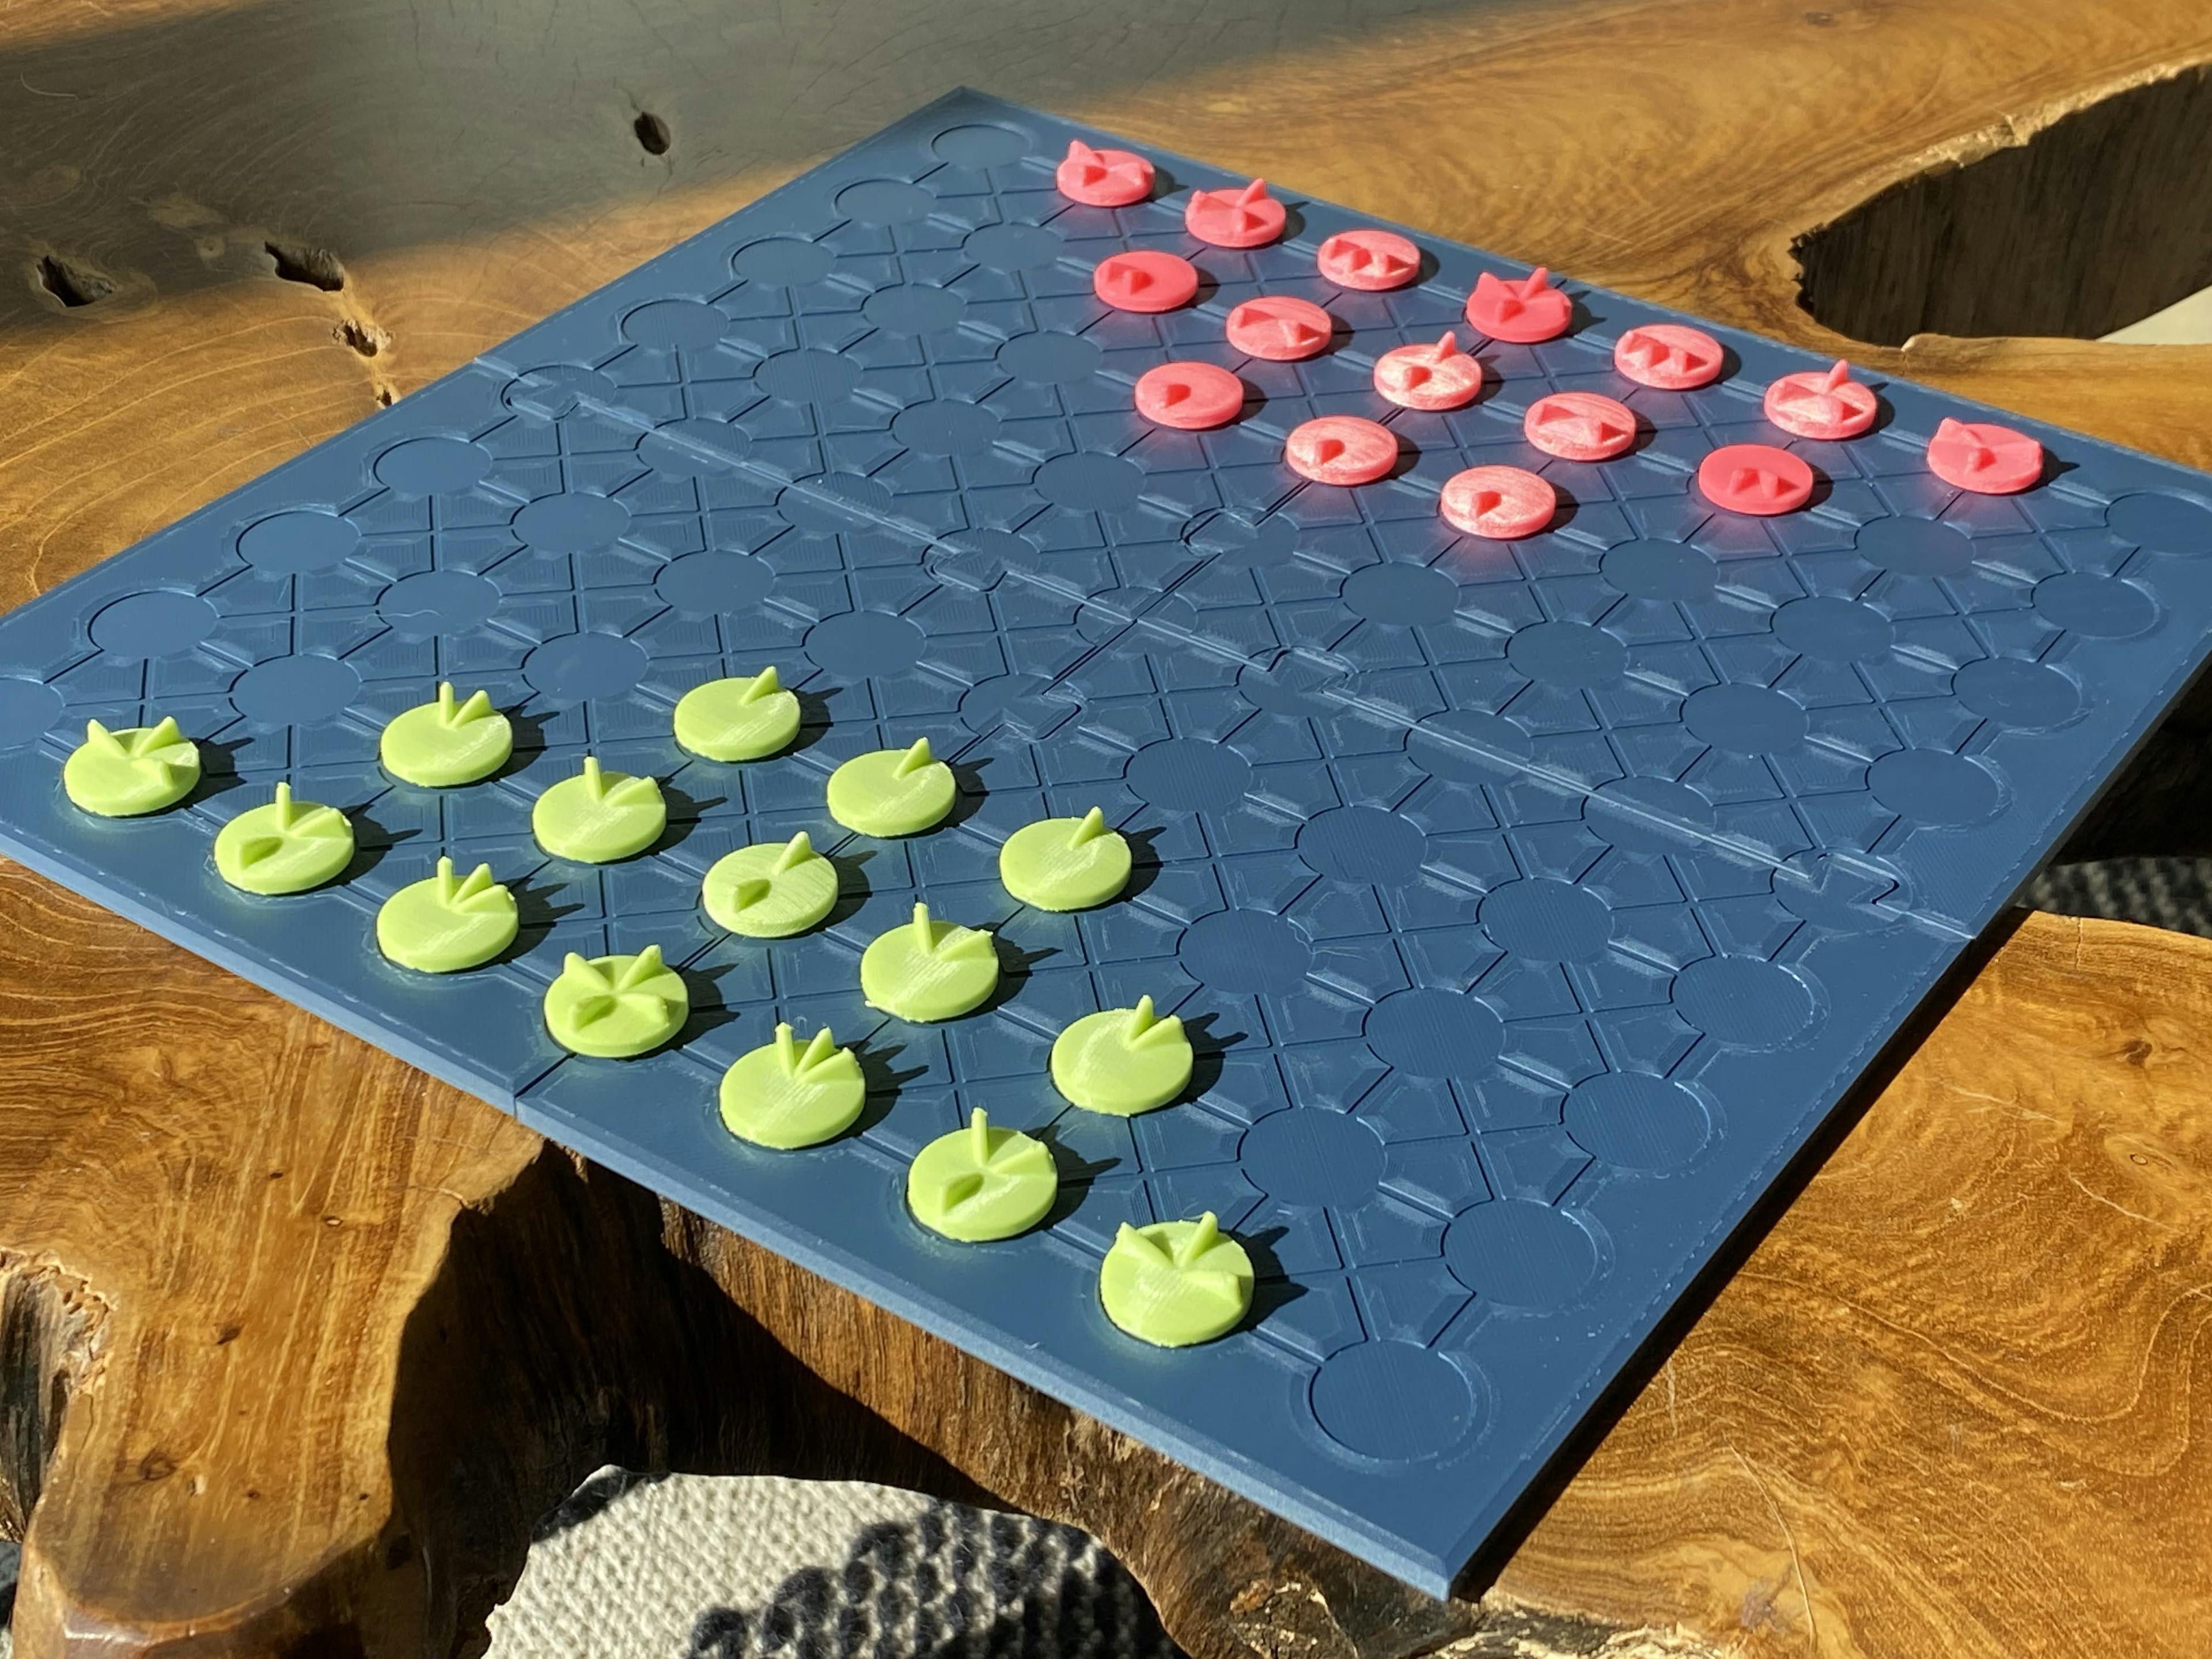
The finished product.
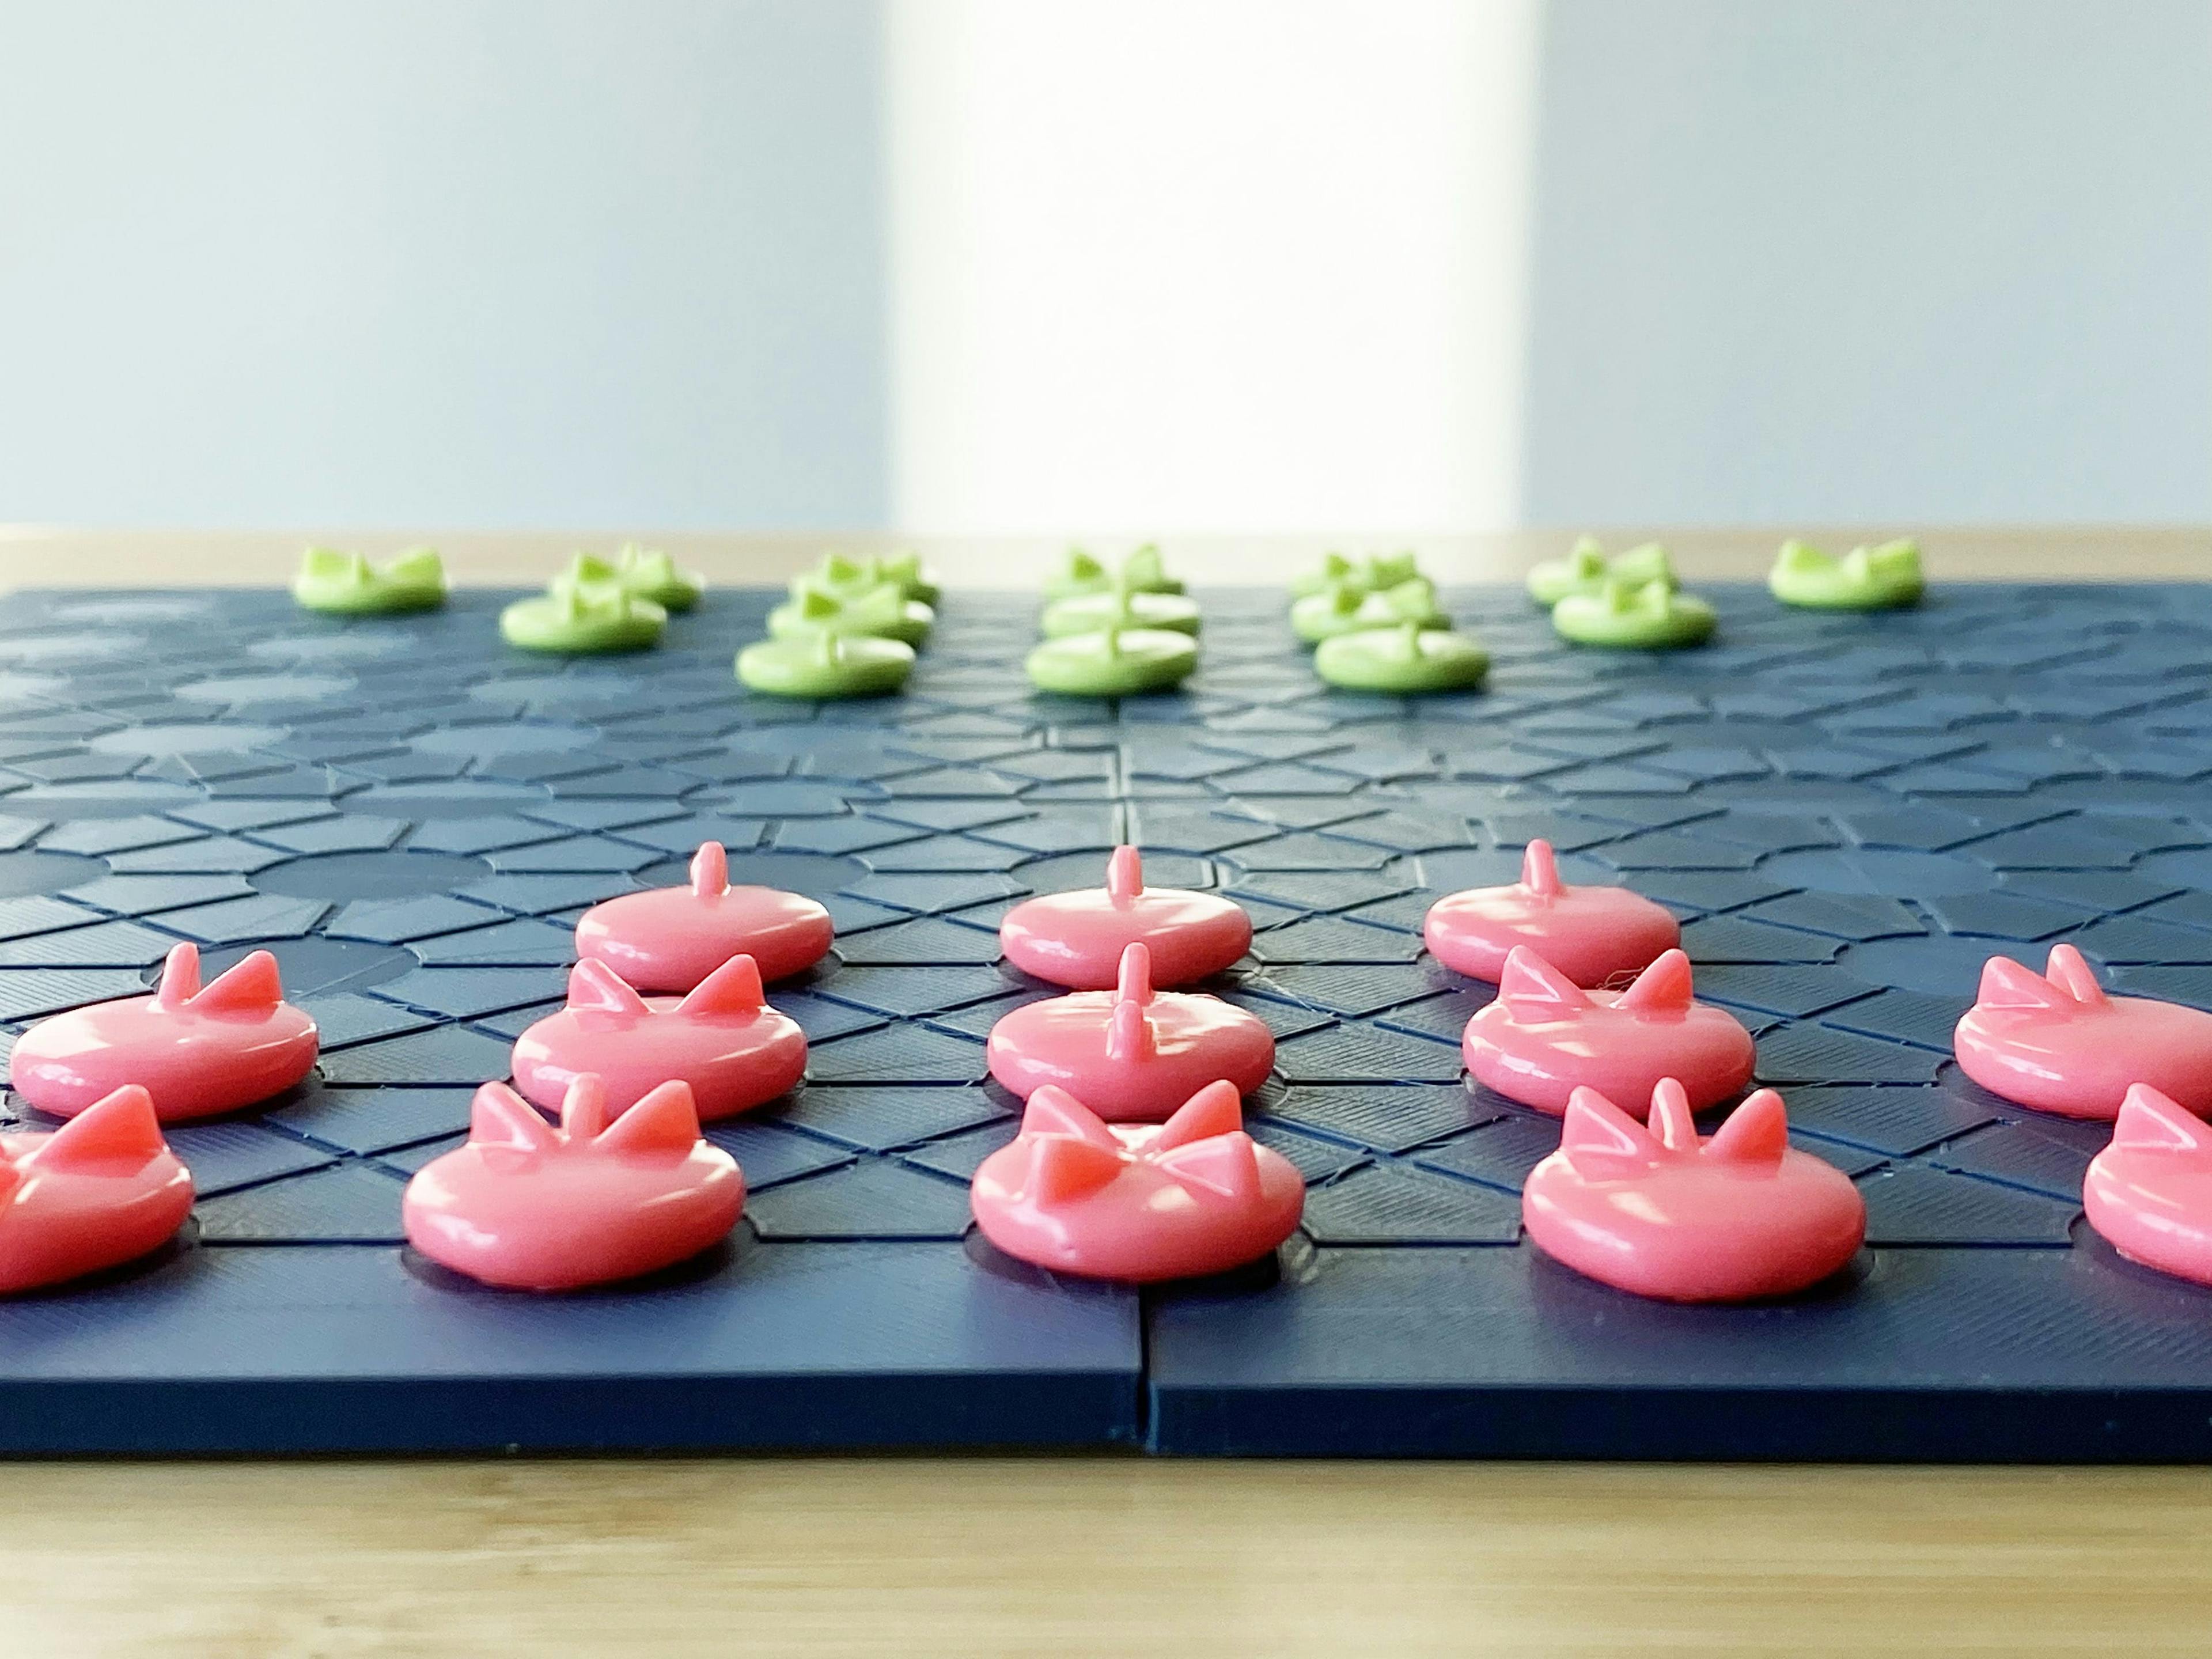
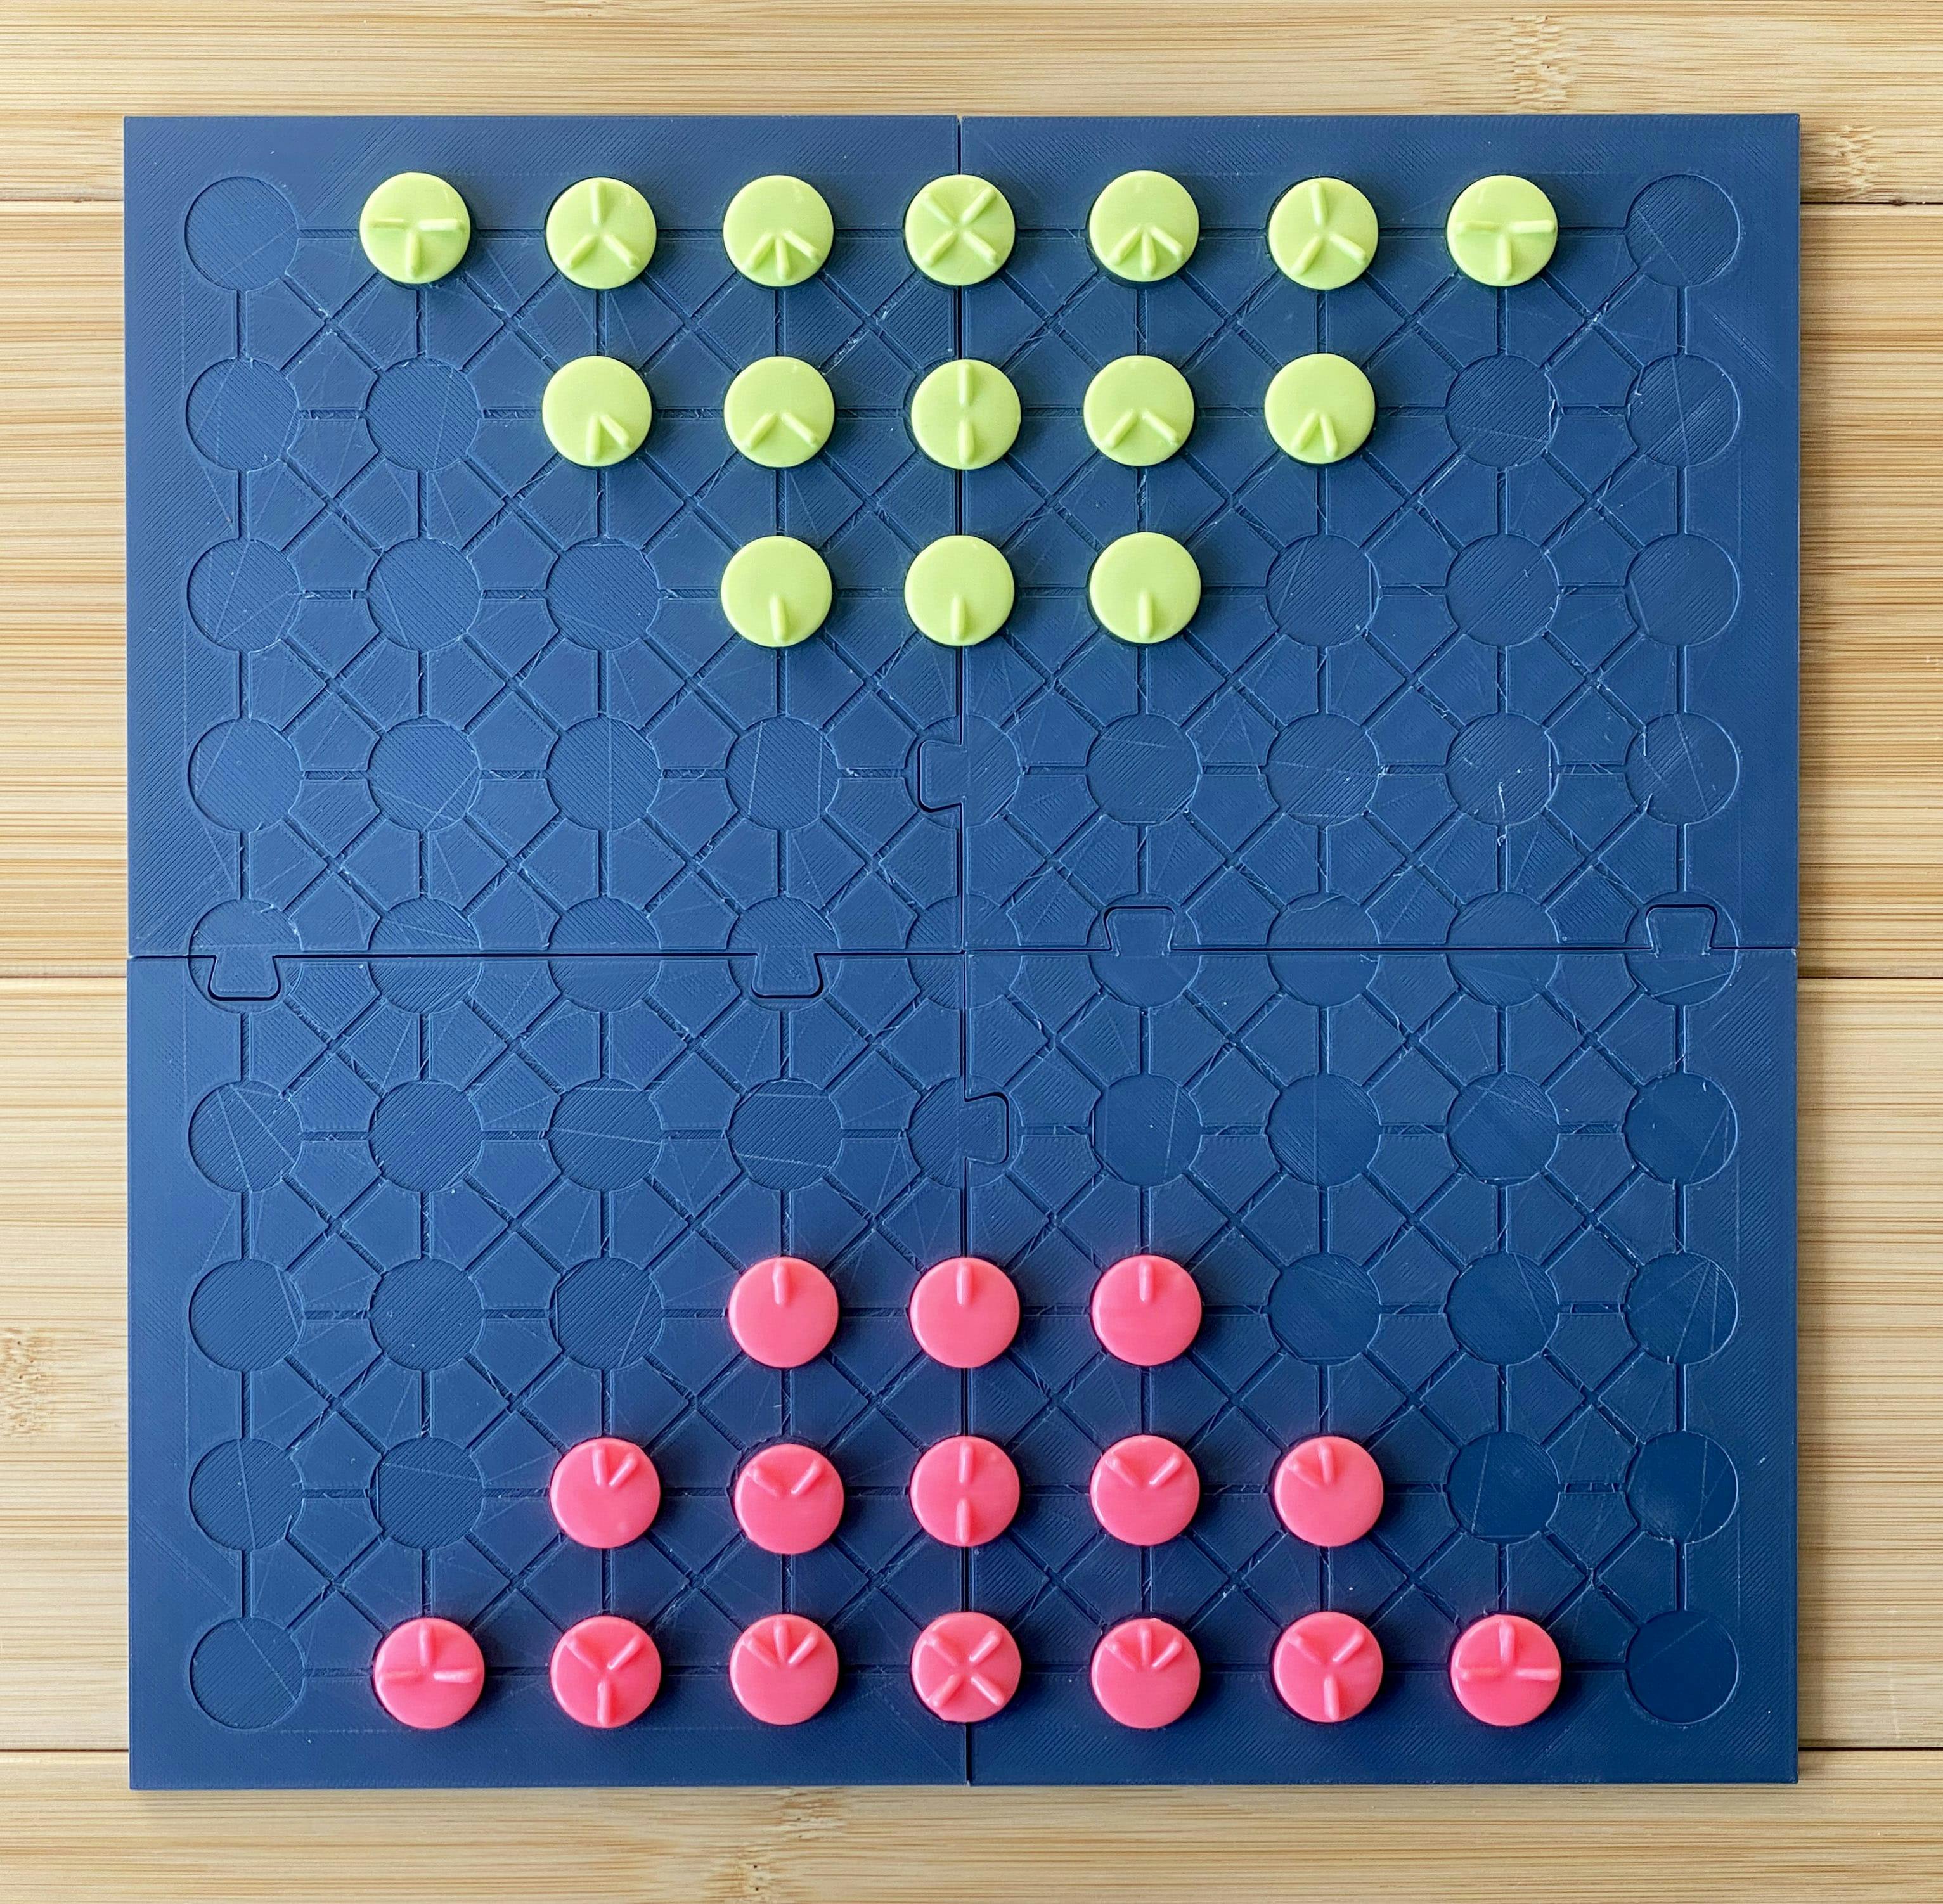
Ploy is a strategy board game similar to chess, where the objective is to capture your opponent’s pieces. Each piece on the board has both a distance (number of fins) and direction (fin configuration) factor that can be adjusted during a given move.
Produced in the 1970s, the game is no longer in production but my brothers wanted a slightly smaller-scale version they could play at home. This seemed like a great challenge for my 3D design and printing skills.
(Images from Etsy and Board Game Geek.)
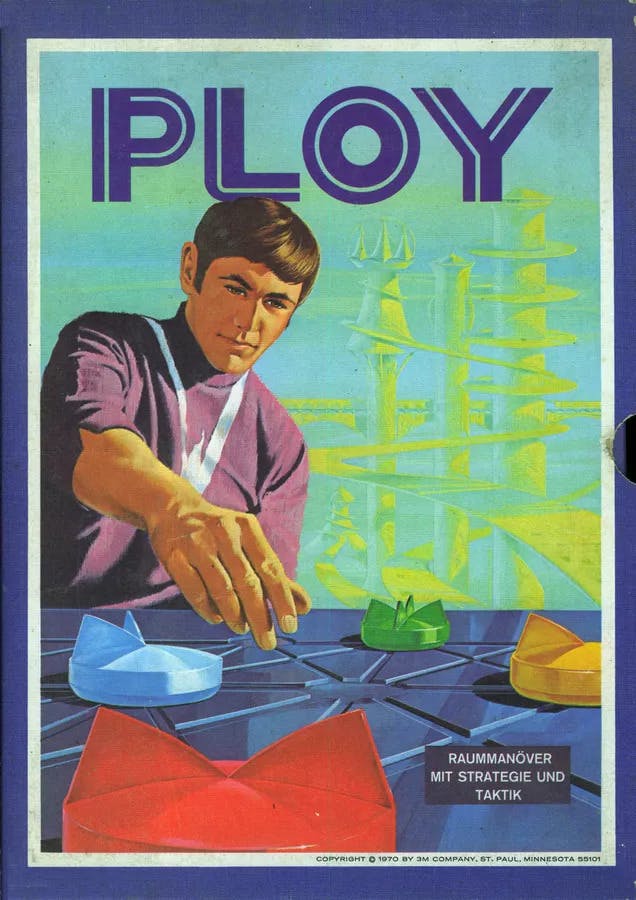
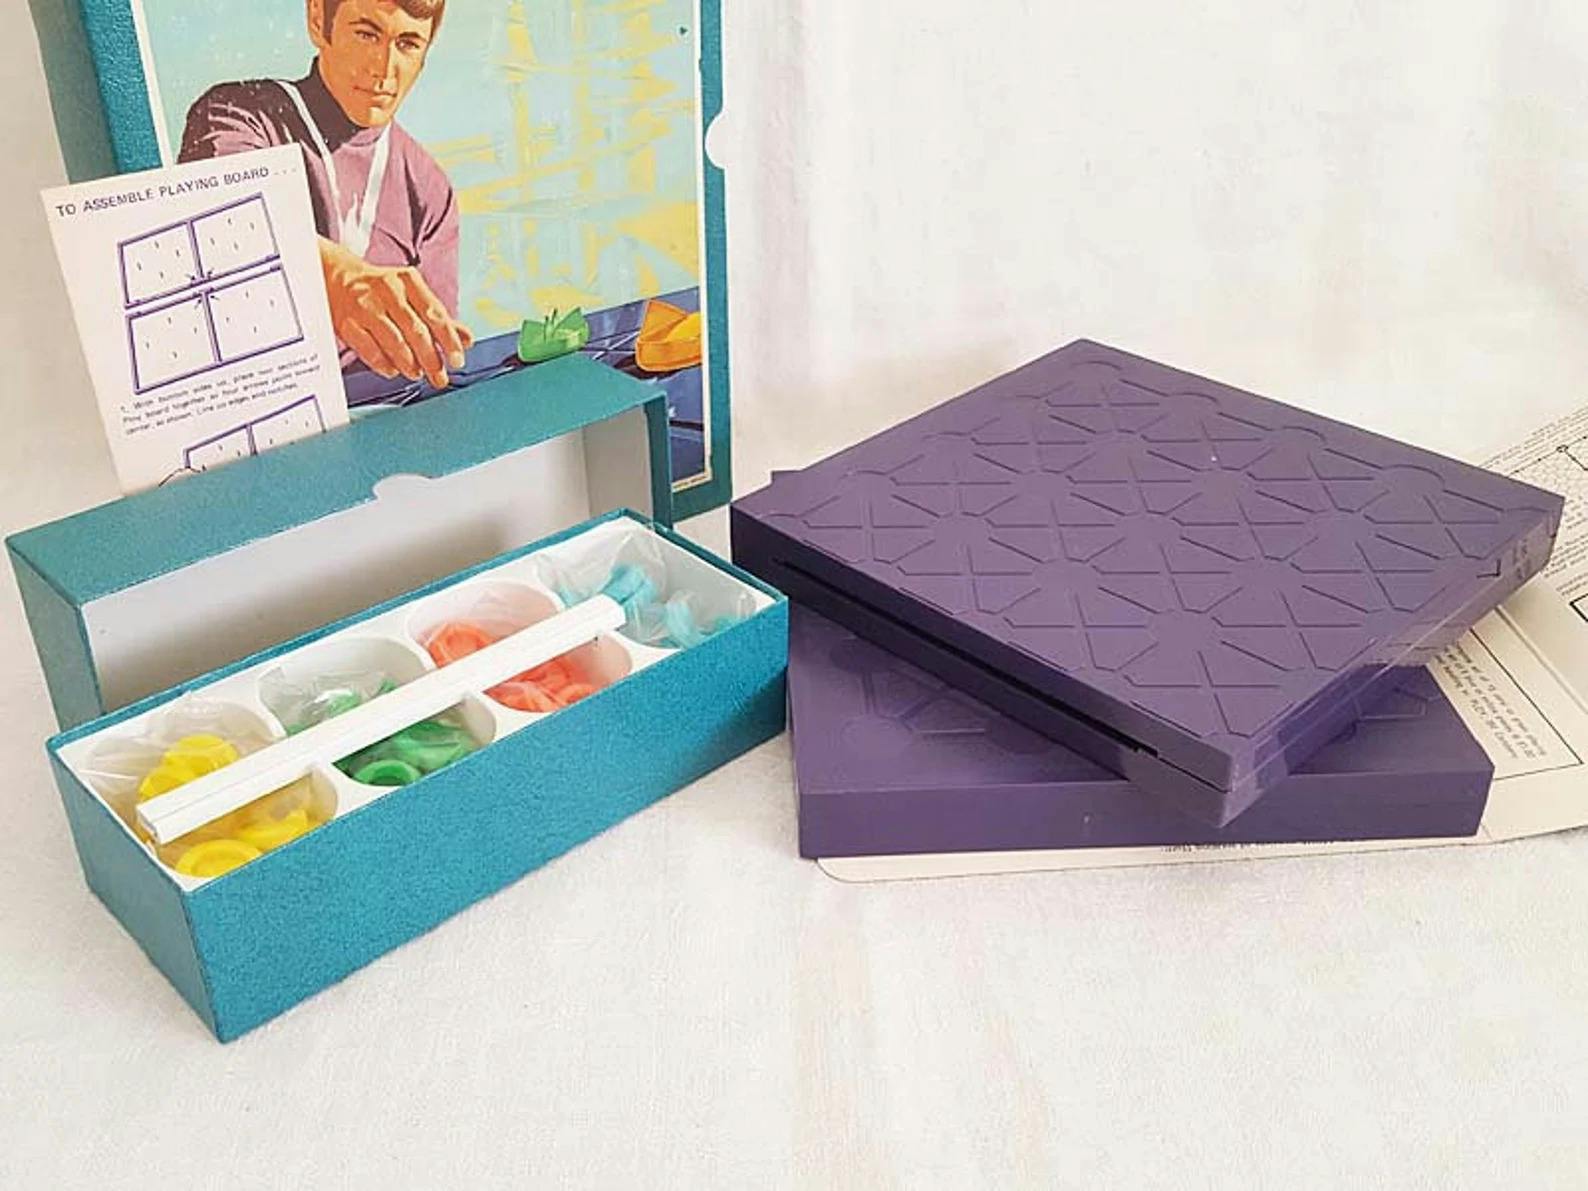
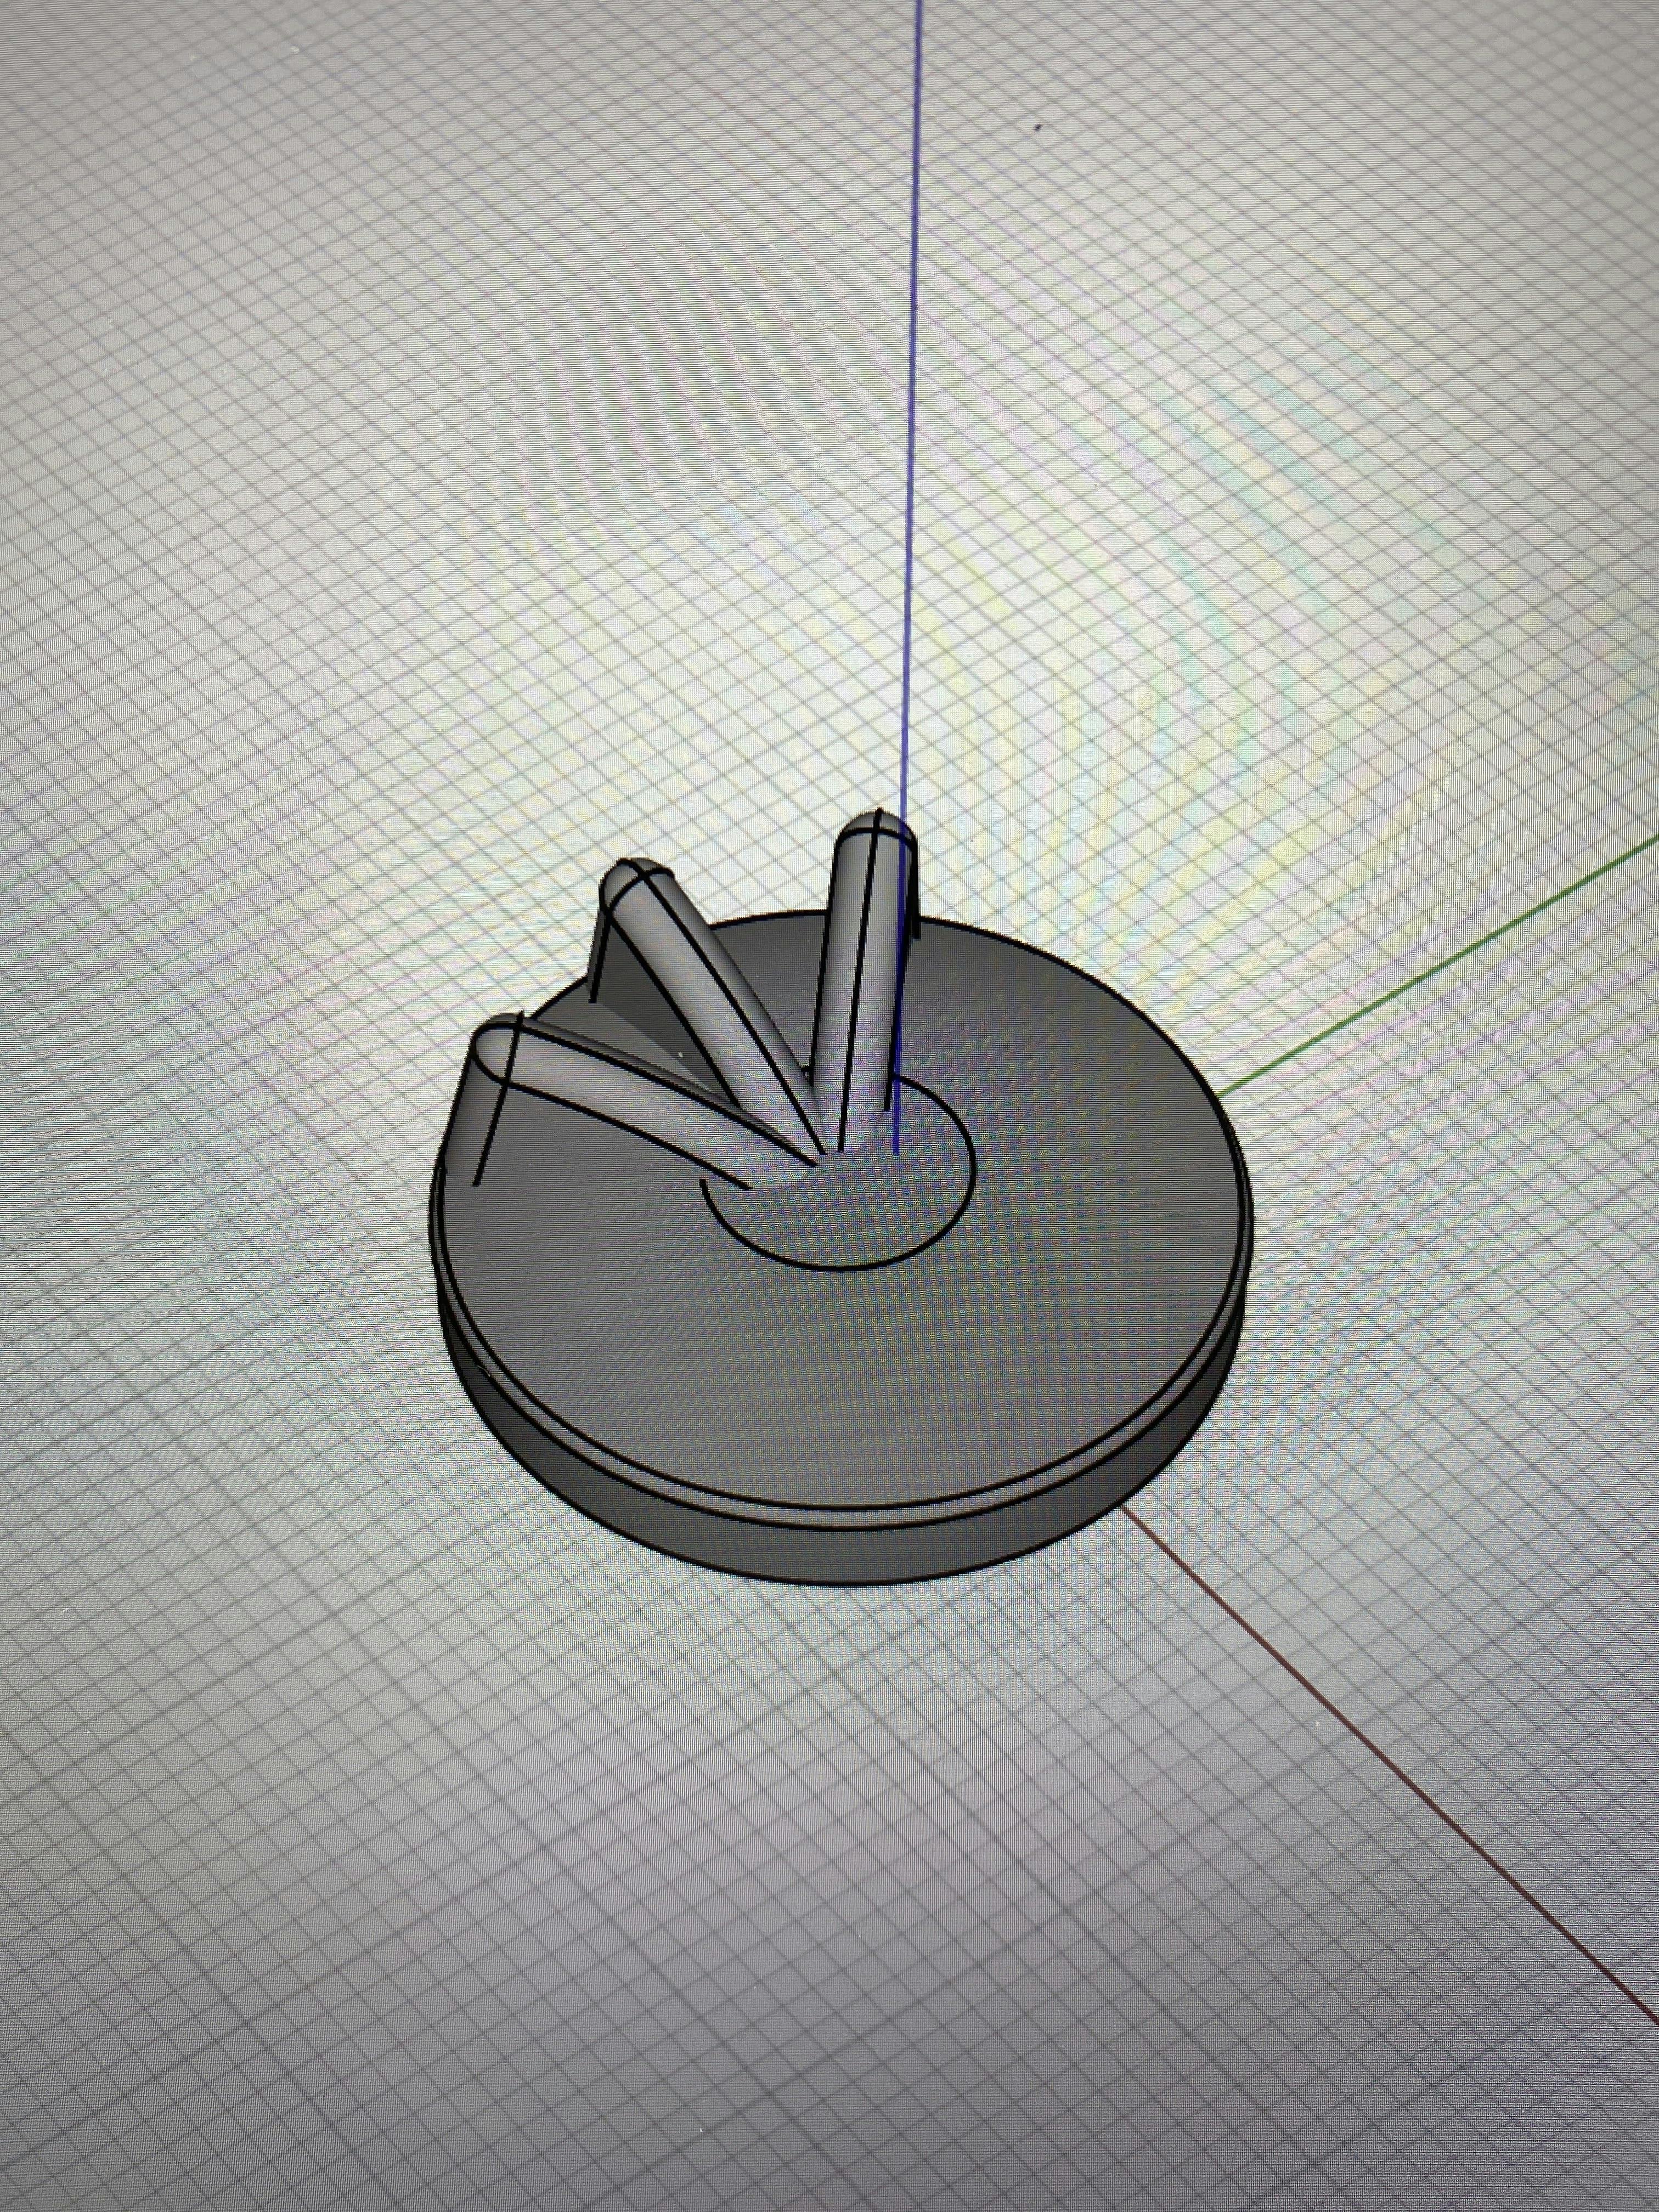
First, I began by modeling each of the pieces in the game using reference photos and dimension measurements from my brother. For this, I used Shapr3D for the iPad, which is a fantastic tool if, like me, you really like to be hands-on with your 3D models.
Yes, those are photos of a screen. Sorry.
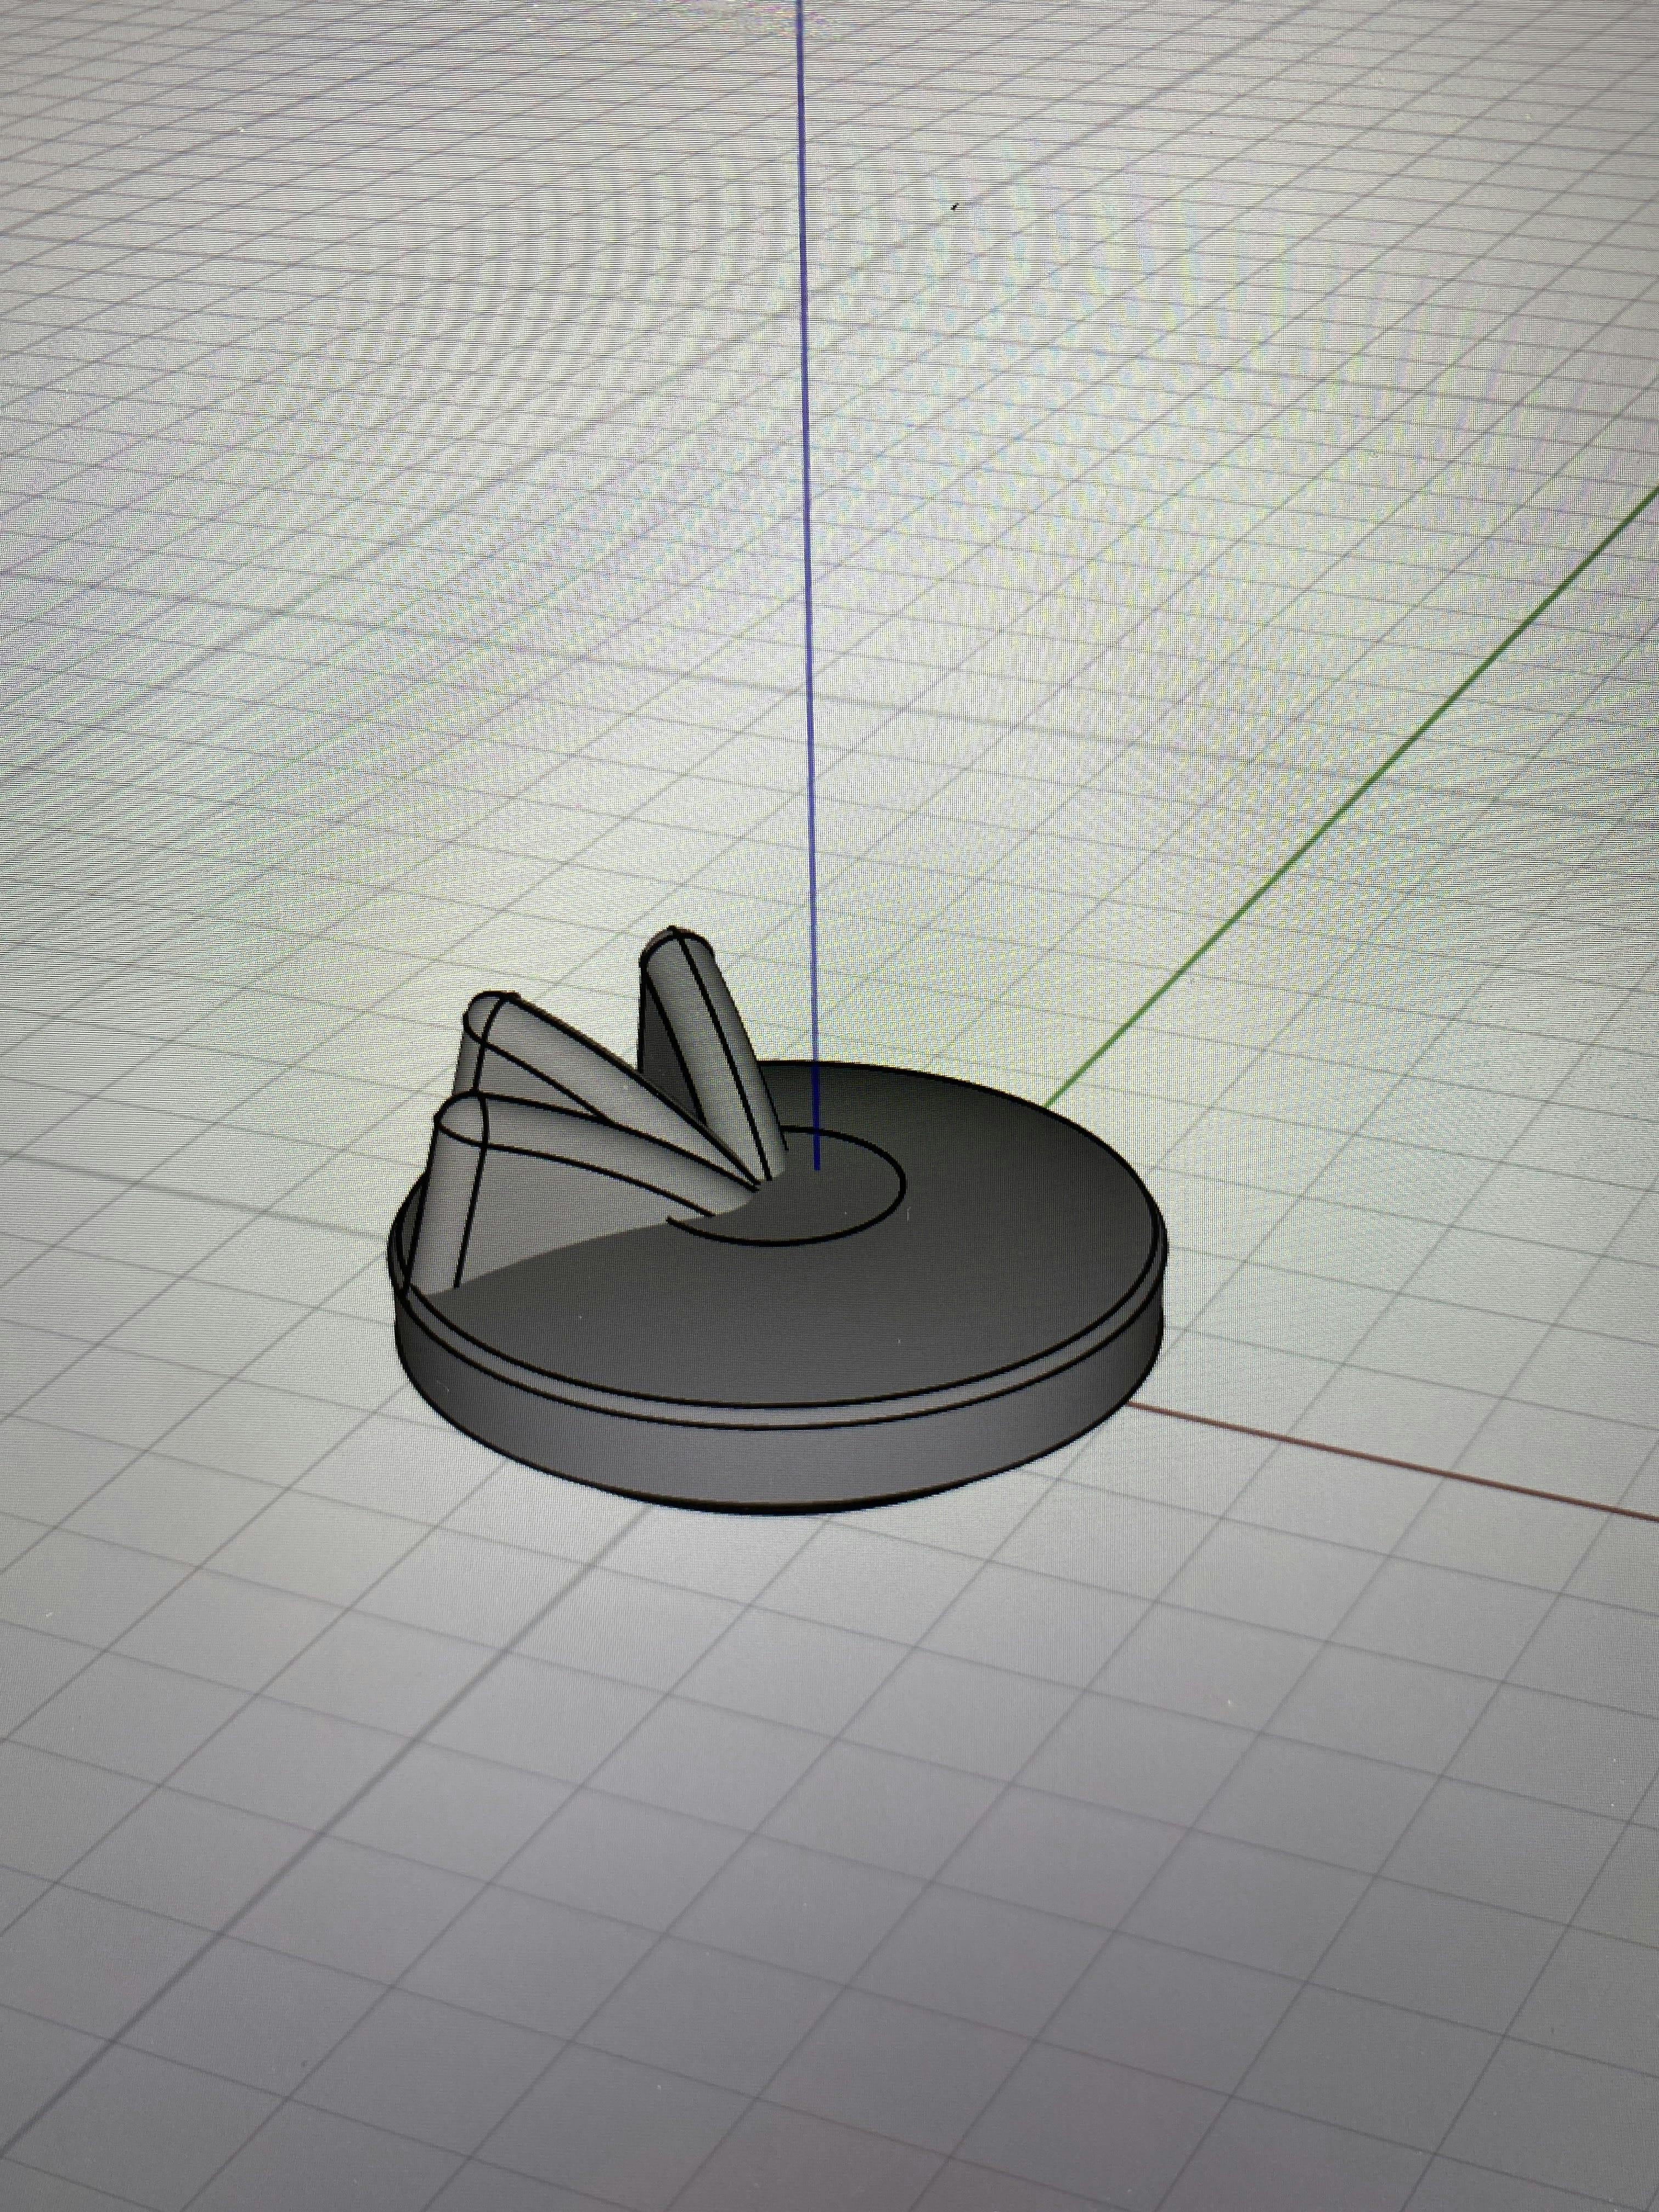
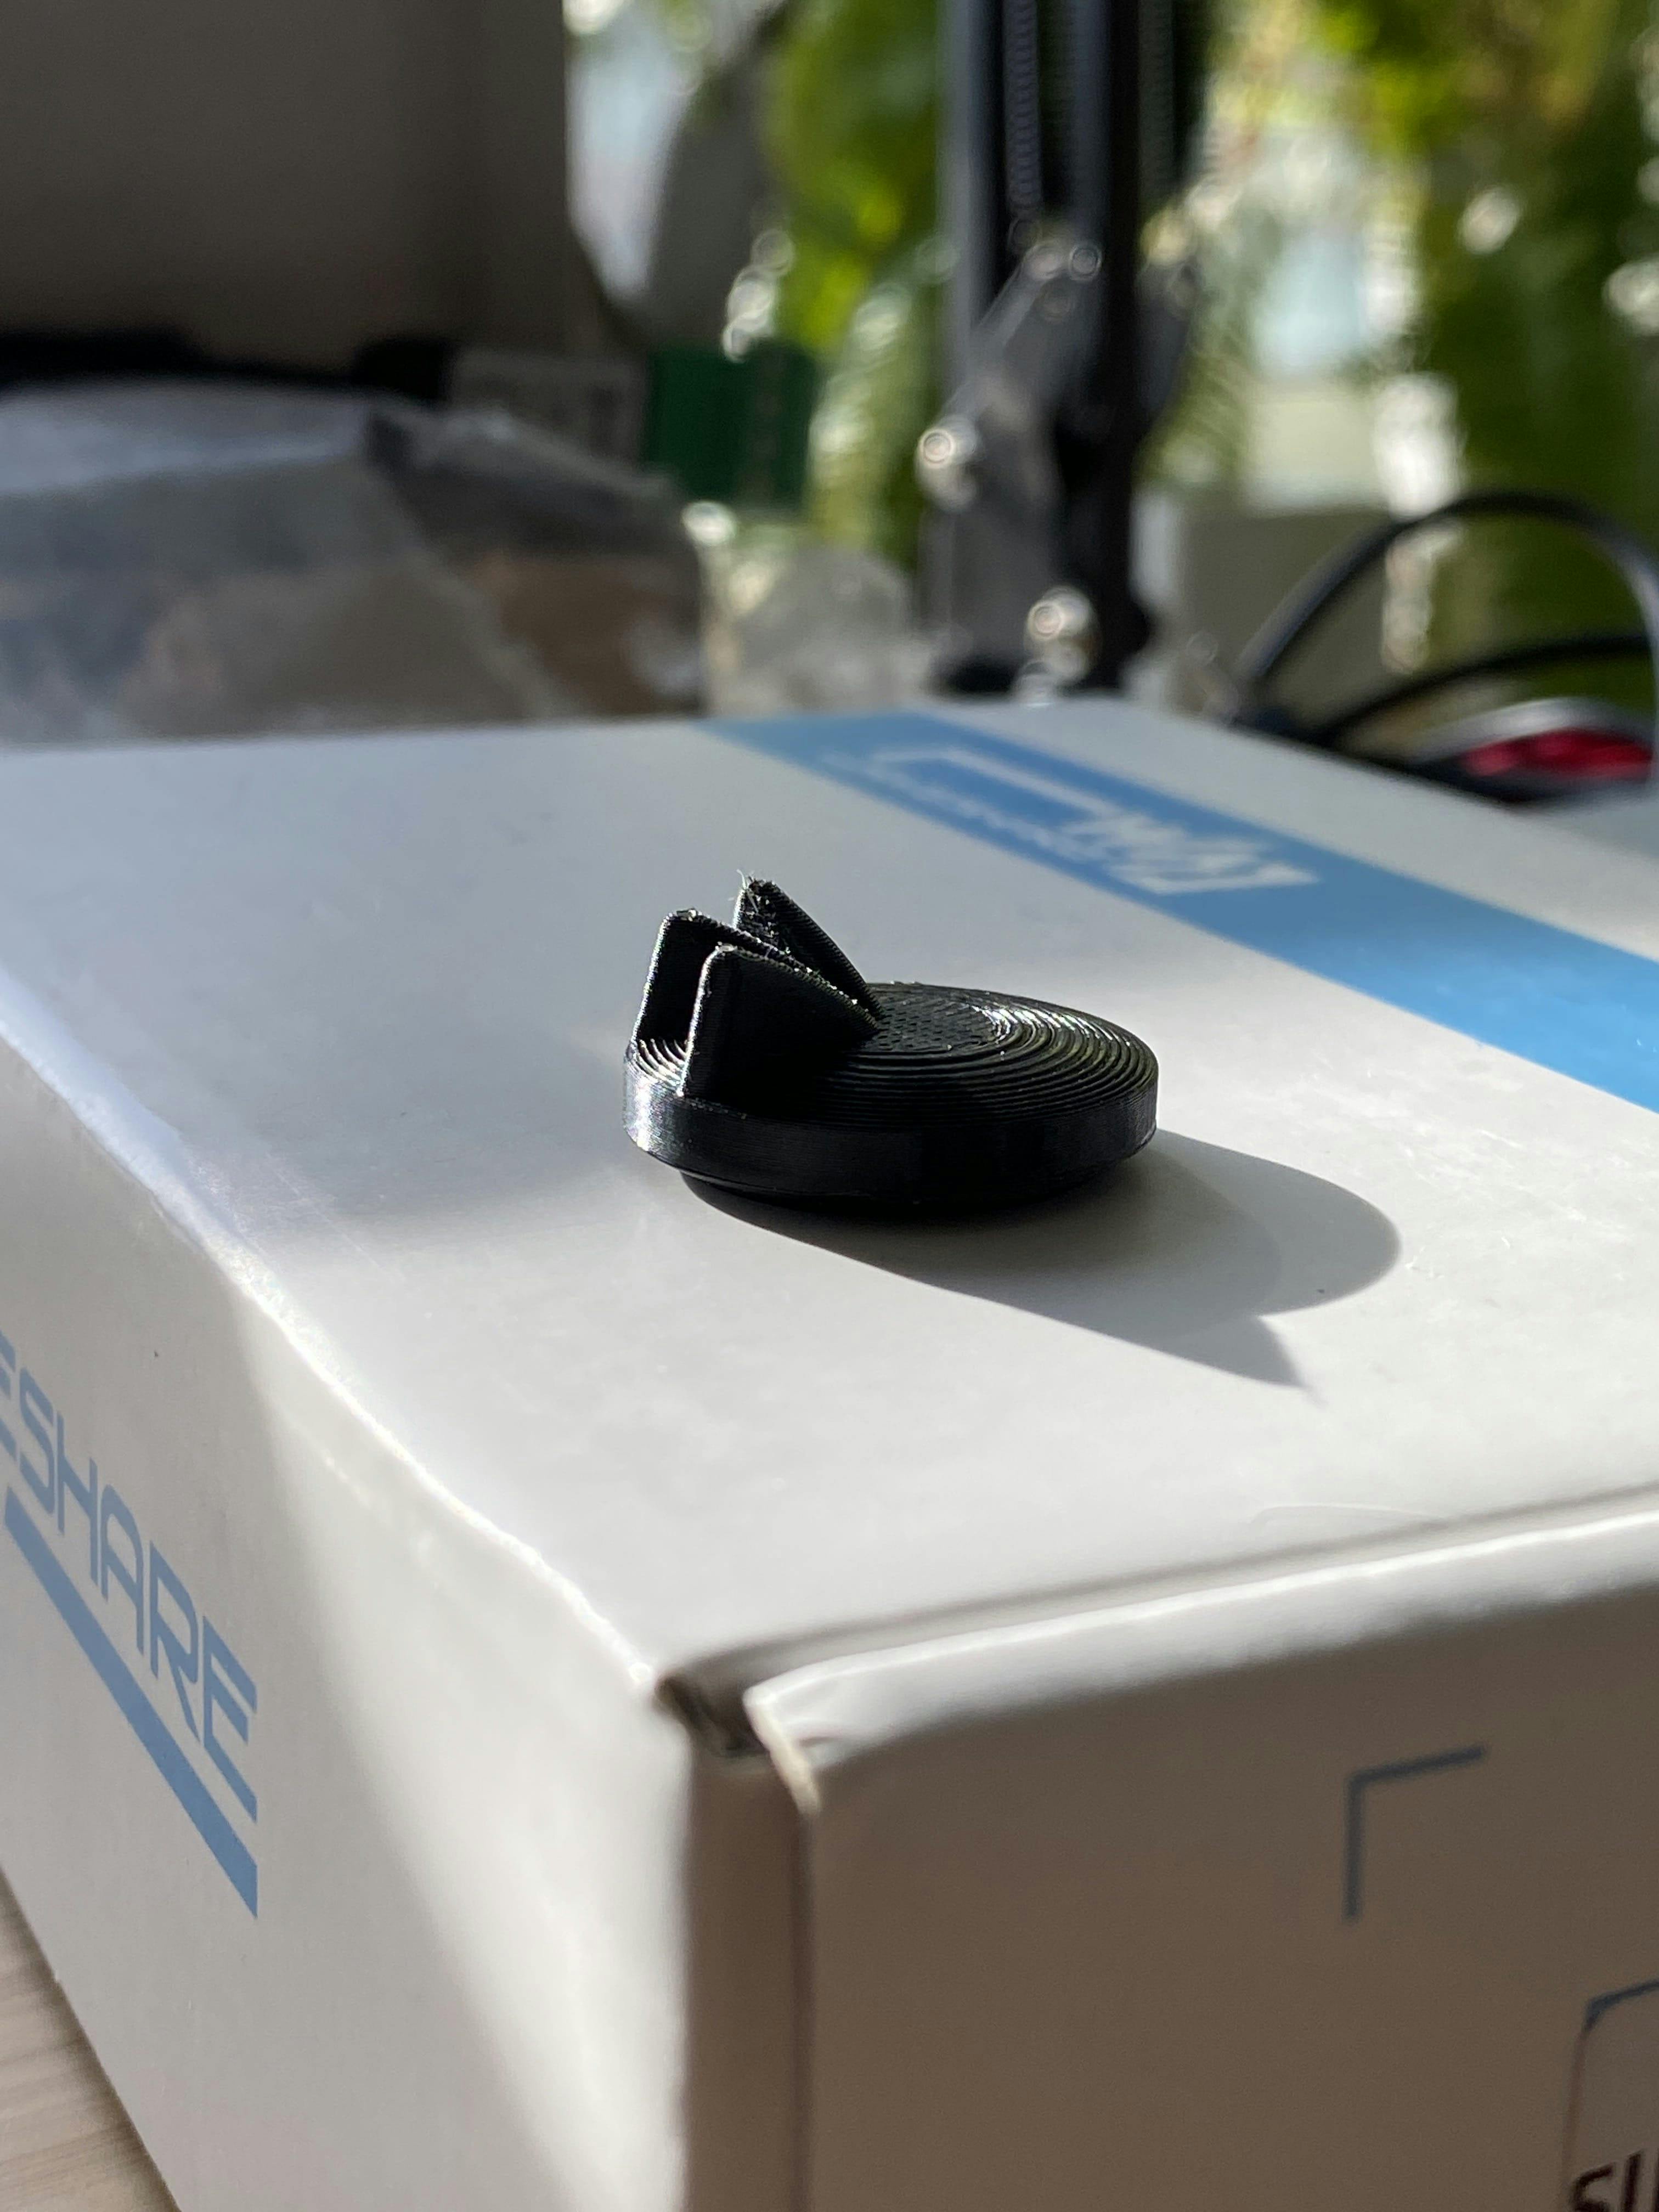
I moved quickly from a model to running a 3D print to get a sense of how the piece would look and feel. I used an FDM printer (Creality Ender 3 Pro), which is fairly evident from the first print.
The immediate observation was that printing it parallel to the print bed created a stepped effect I was not happy with: you lose the smooth ”space-like” curves the original pieces have.
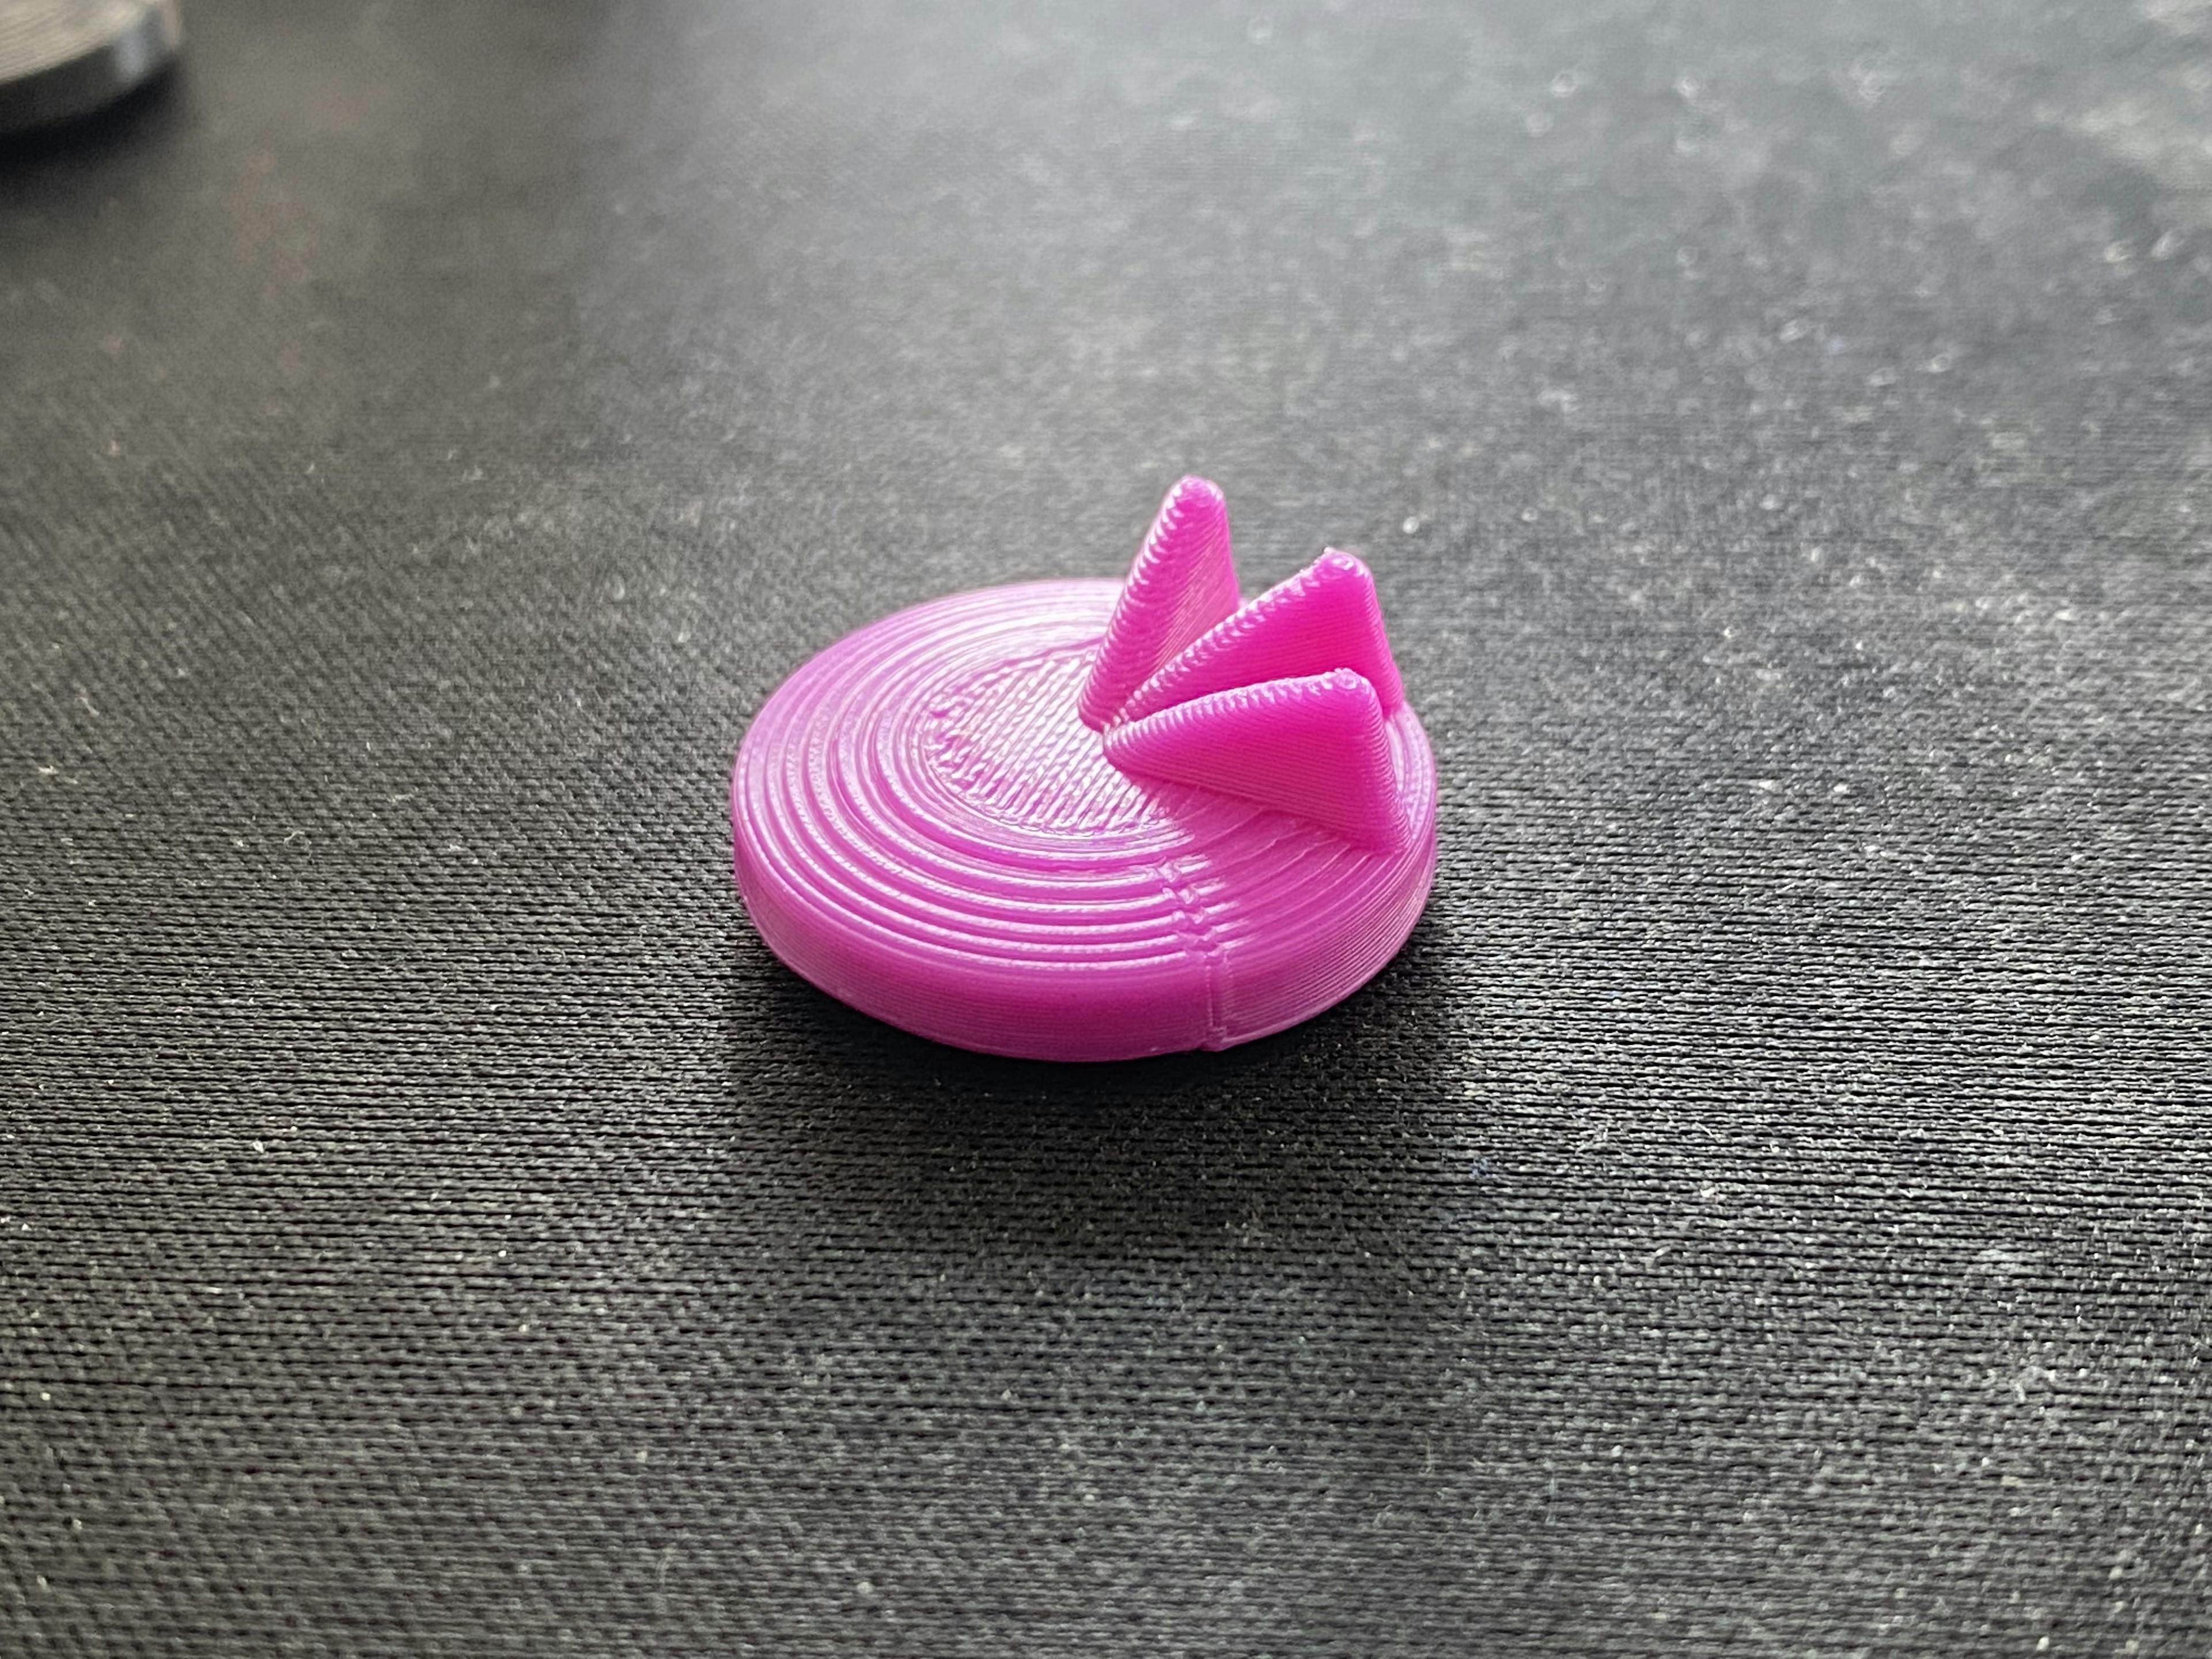
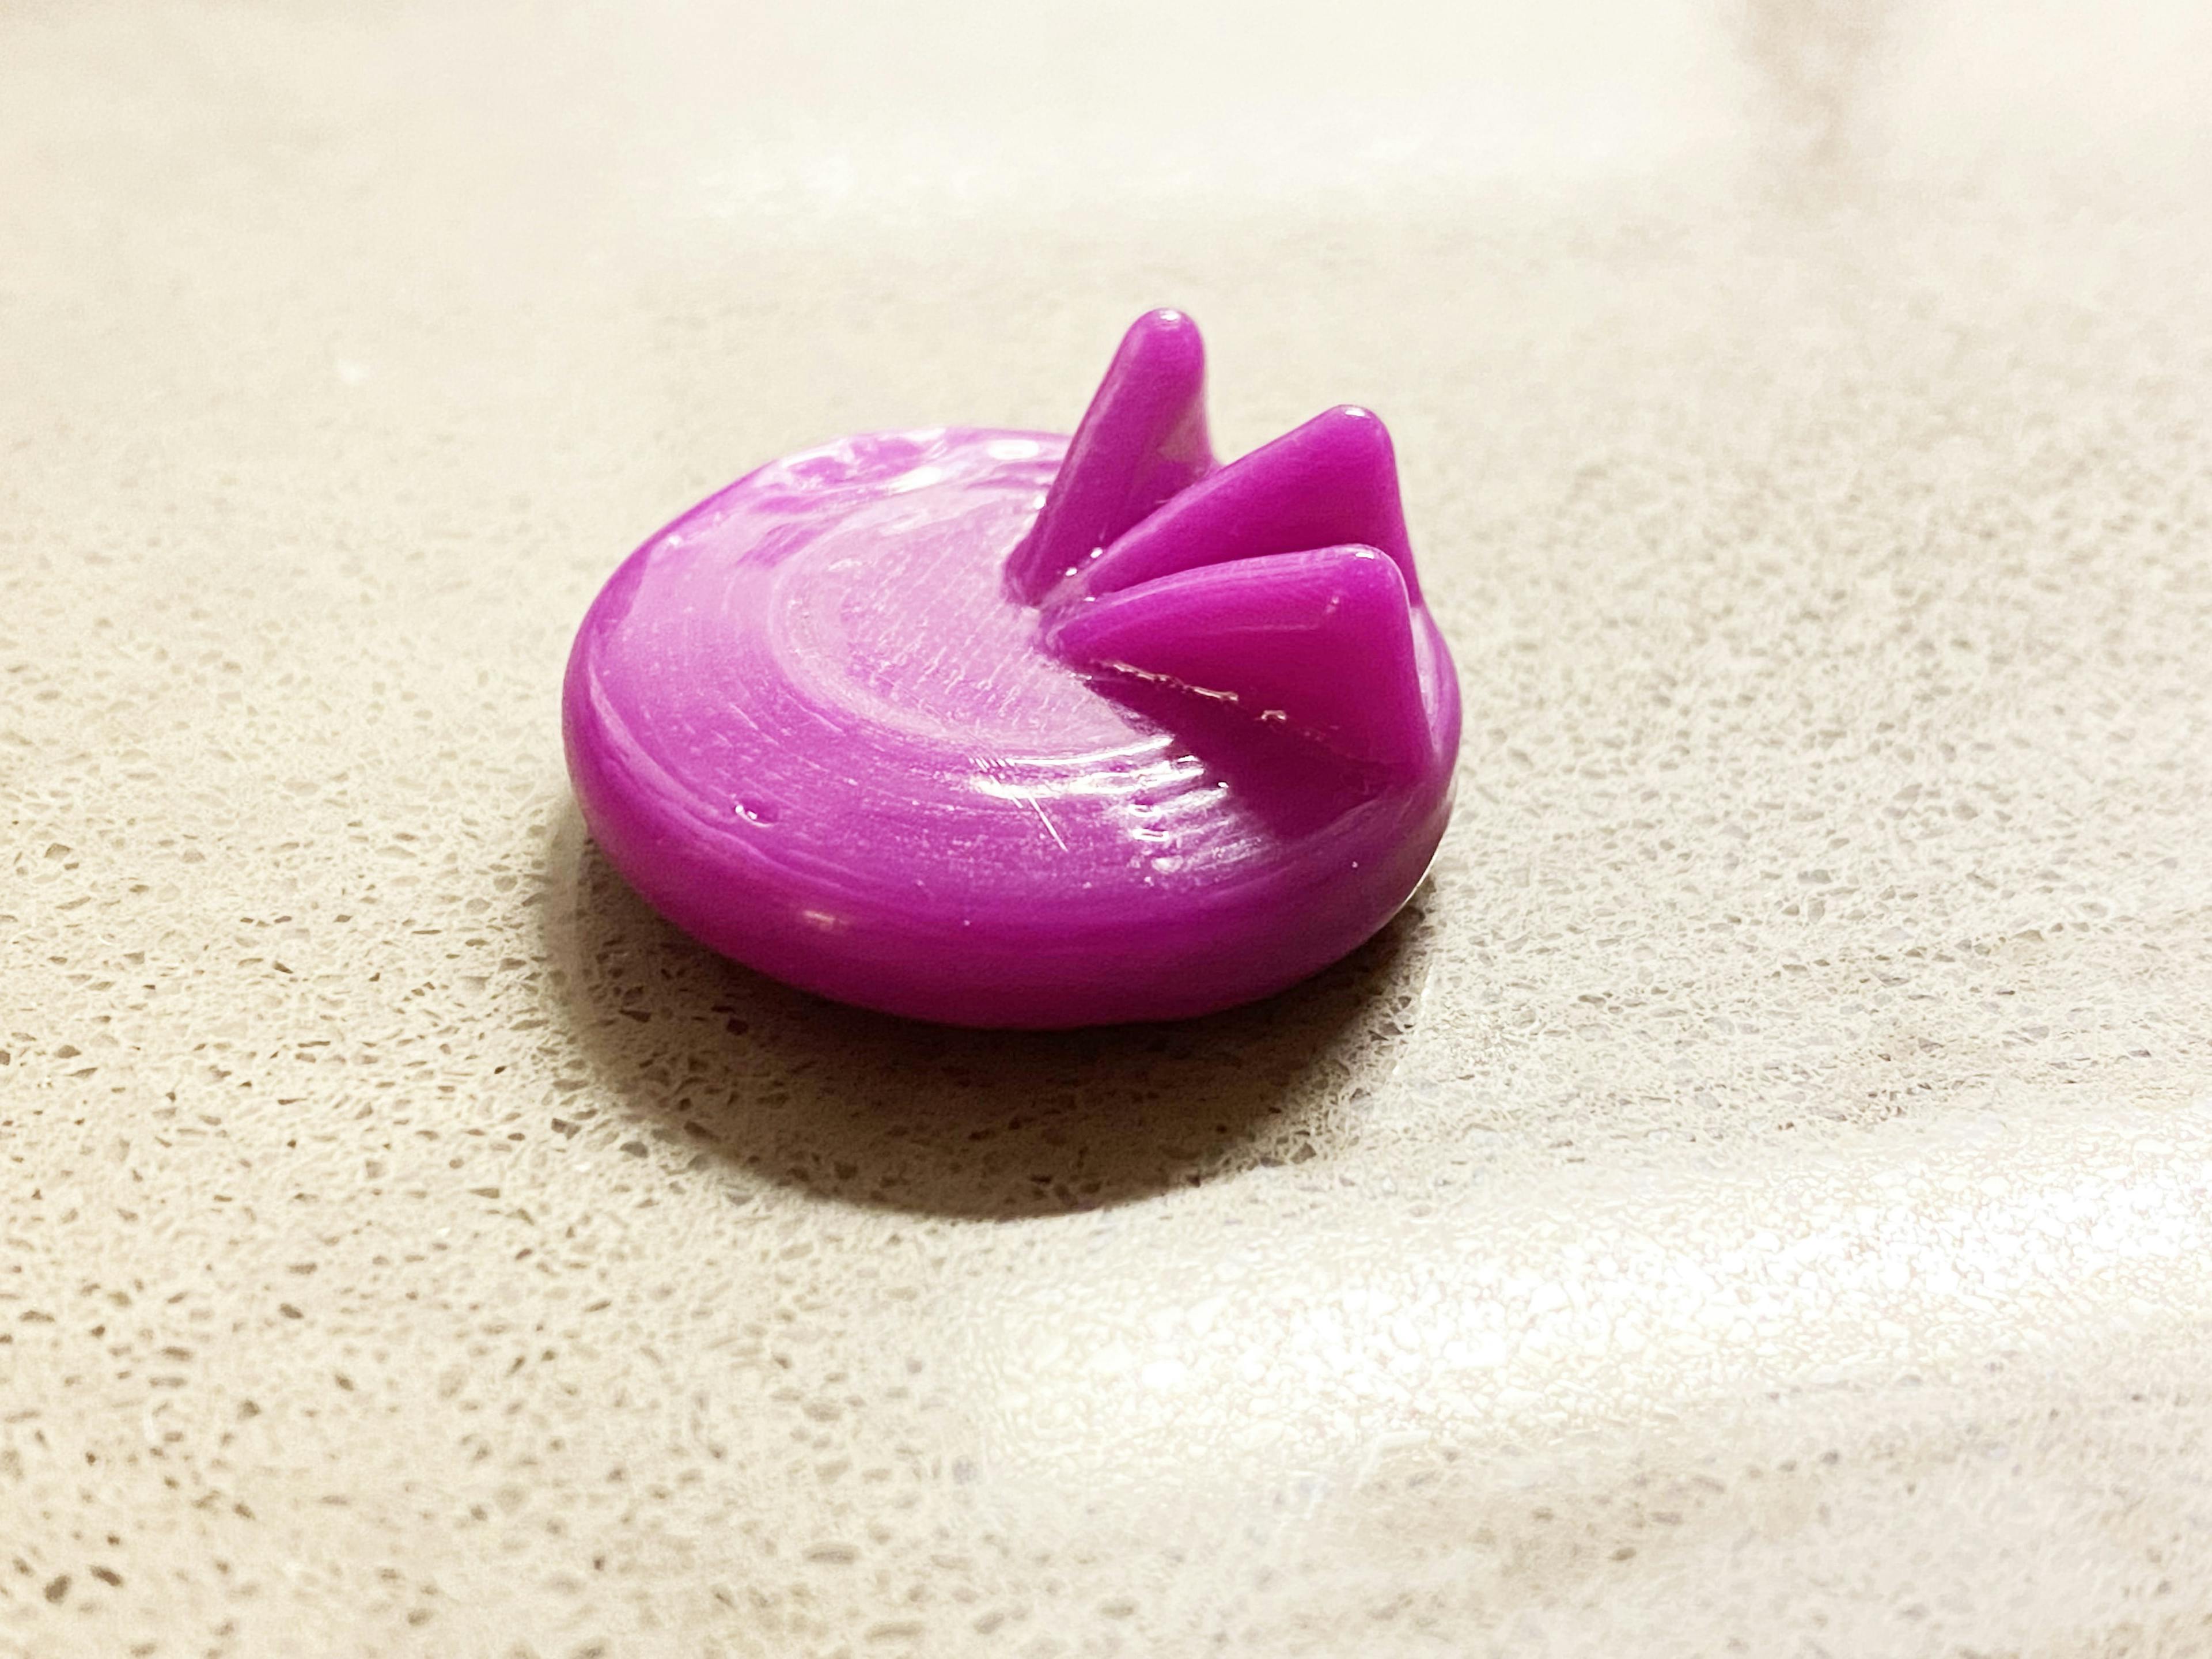
After a bit of research, my first thought was to switch from PLA to ABS and use vapor smoothing. Vapor smoothing, in short, is “baking” the model in a box with acetone vapors. ABS actually dissolves in acetone; however, because it also easily vaporizes at room temperature, you can let the vapors in a closed container gently melt the outer layer of the object.
You can see this first test did work, but the step effect remained, which was still unsatisfactory.
For the next test, I had the idea to print the piece at an angle, instead of parallel to the workbed.
My first attempt was to rotate the piece fully perpendicularly. The print failed because I didn”t provide enough attachment to the bed, but the dome shape was noticably smoother with the new angle.
I tried a second (parallel) and third (perpendicular, failed print) vapor smoothing. While perpendicular to the workbed wasn’t quite the correct print angle, I knew I was onto something.
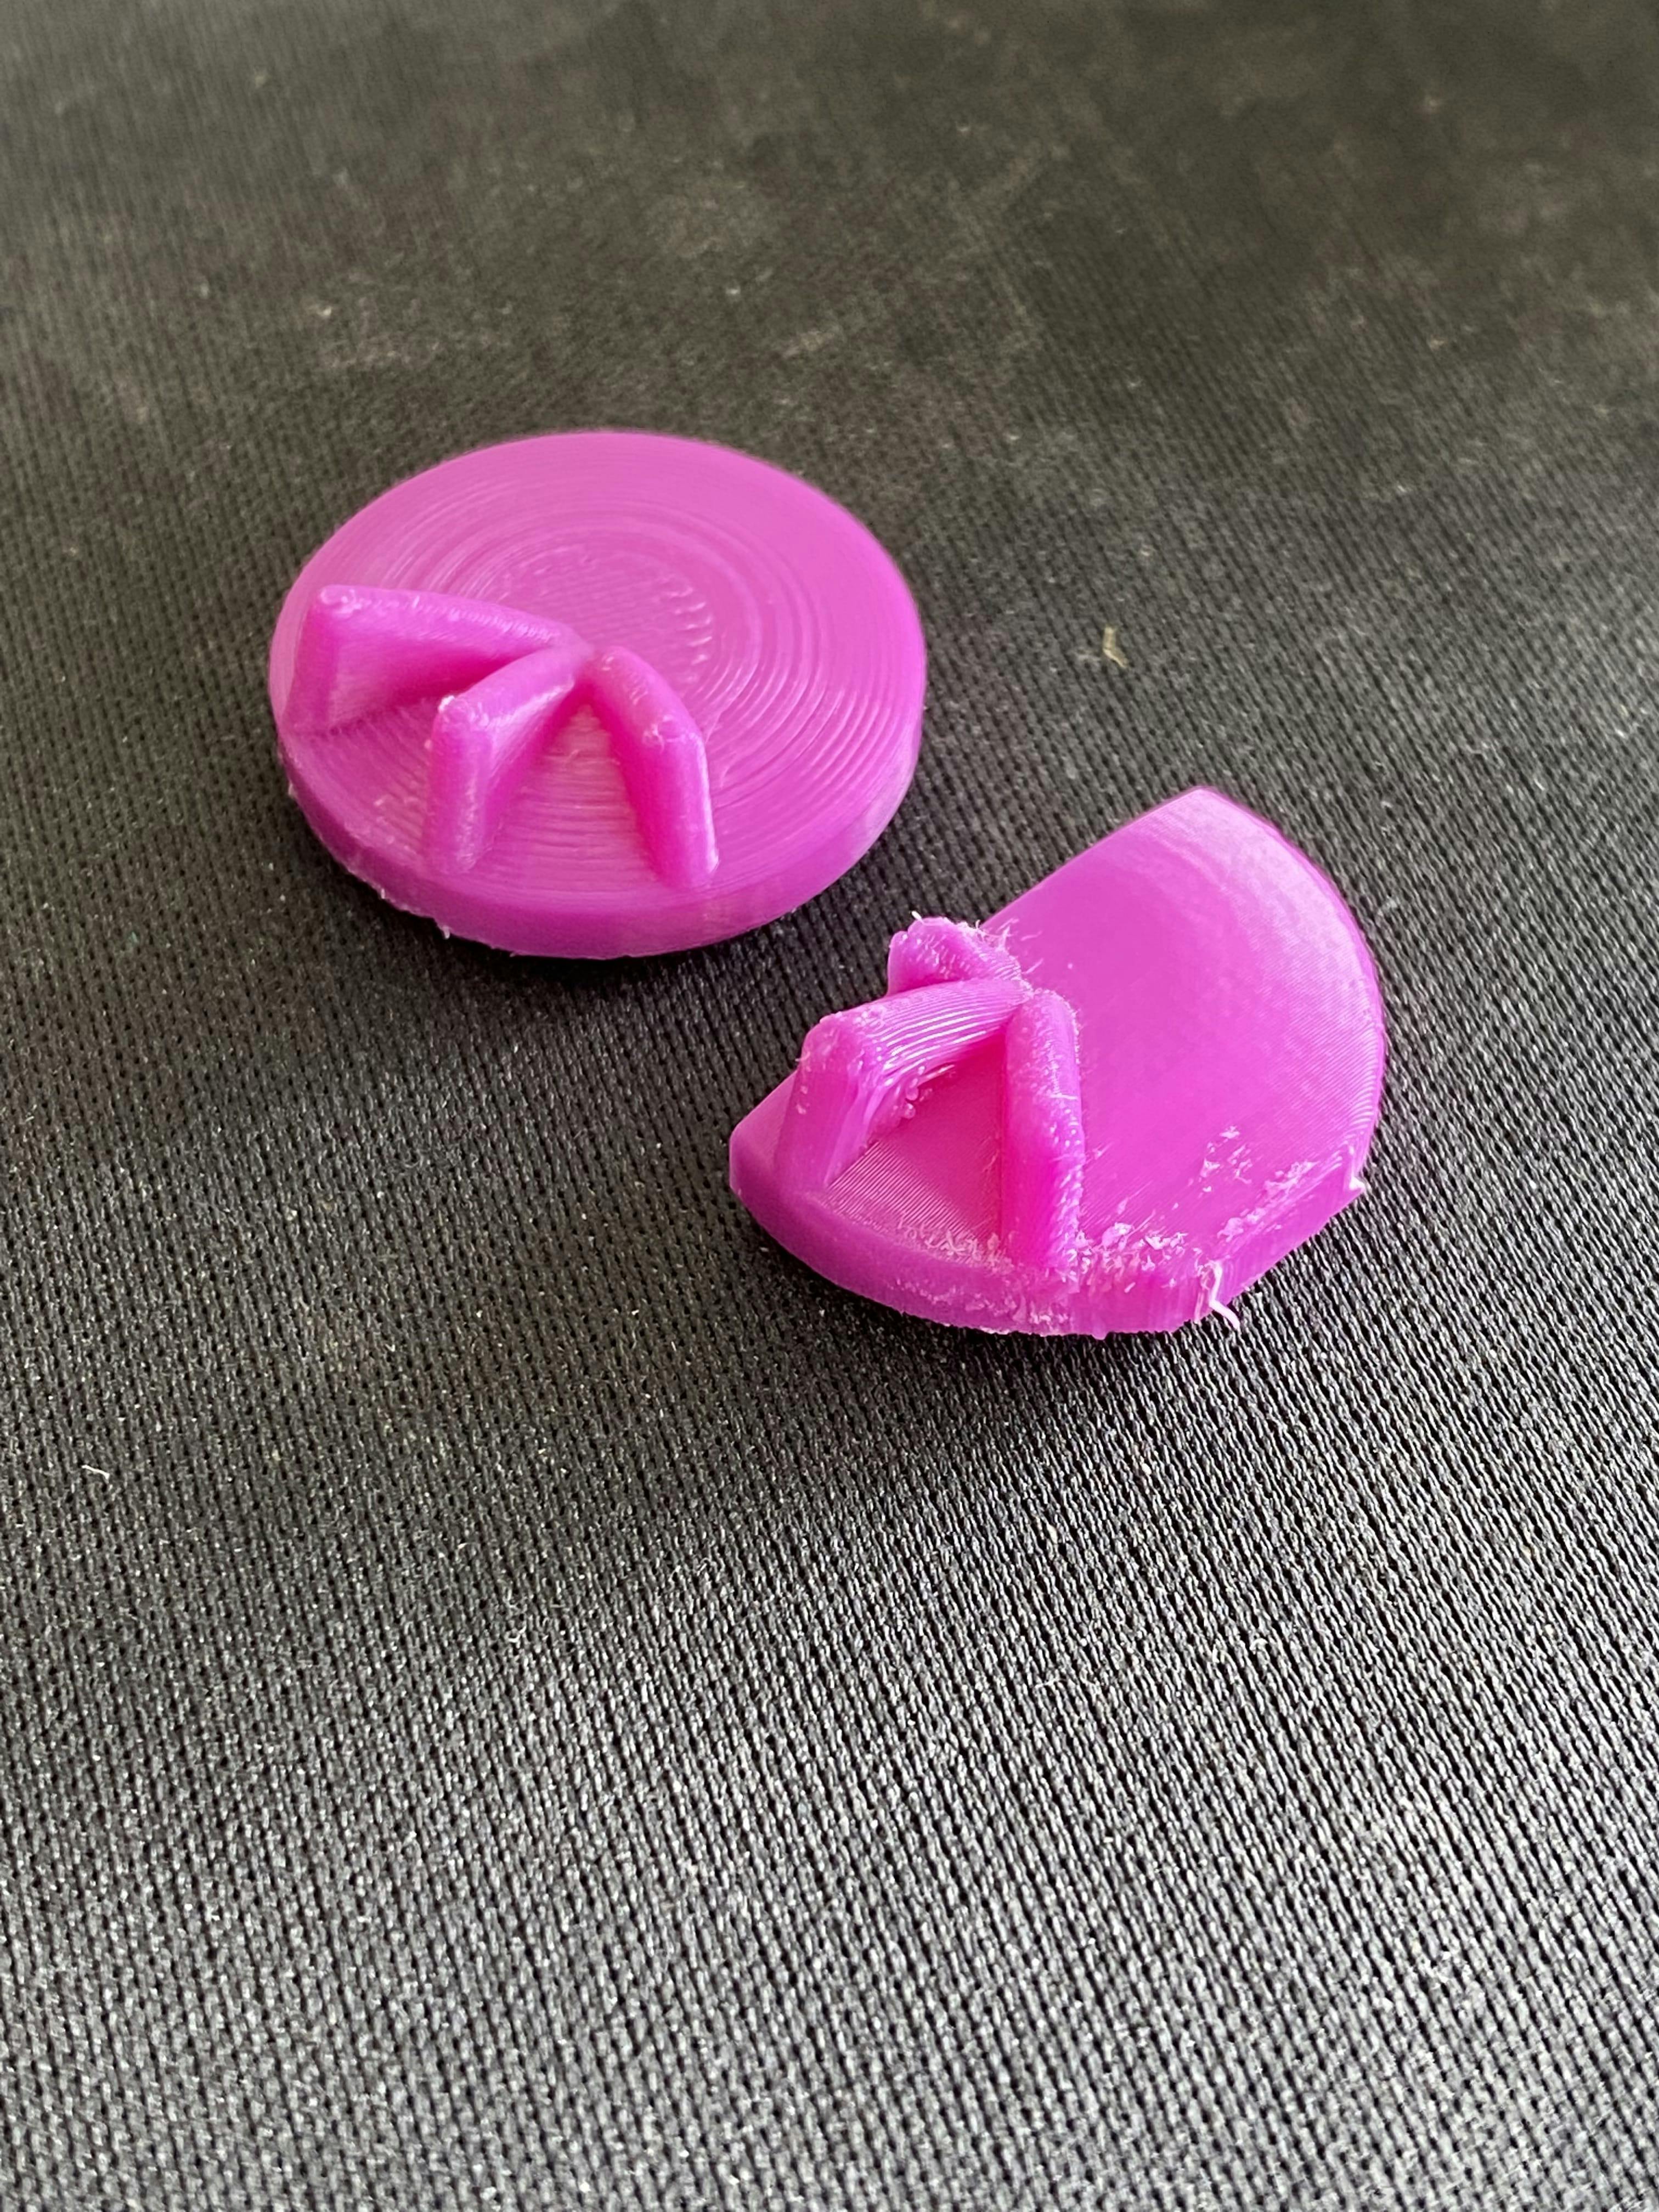
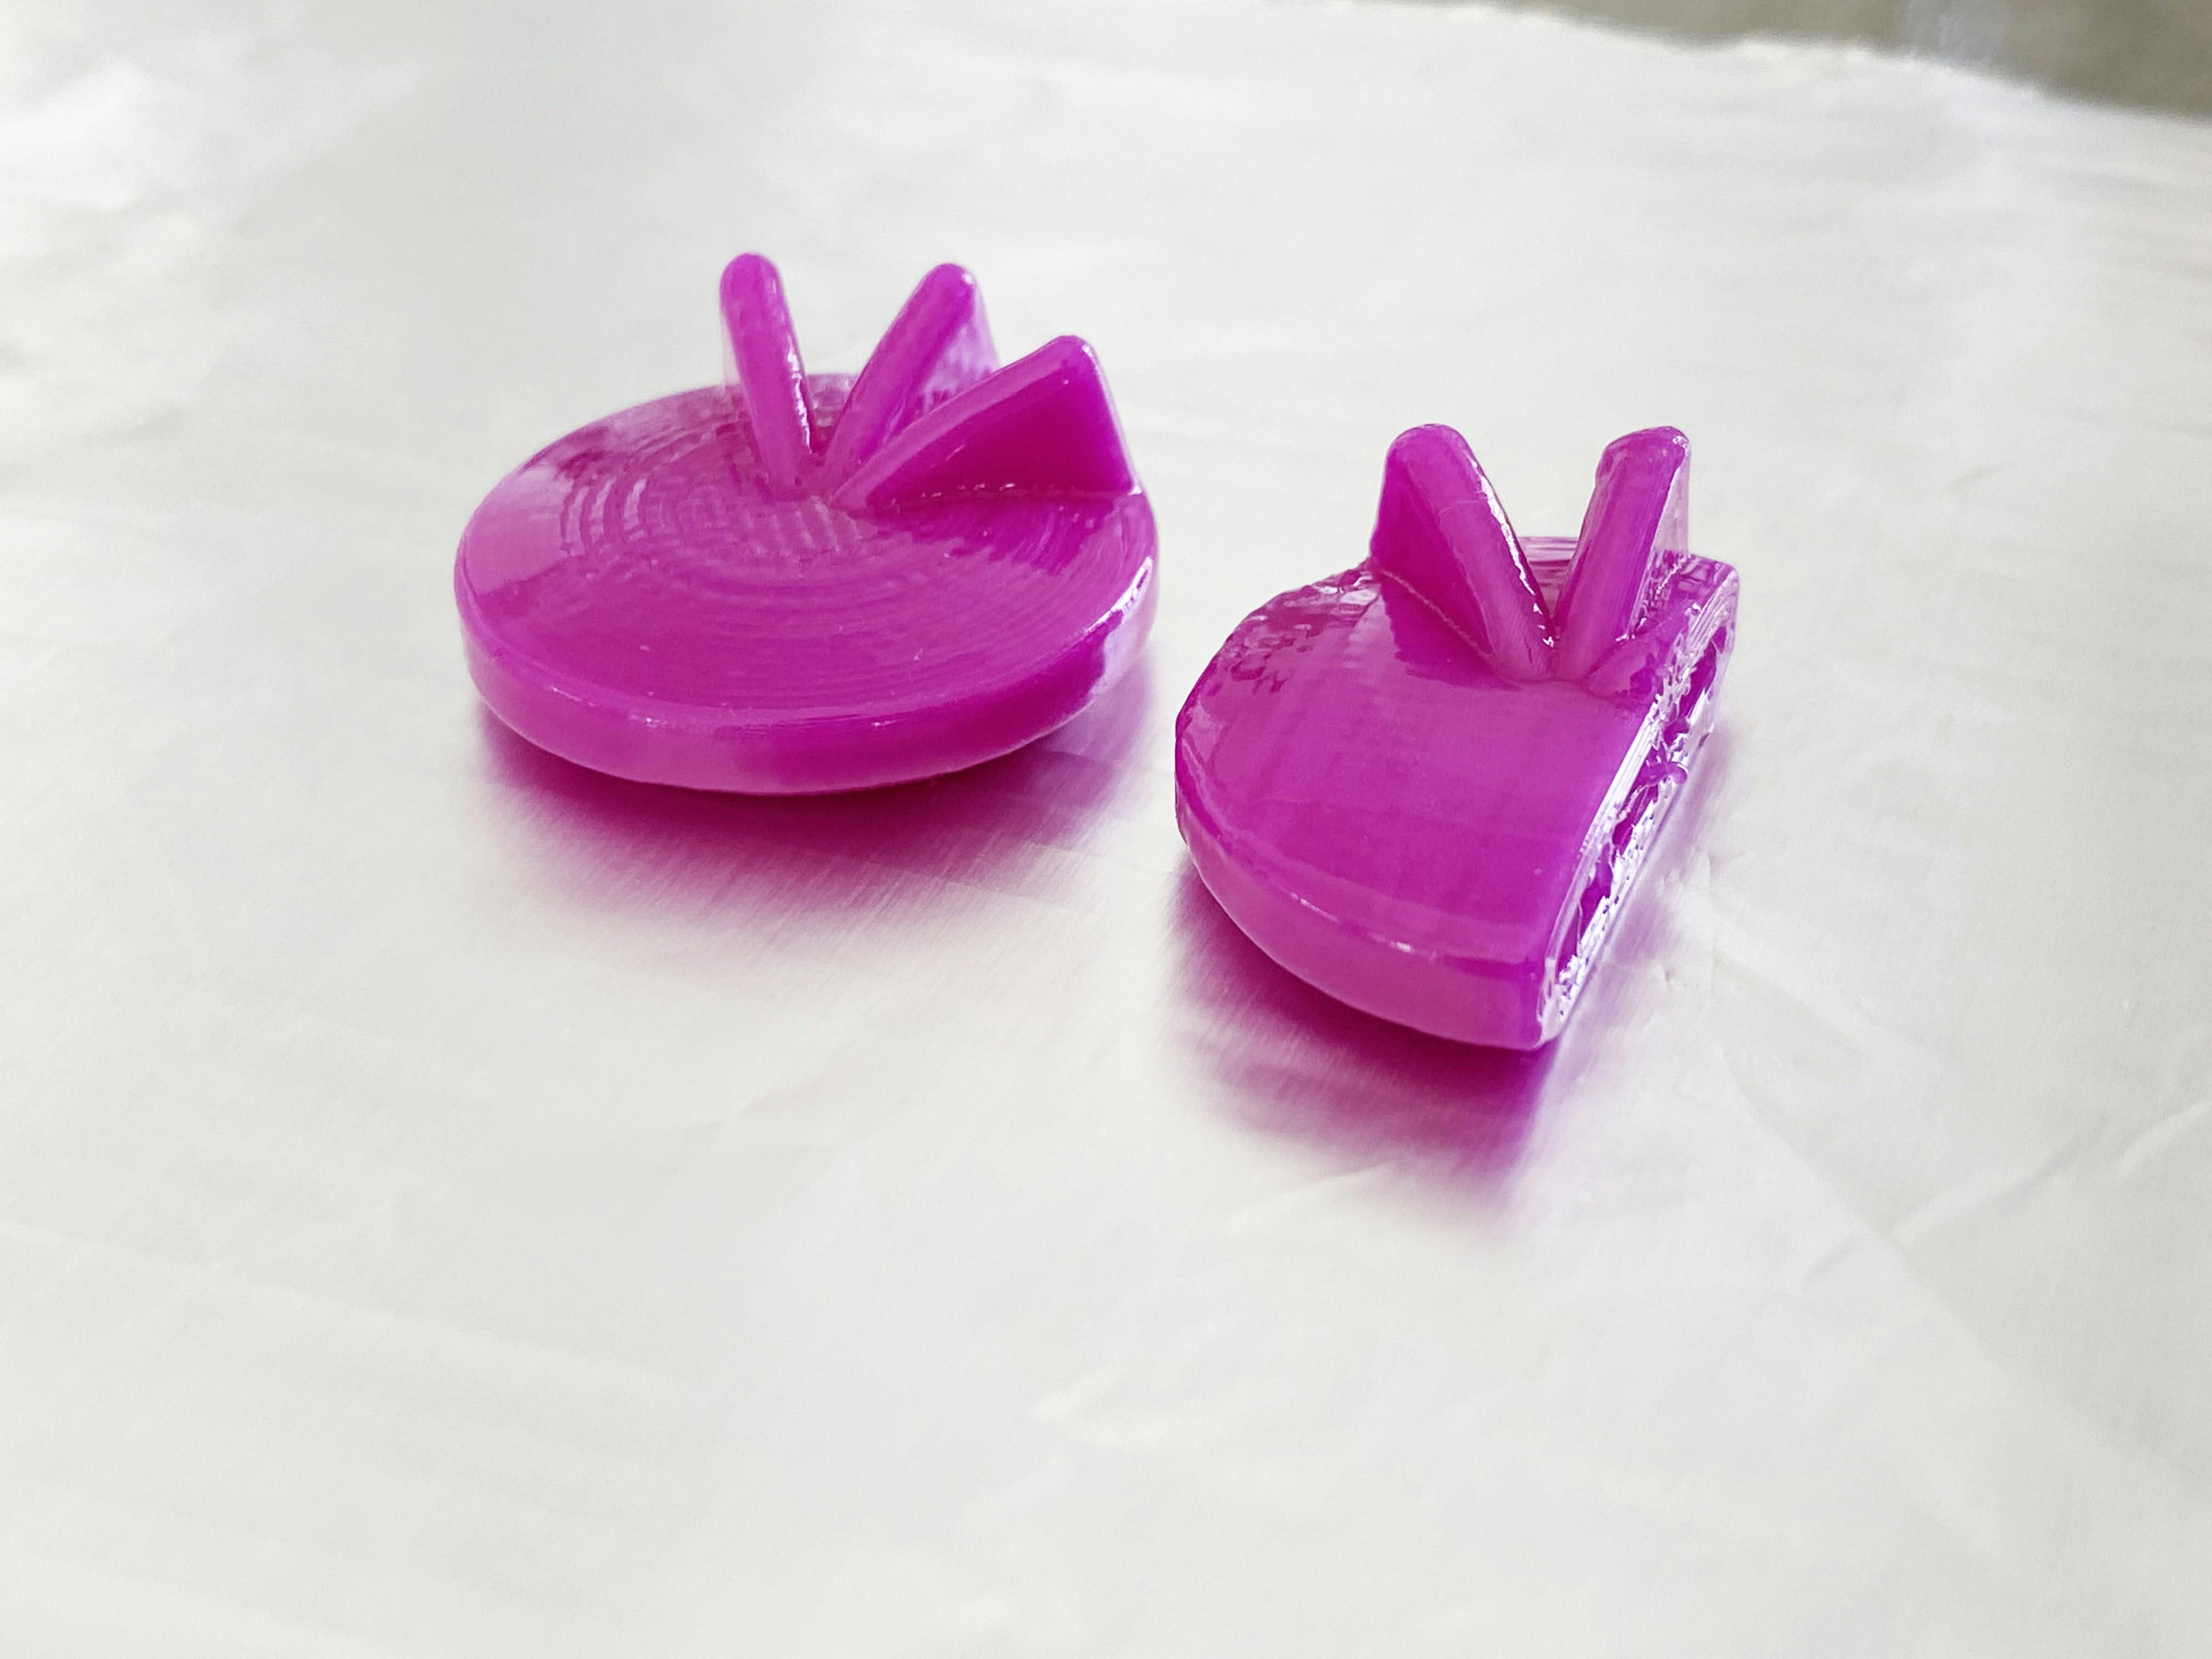
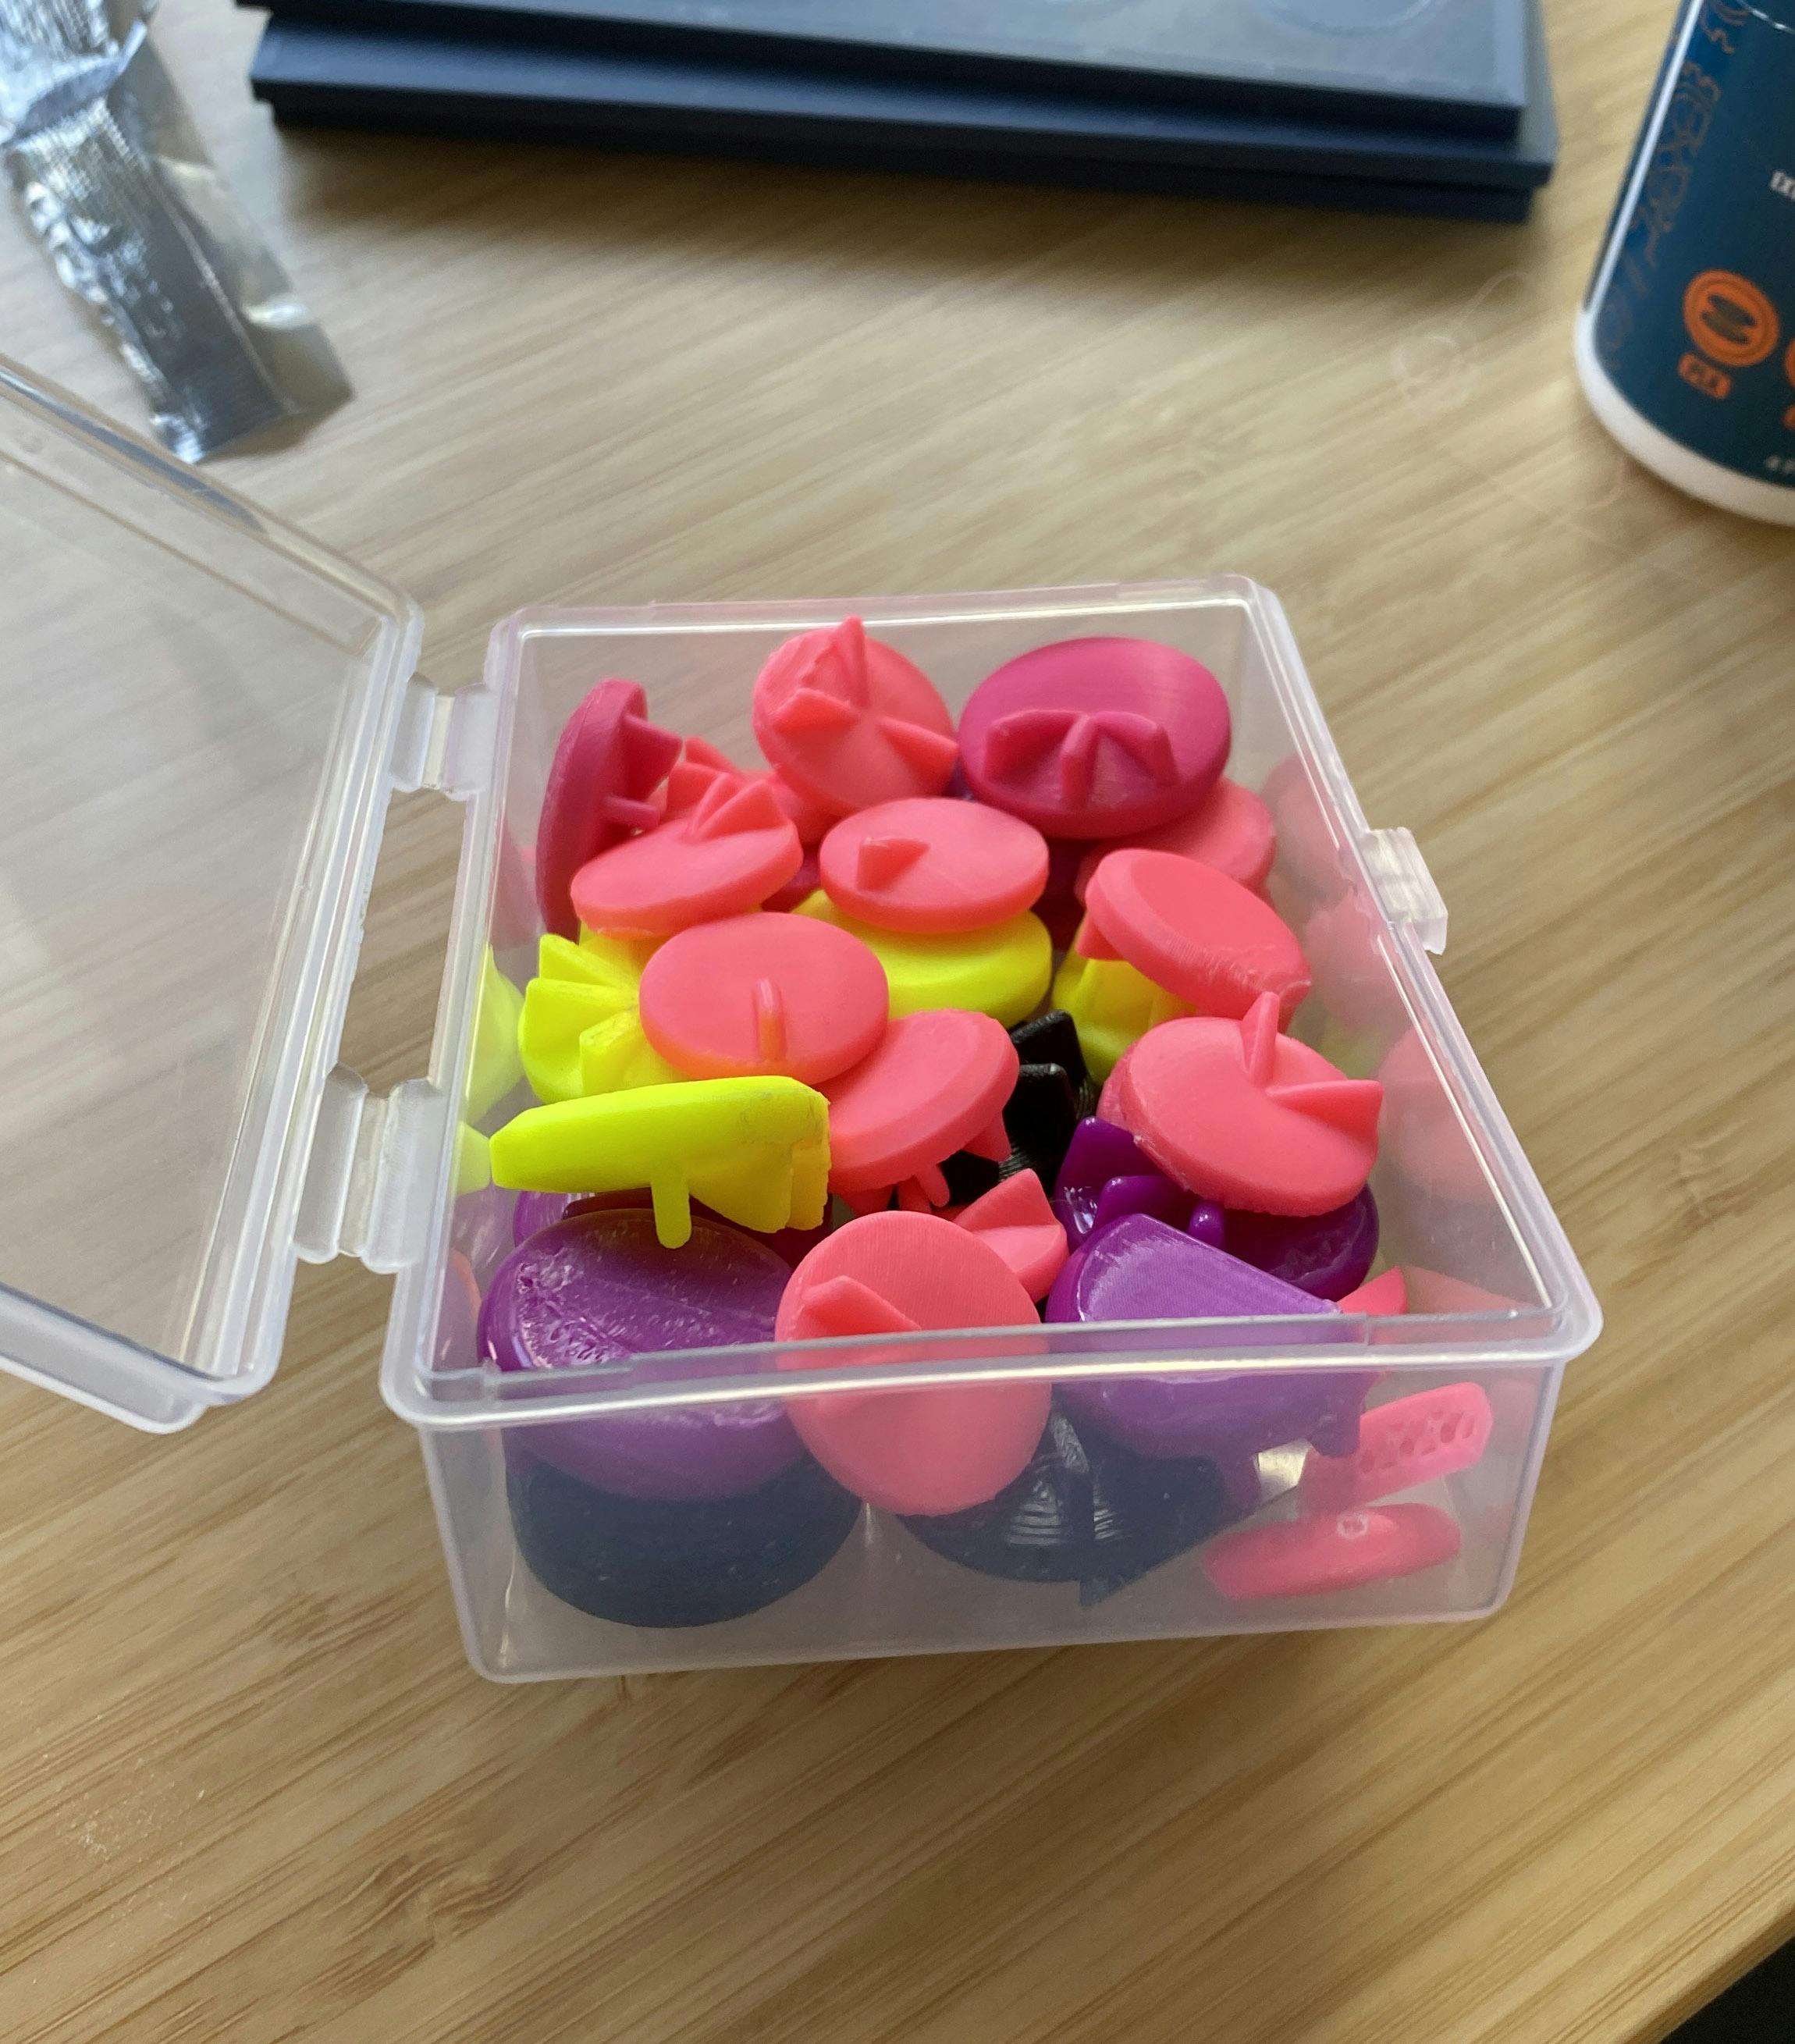
I printed a lot of additional test pieces at different angles, with different amounts of support material.
This box was a sad little graveyard of various failures as I figured out just the right combination.
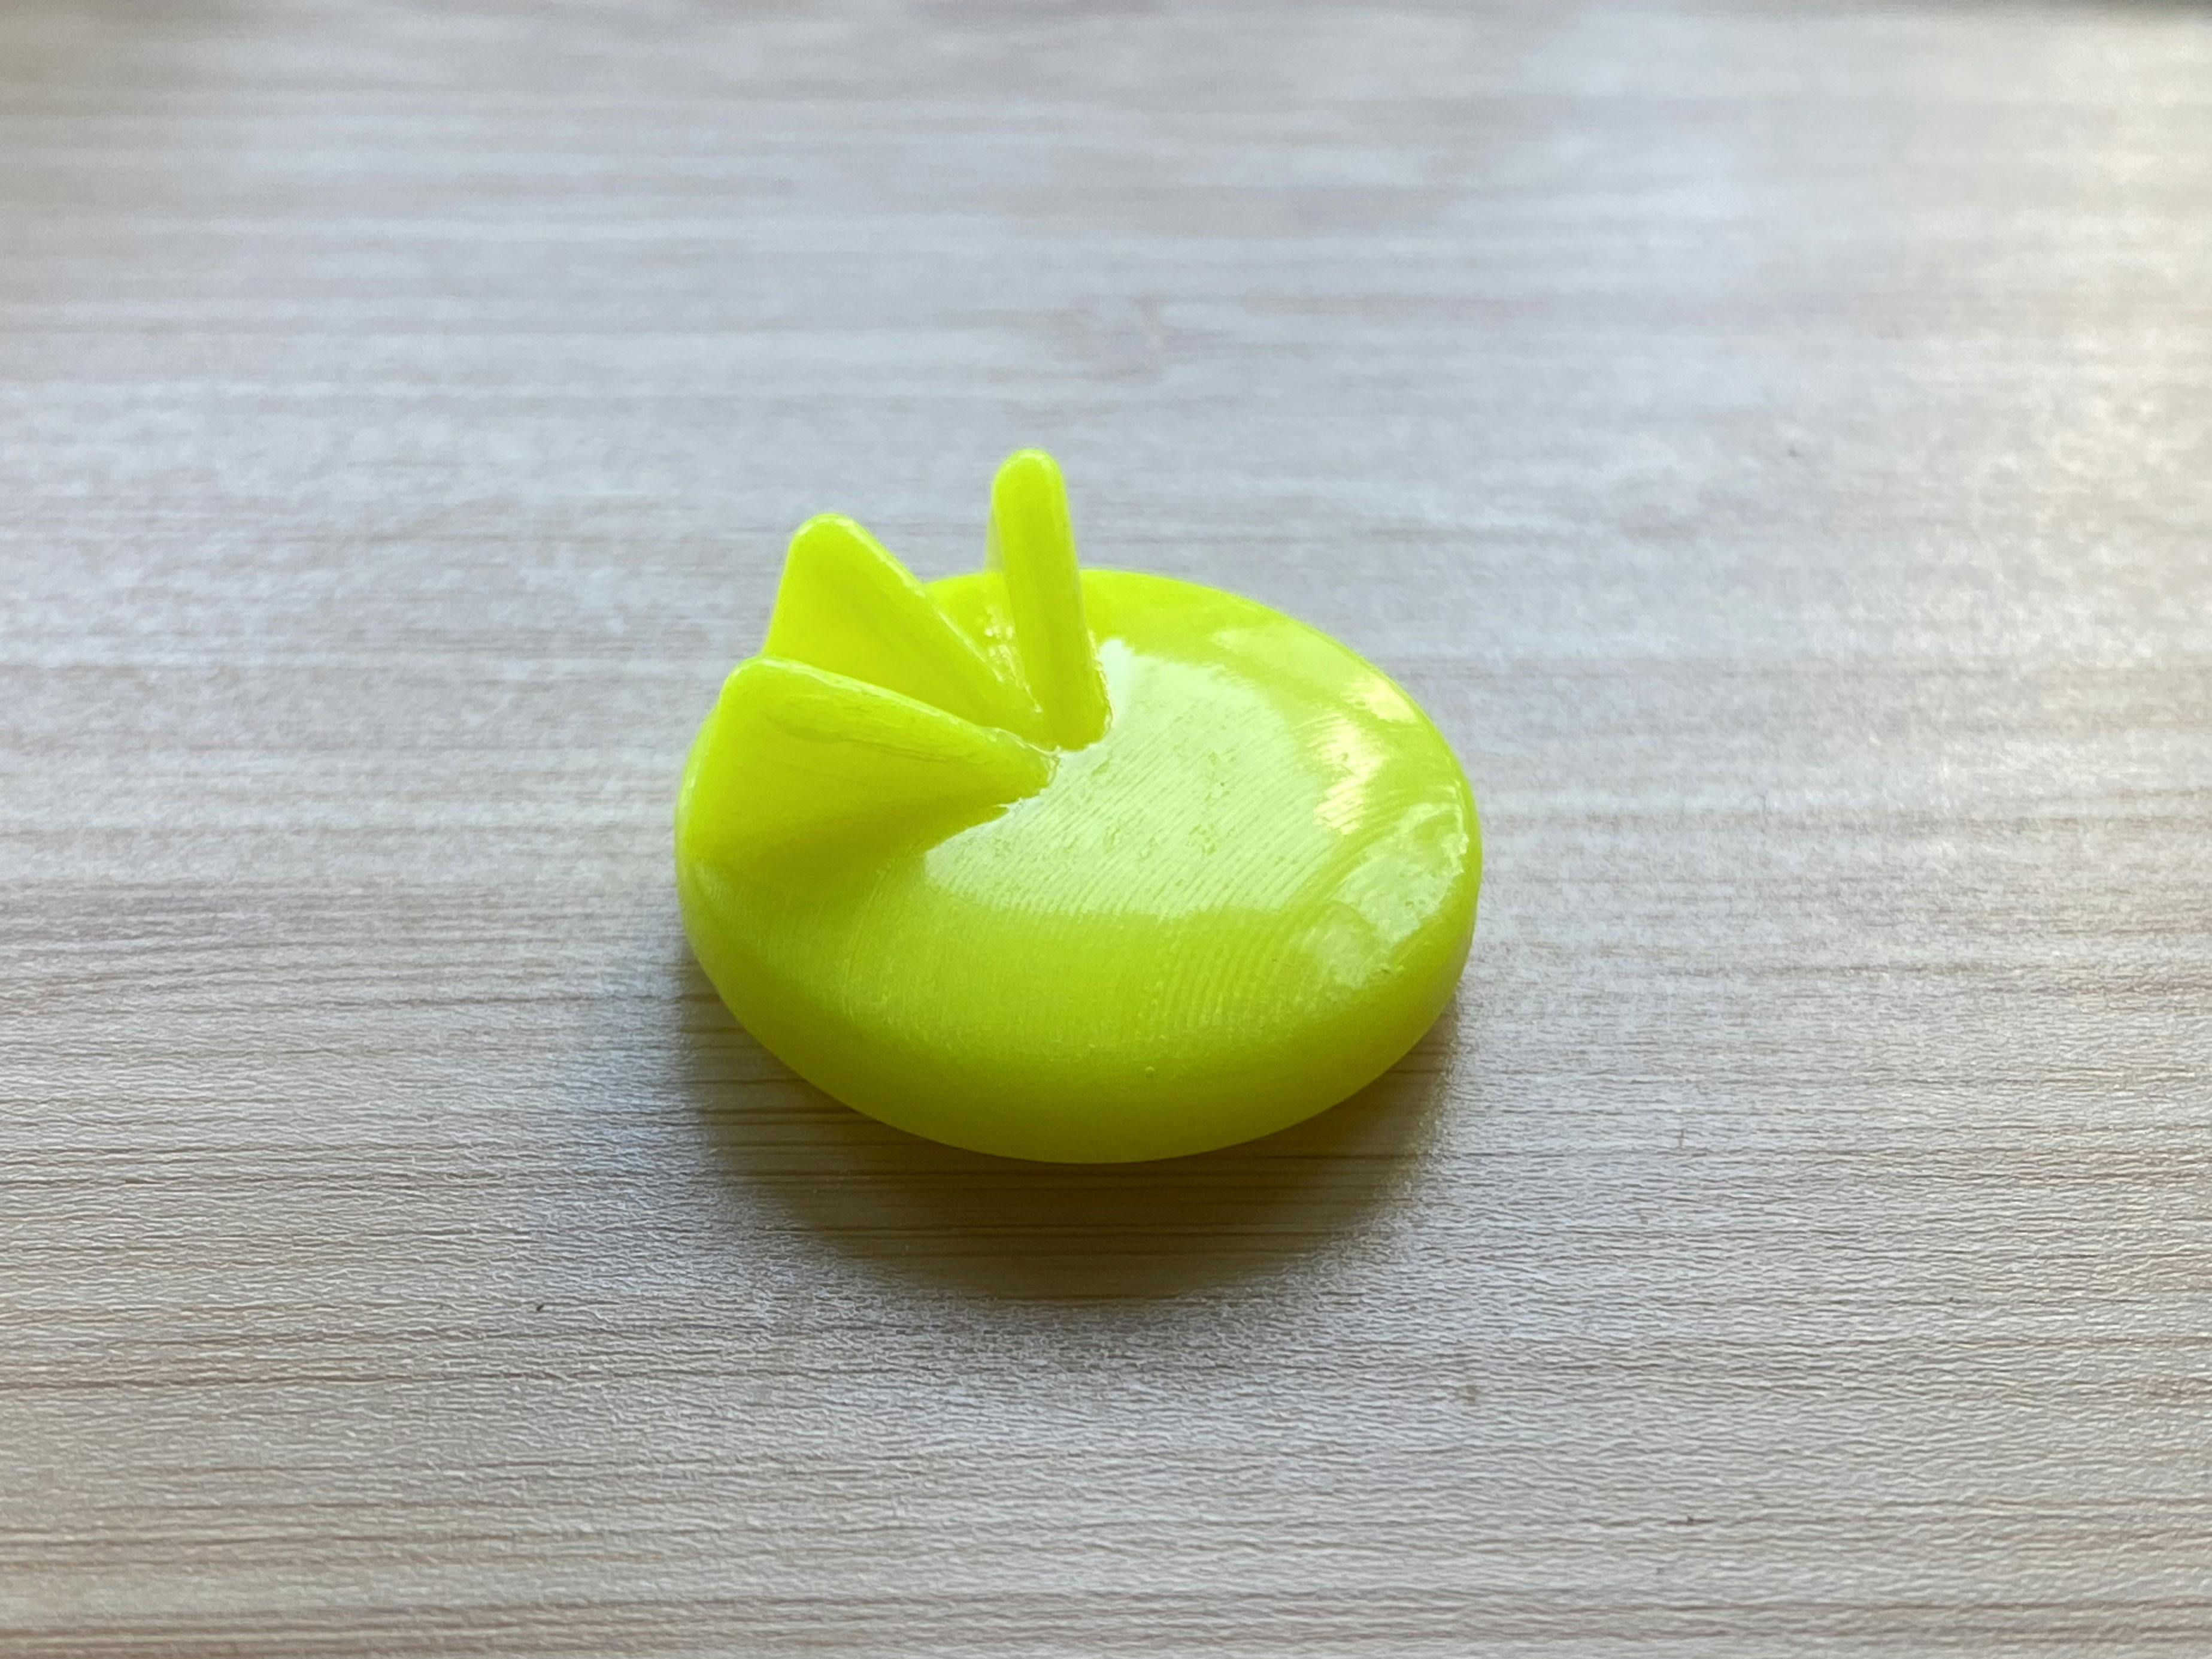
I finally figured out that at an angle between 60-70°, I was able to limit visible layers once smoothed, and was able to provide both enough bed support to keep pieces (usually) in place during print, while reducing the amount of support material I had to clean up before smoothing.
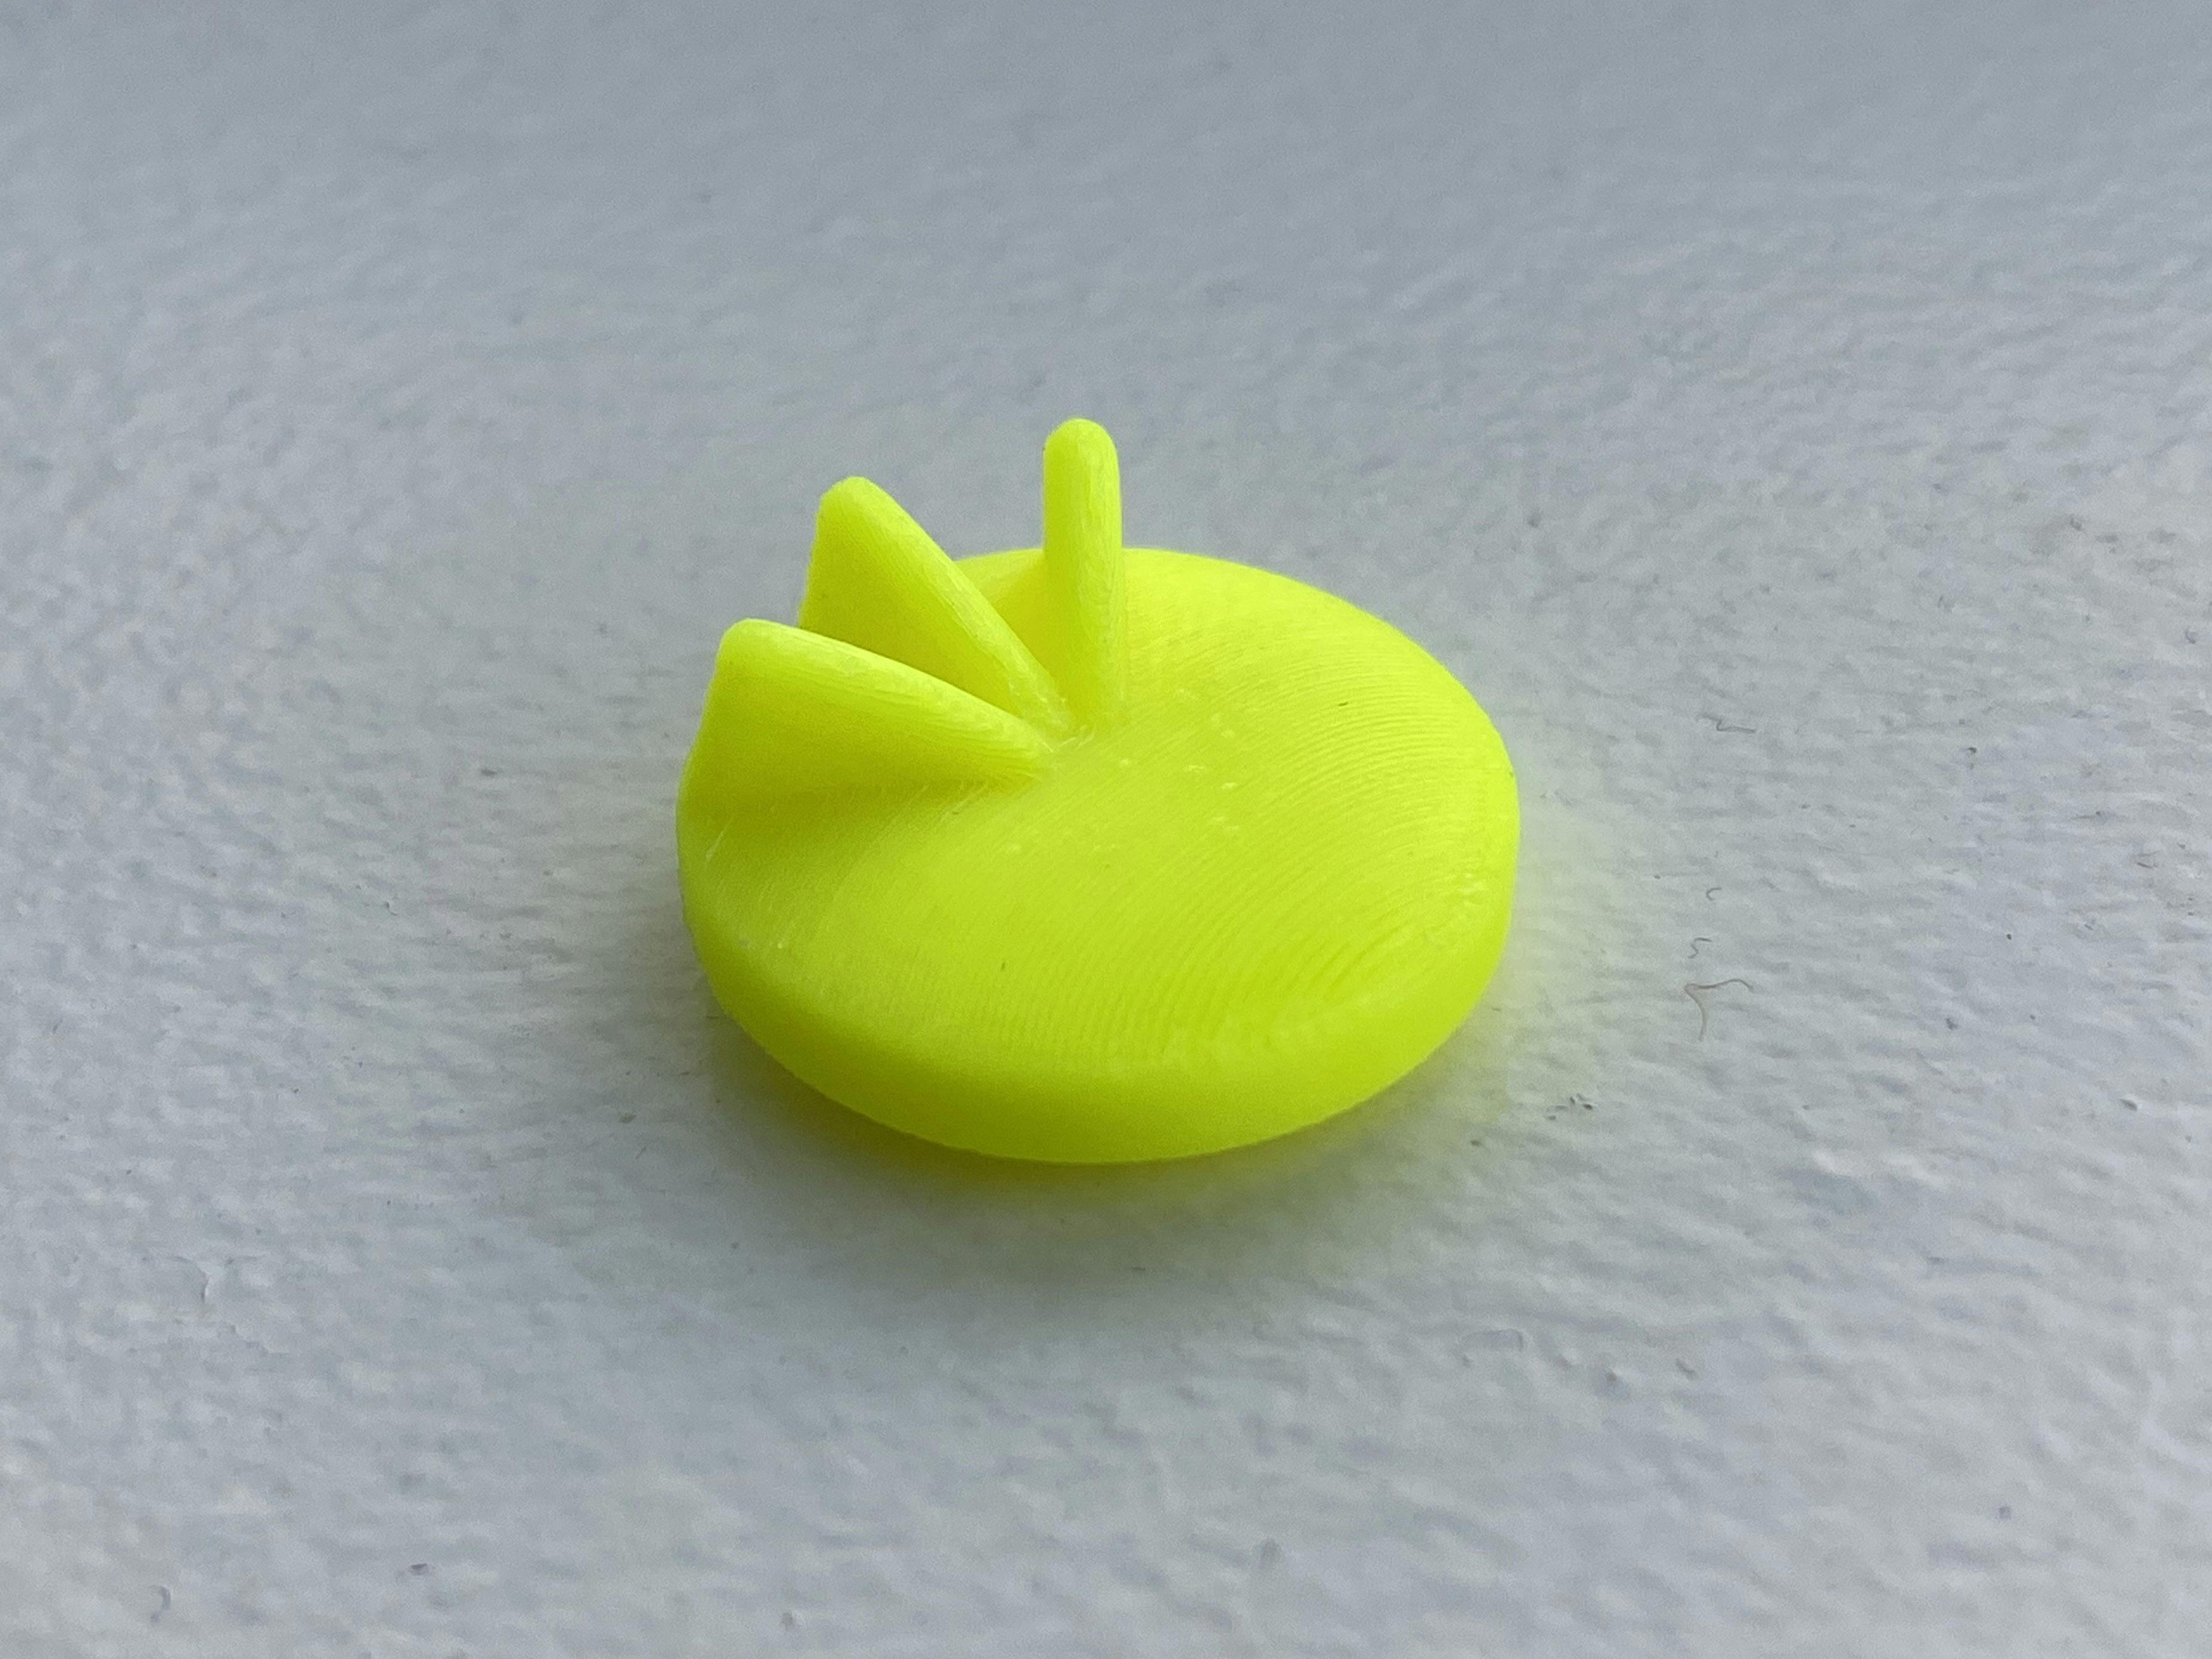
After that, I modeled the remaining pieces and brought them into ideaMaker, which has options to directly tweak the support structure.
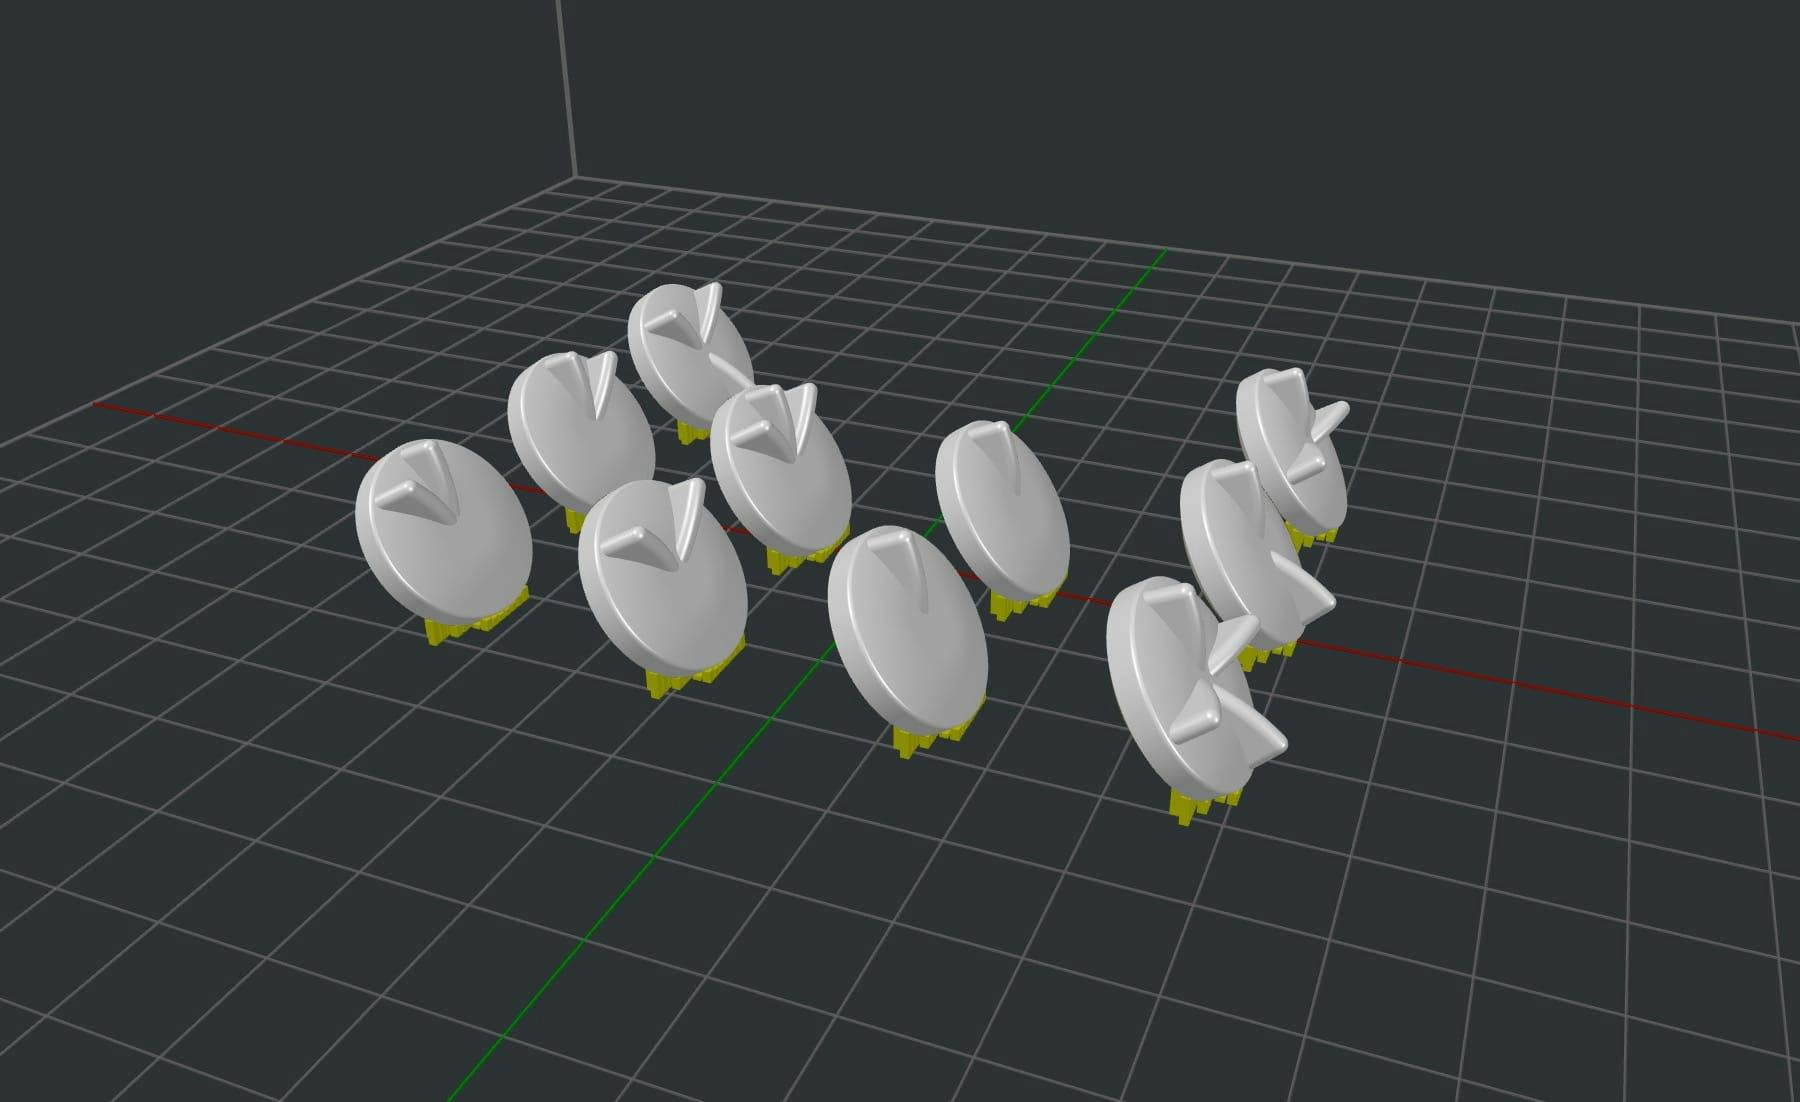
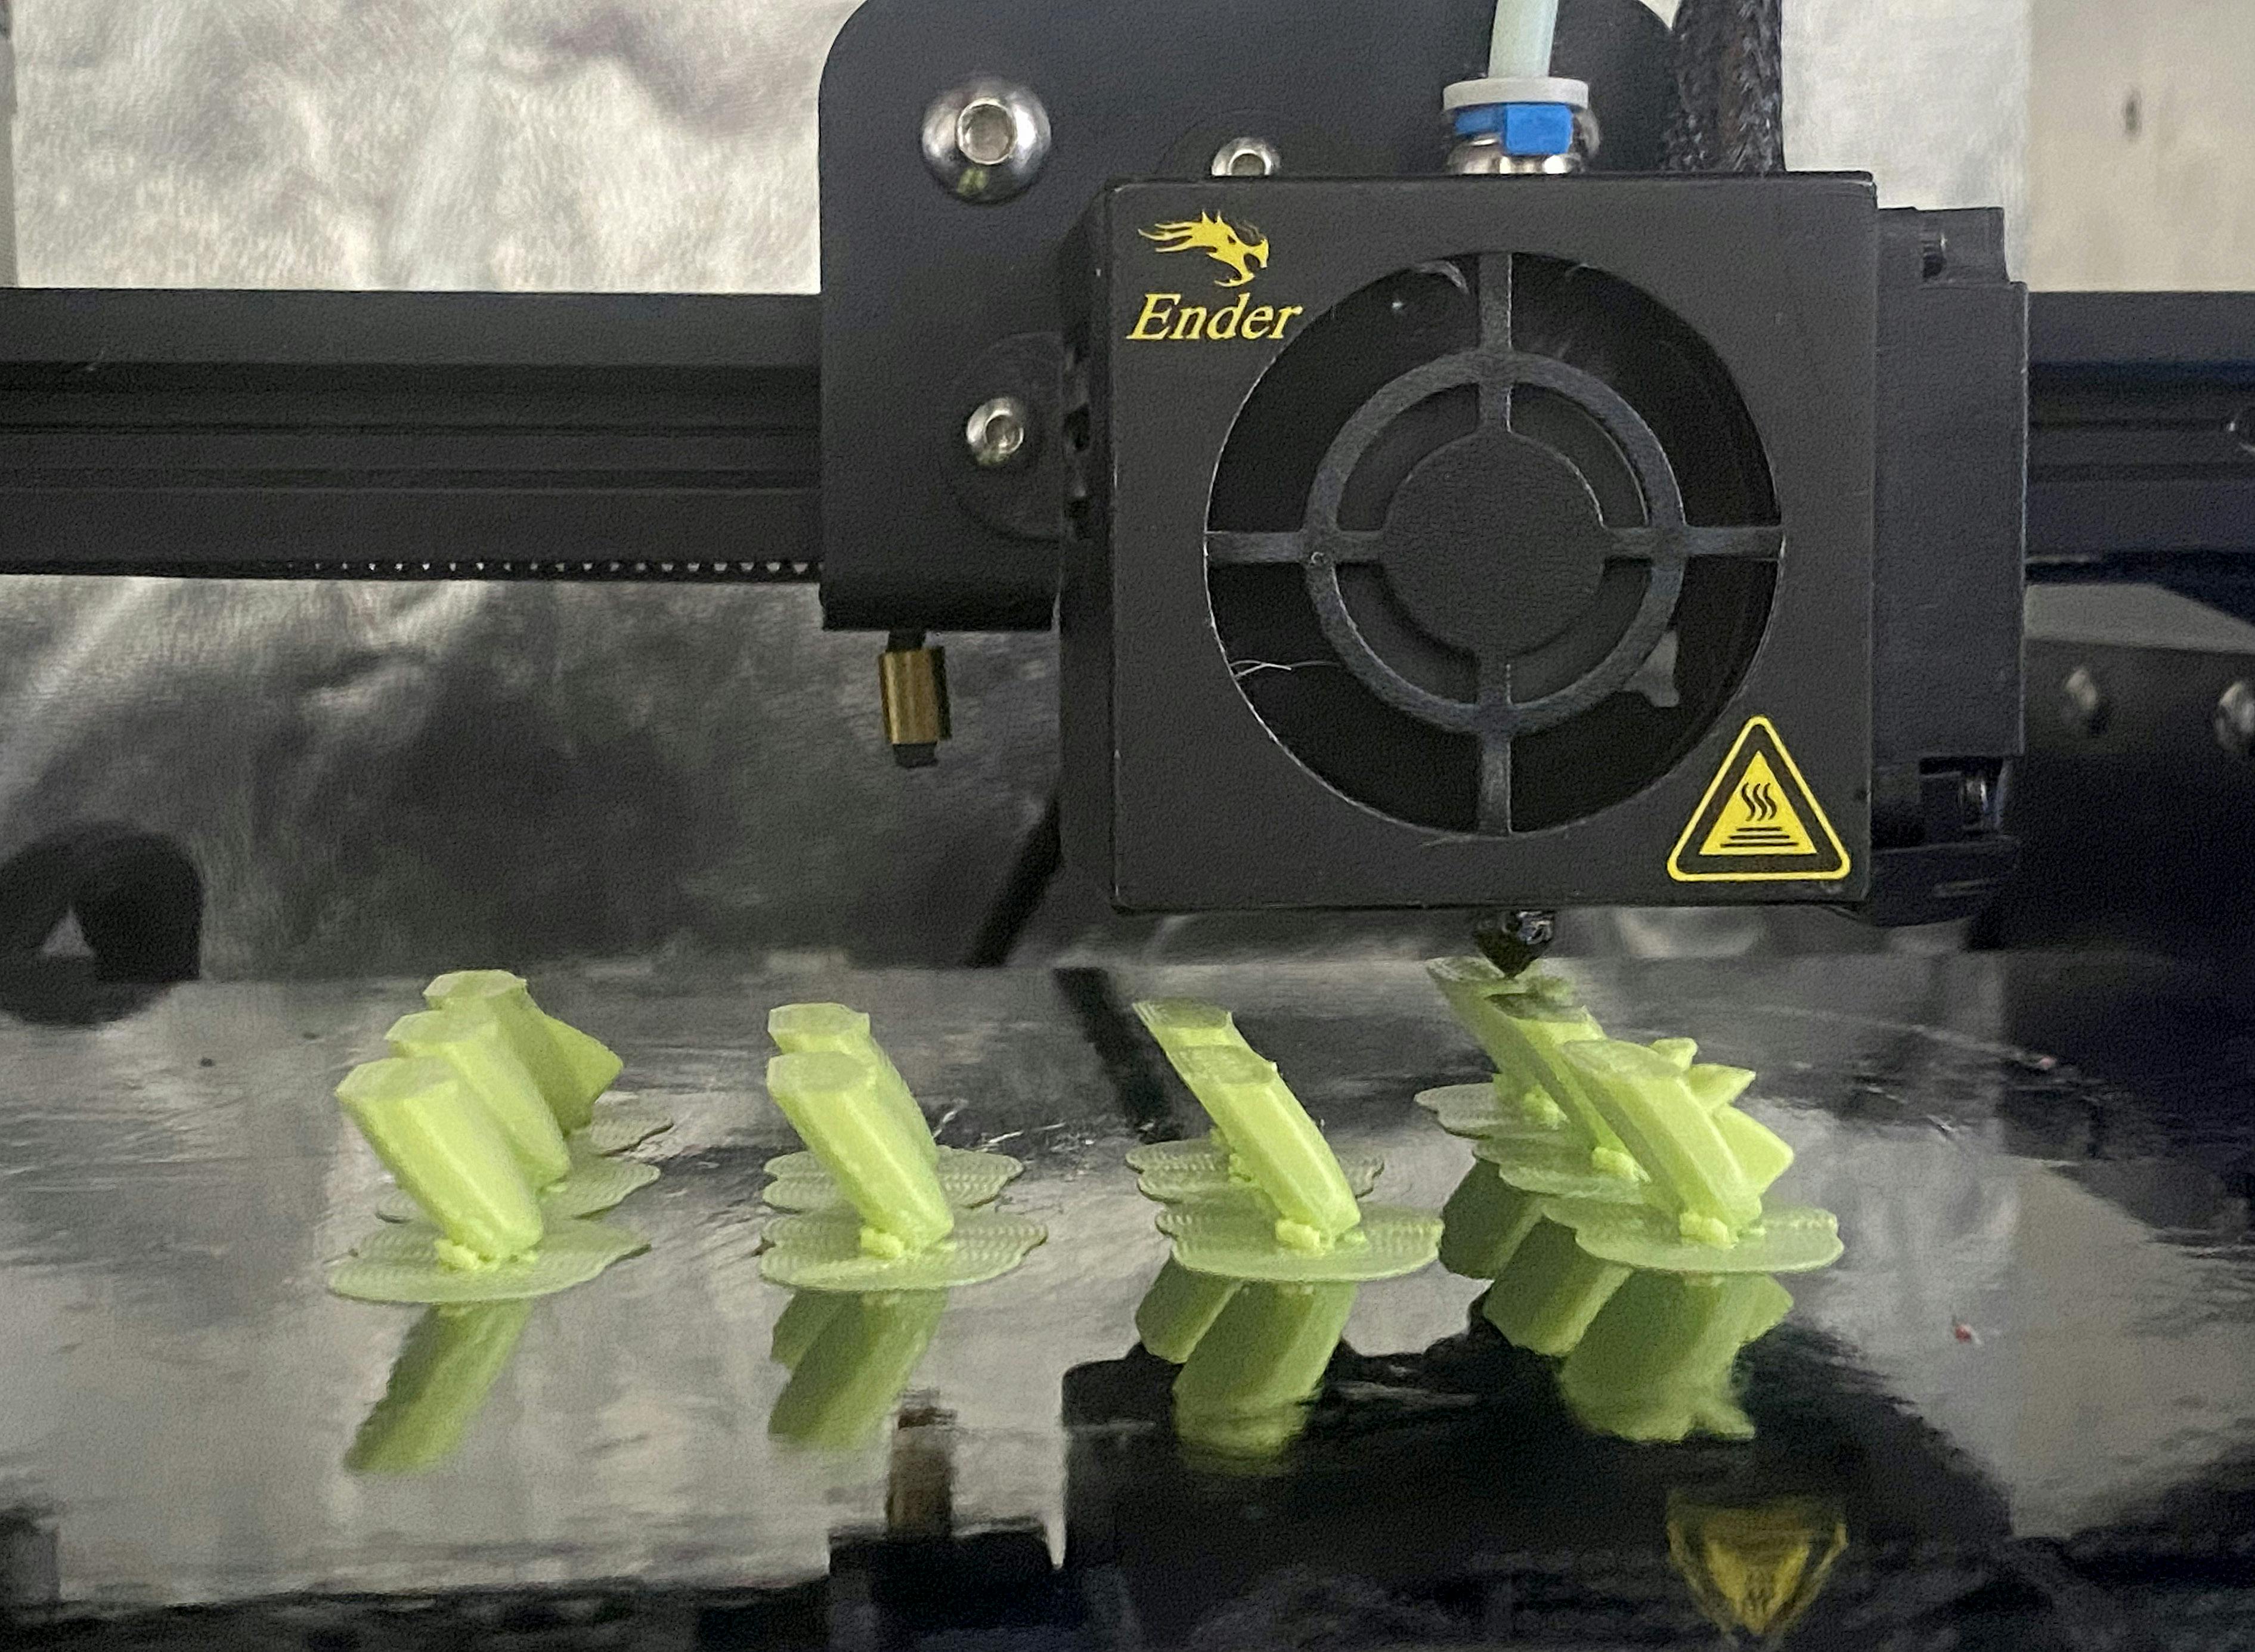
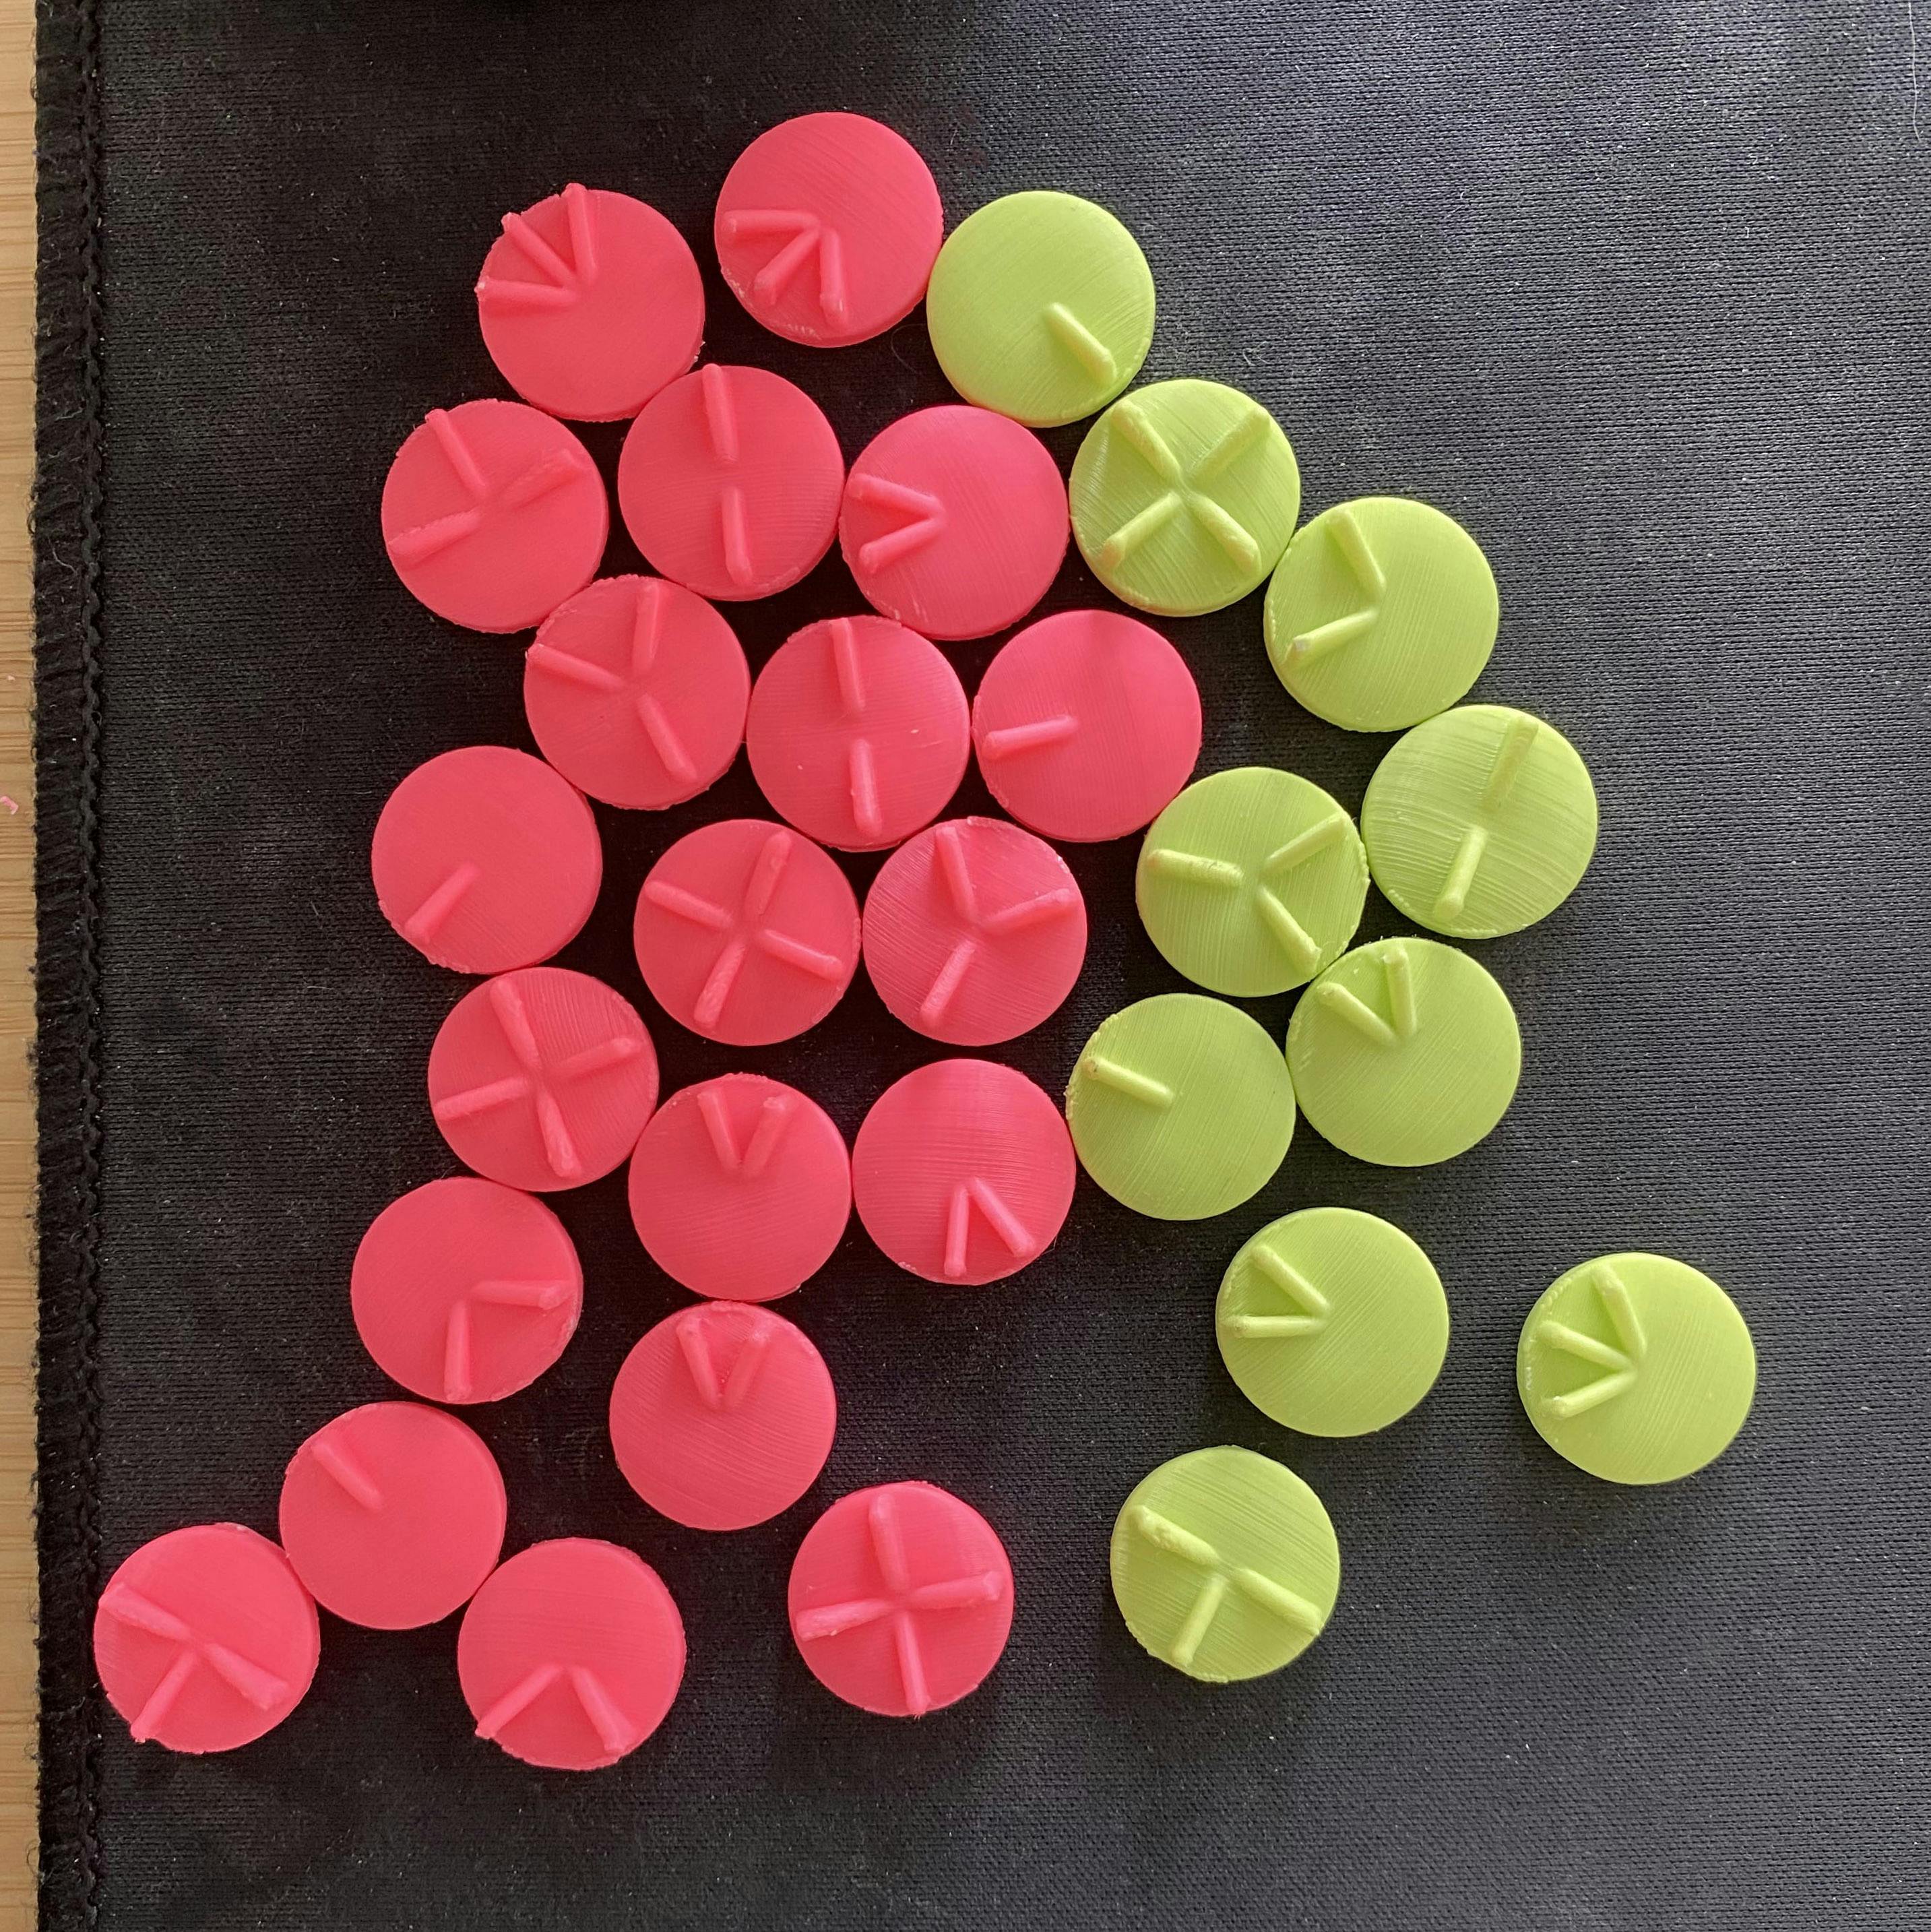
A few more print failures later and I finally had two complete sets of pieces with smoothable layering.
Each piece had the supports gently sanded down prior to vapor smoothing. Each one was put into a non-ABS airtight plastic box on a layer of foil (prevents sticking), surrounded by paper towels soaked in acetone, and left to “bake” in the sun for 40 minutes.
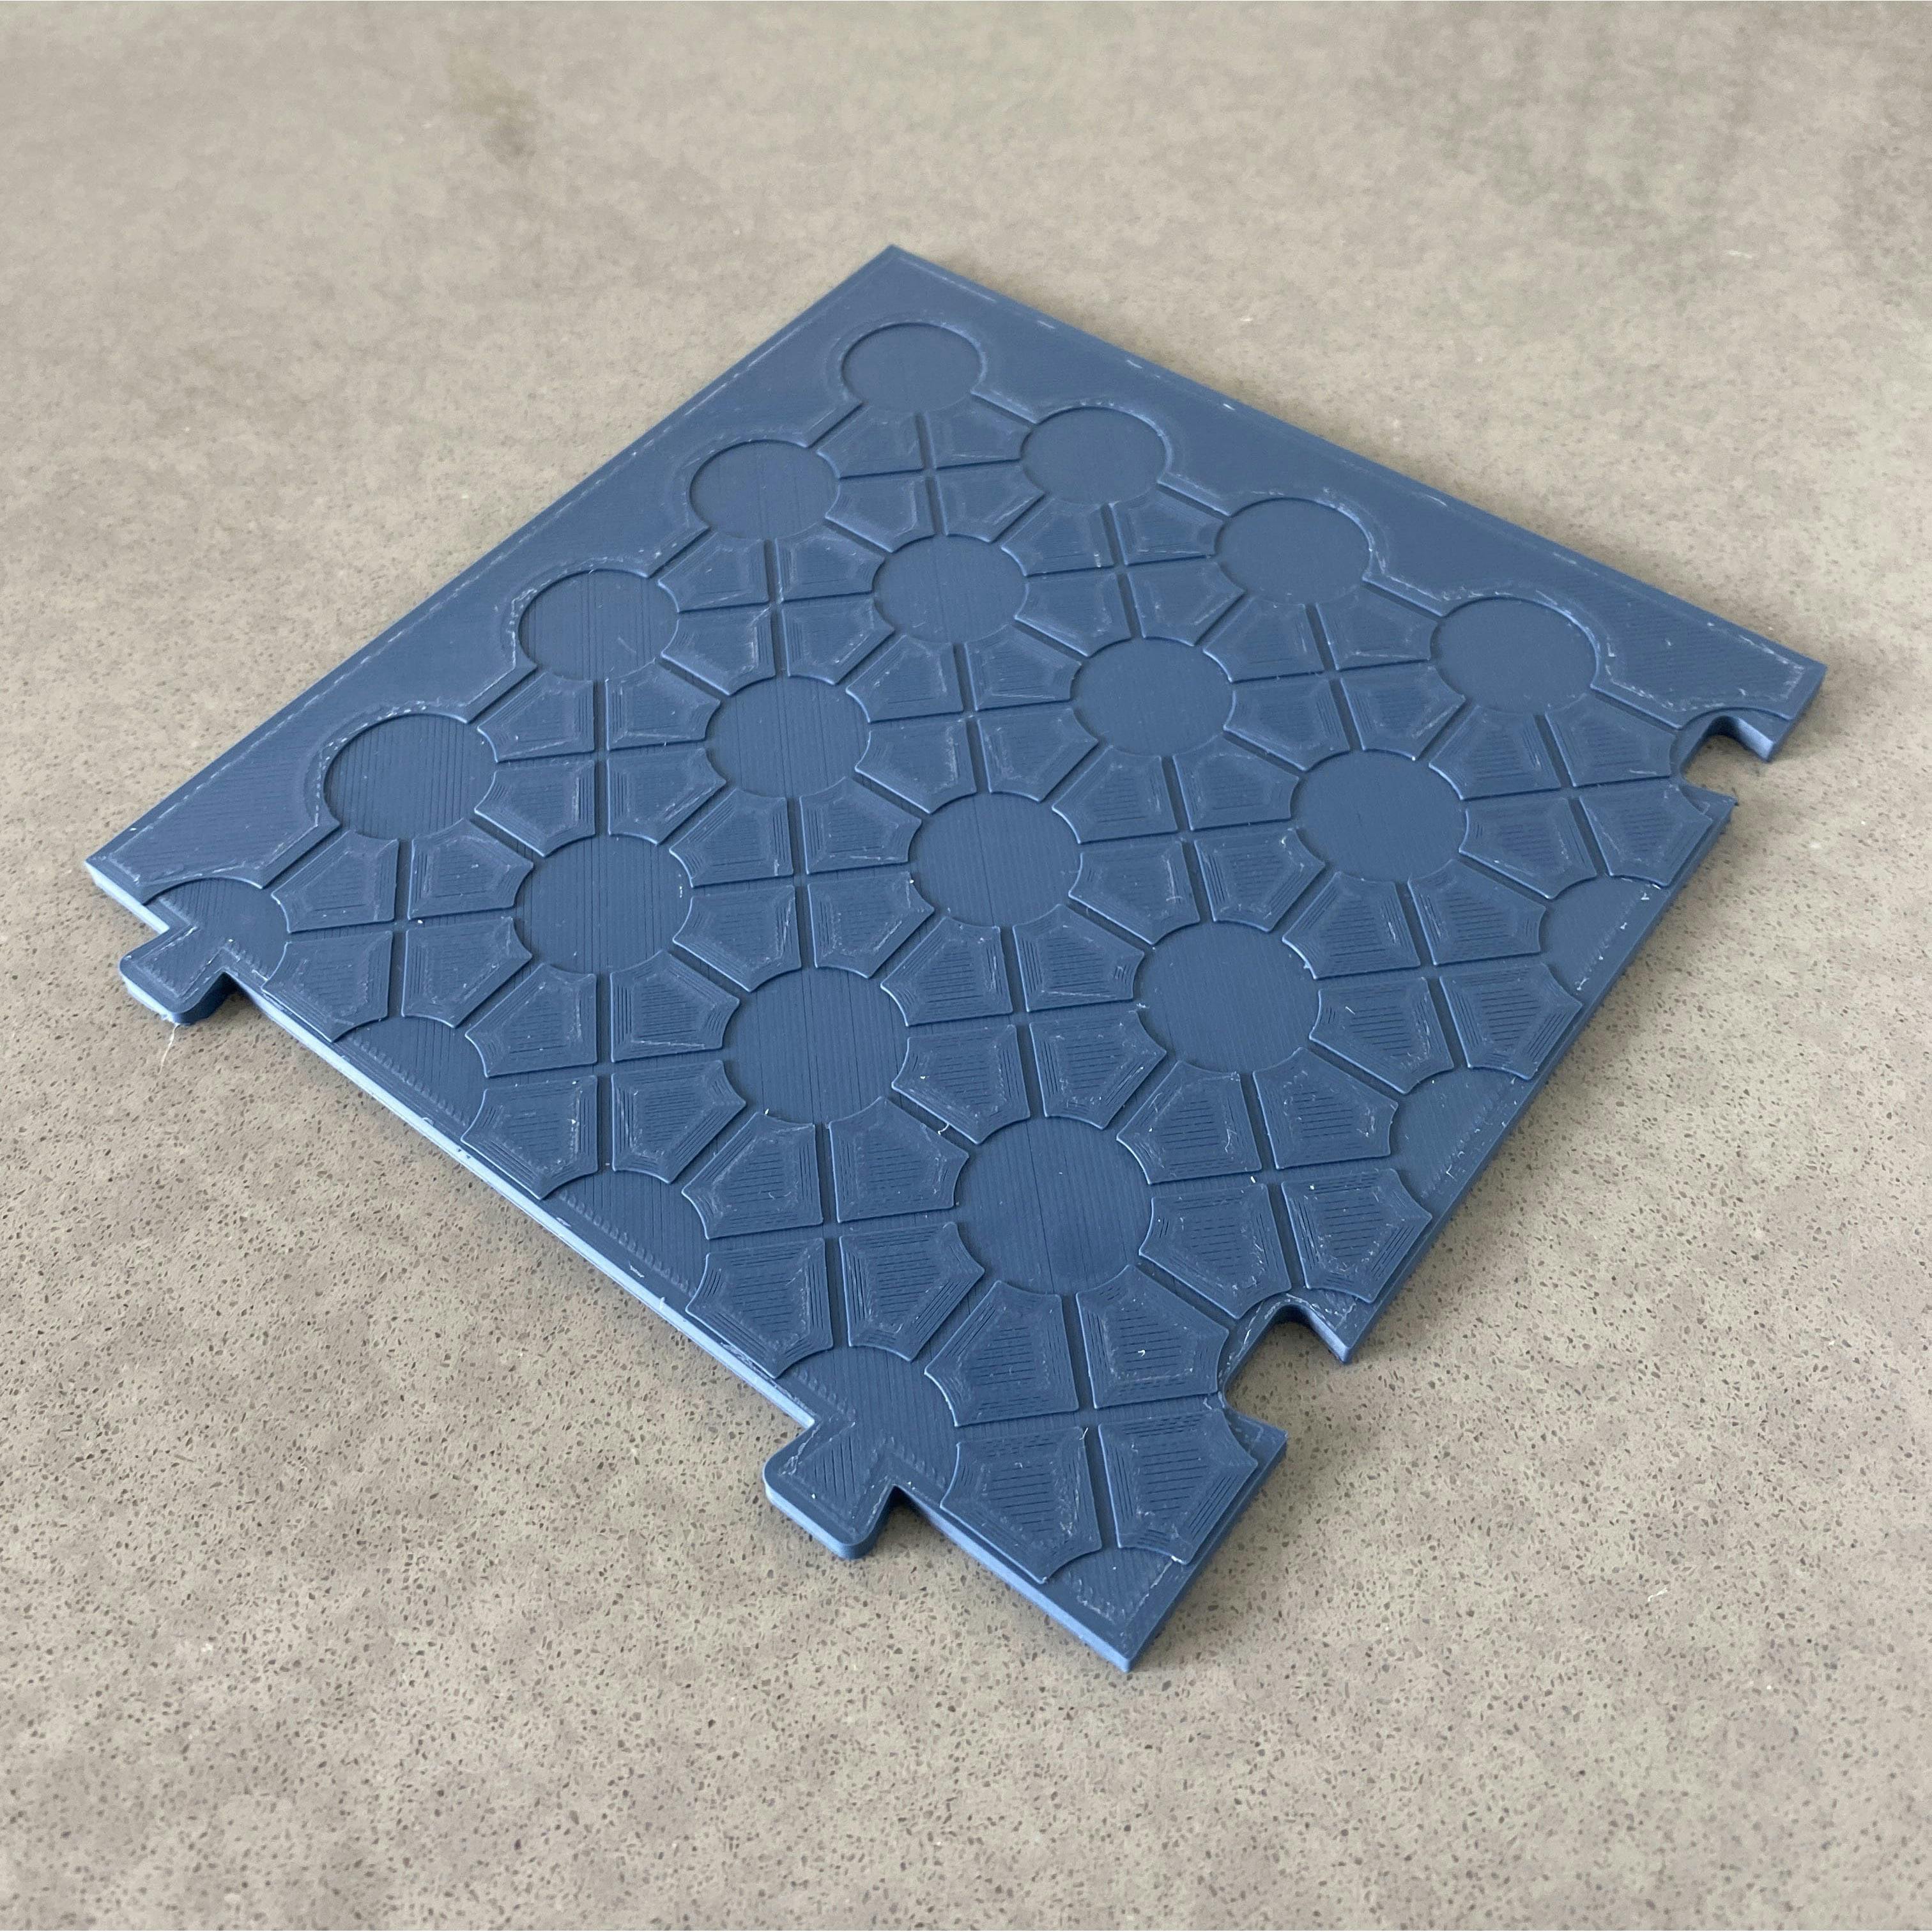
Next, I needed to model and print the board. This was a bit of a simpler process, as it is a fairly flat surface, with recessed markings where the pieces go and the connecting lines.
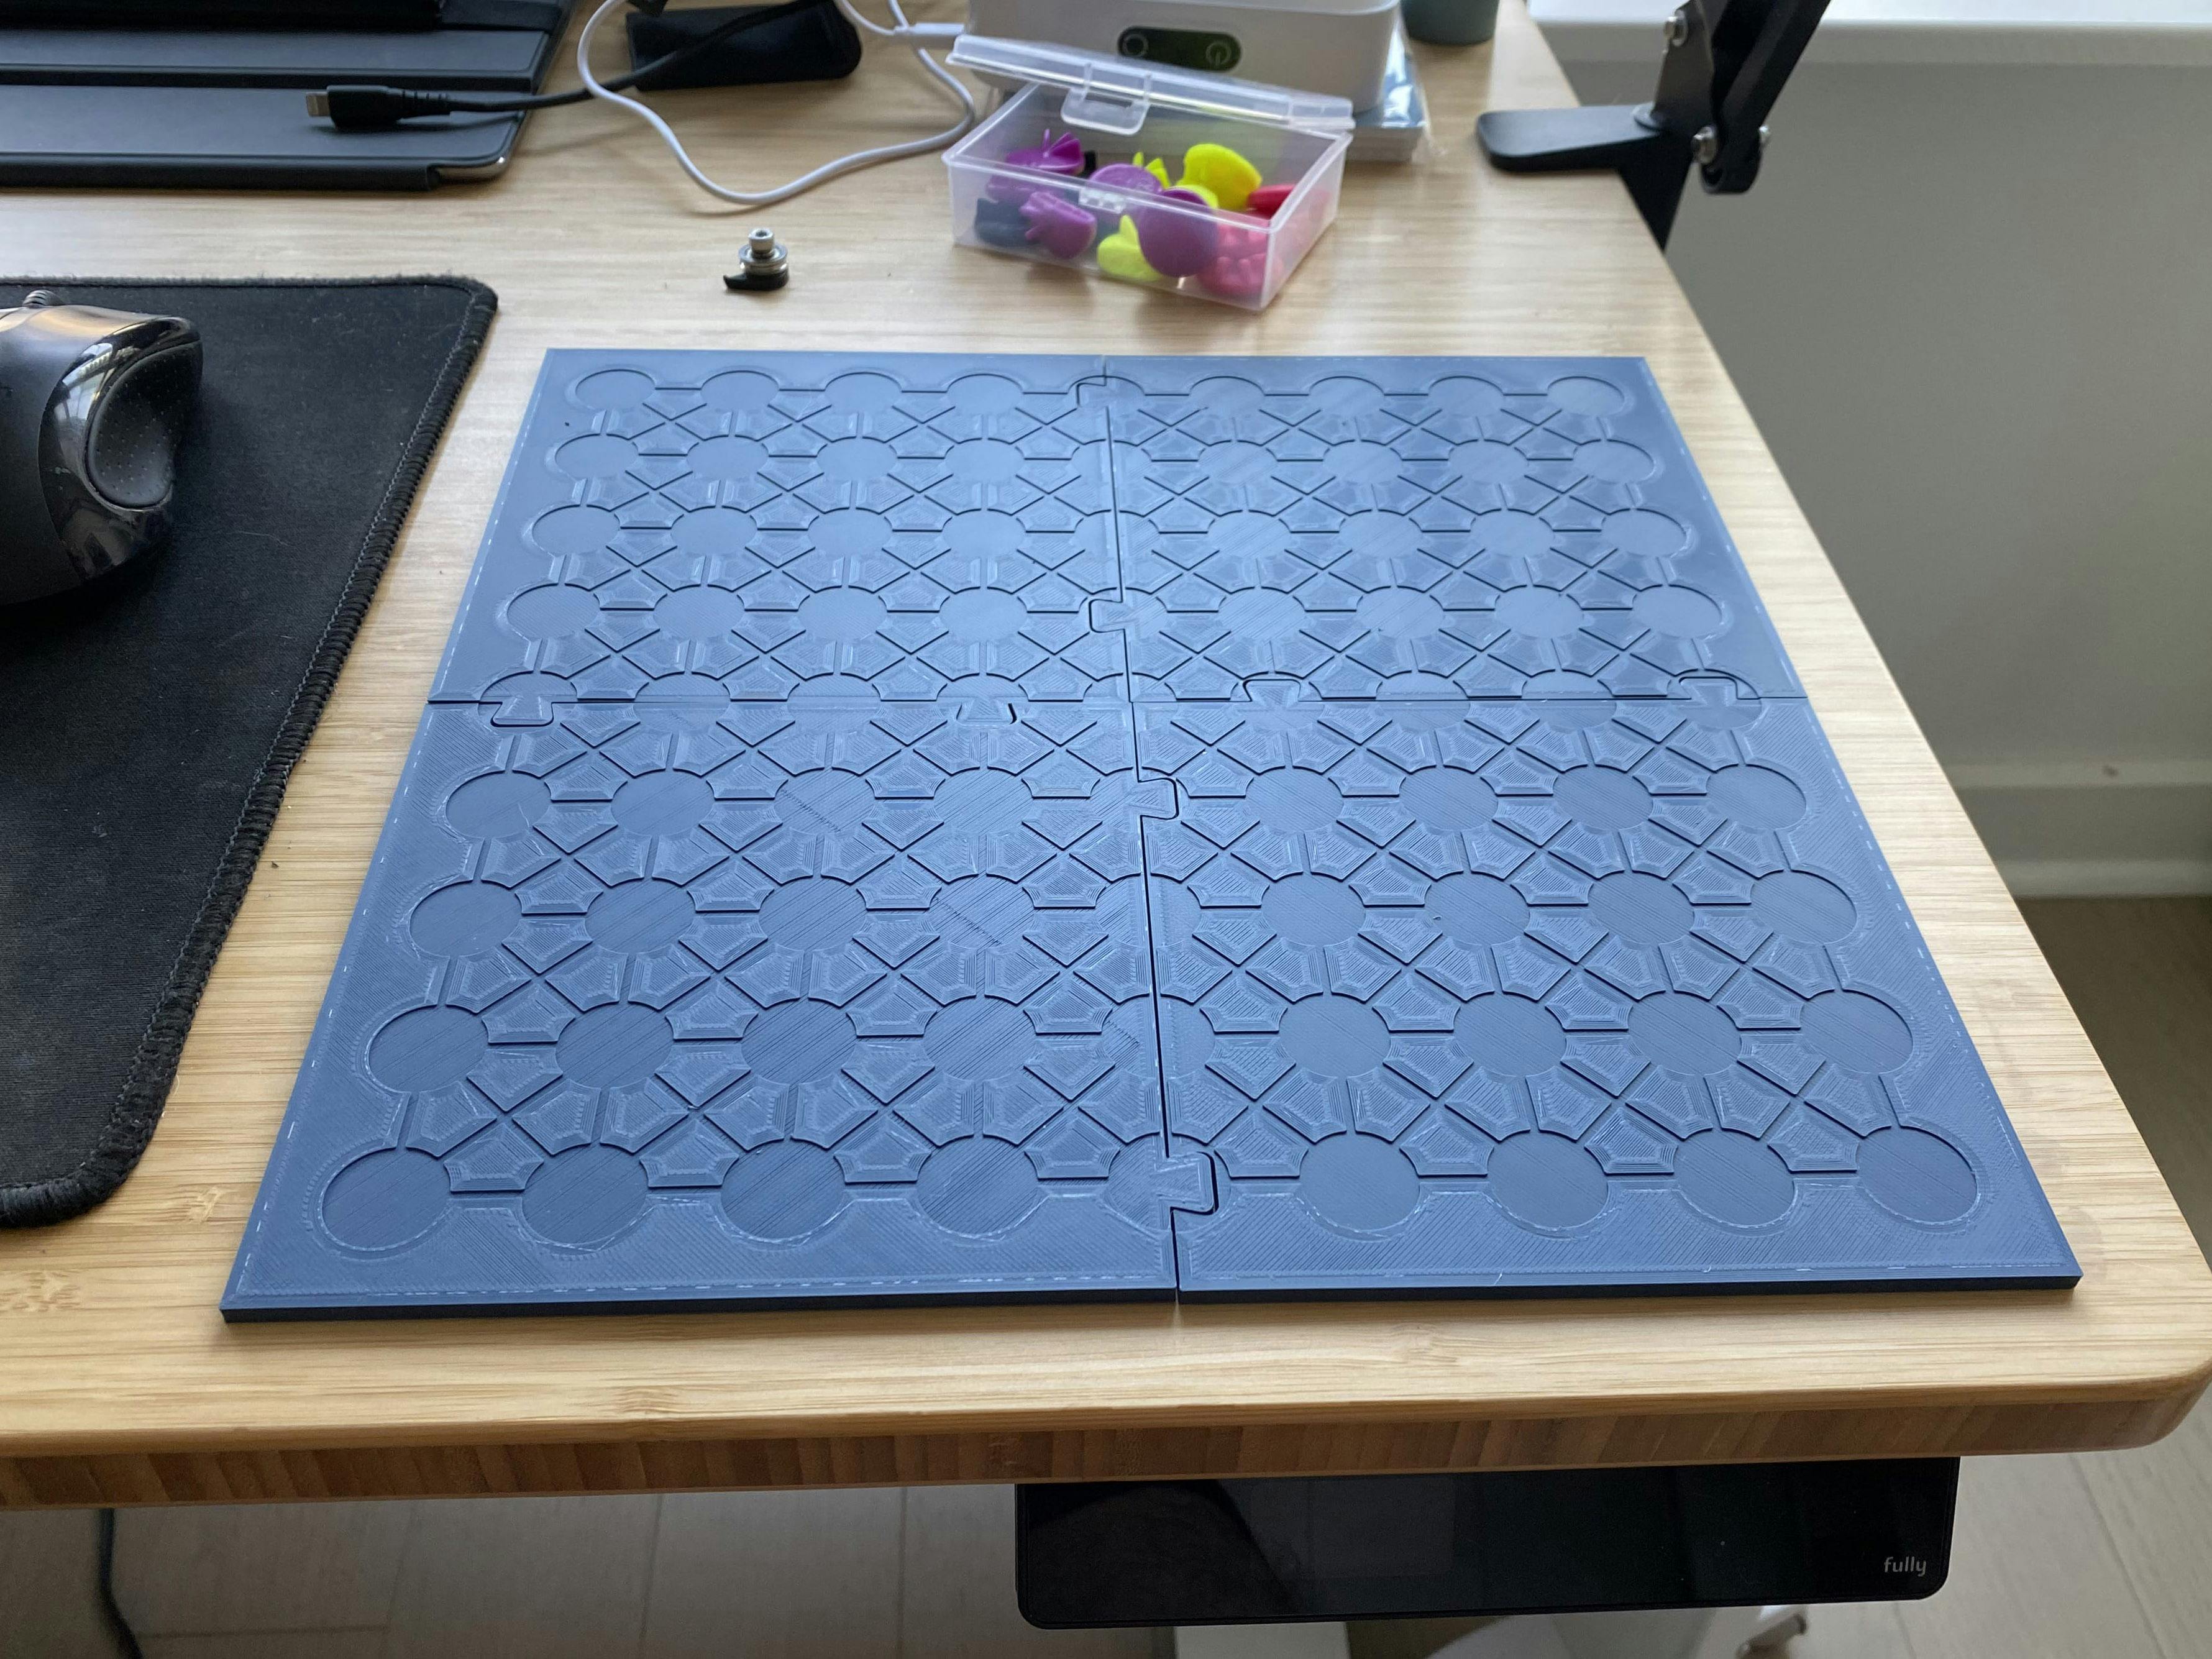
I started by modeling a quarter of the board, and created jigsaw-puzzle connectors to allow the board pieces to interlock. I test sized and fit the pieces in Shapr3D prior to printing.
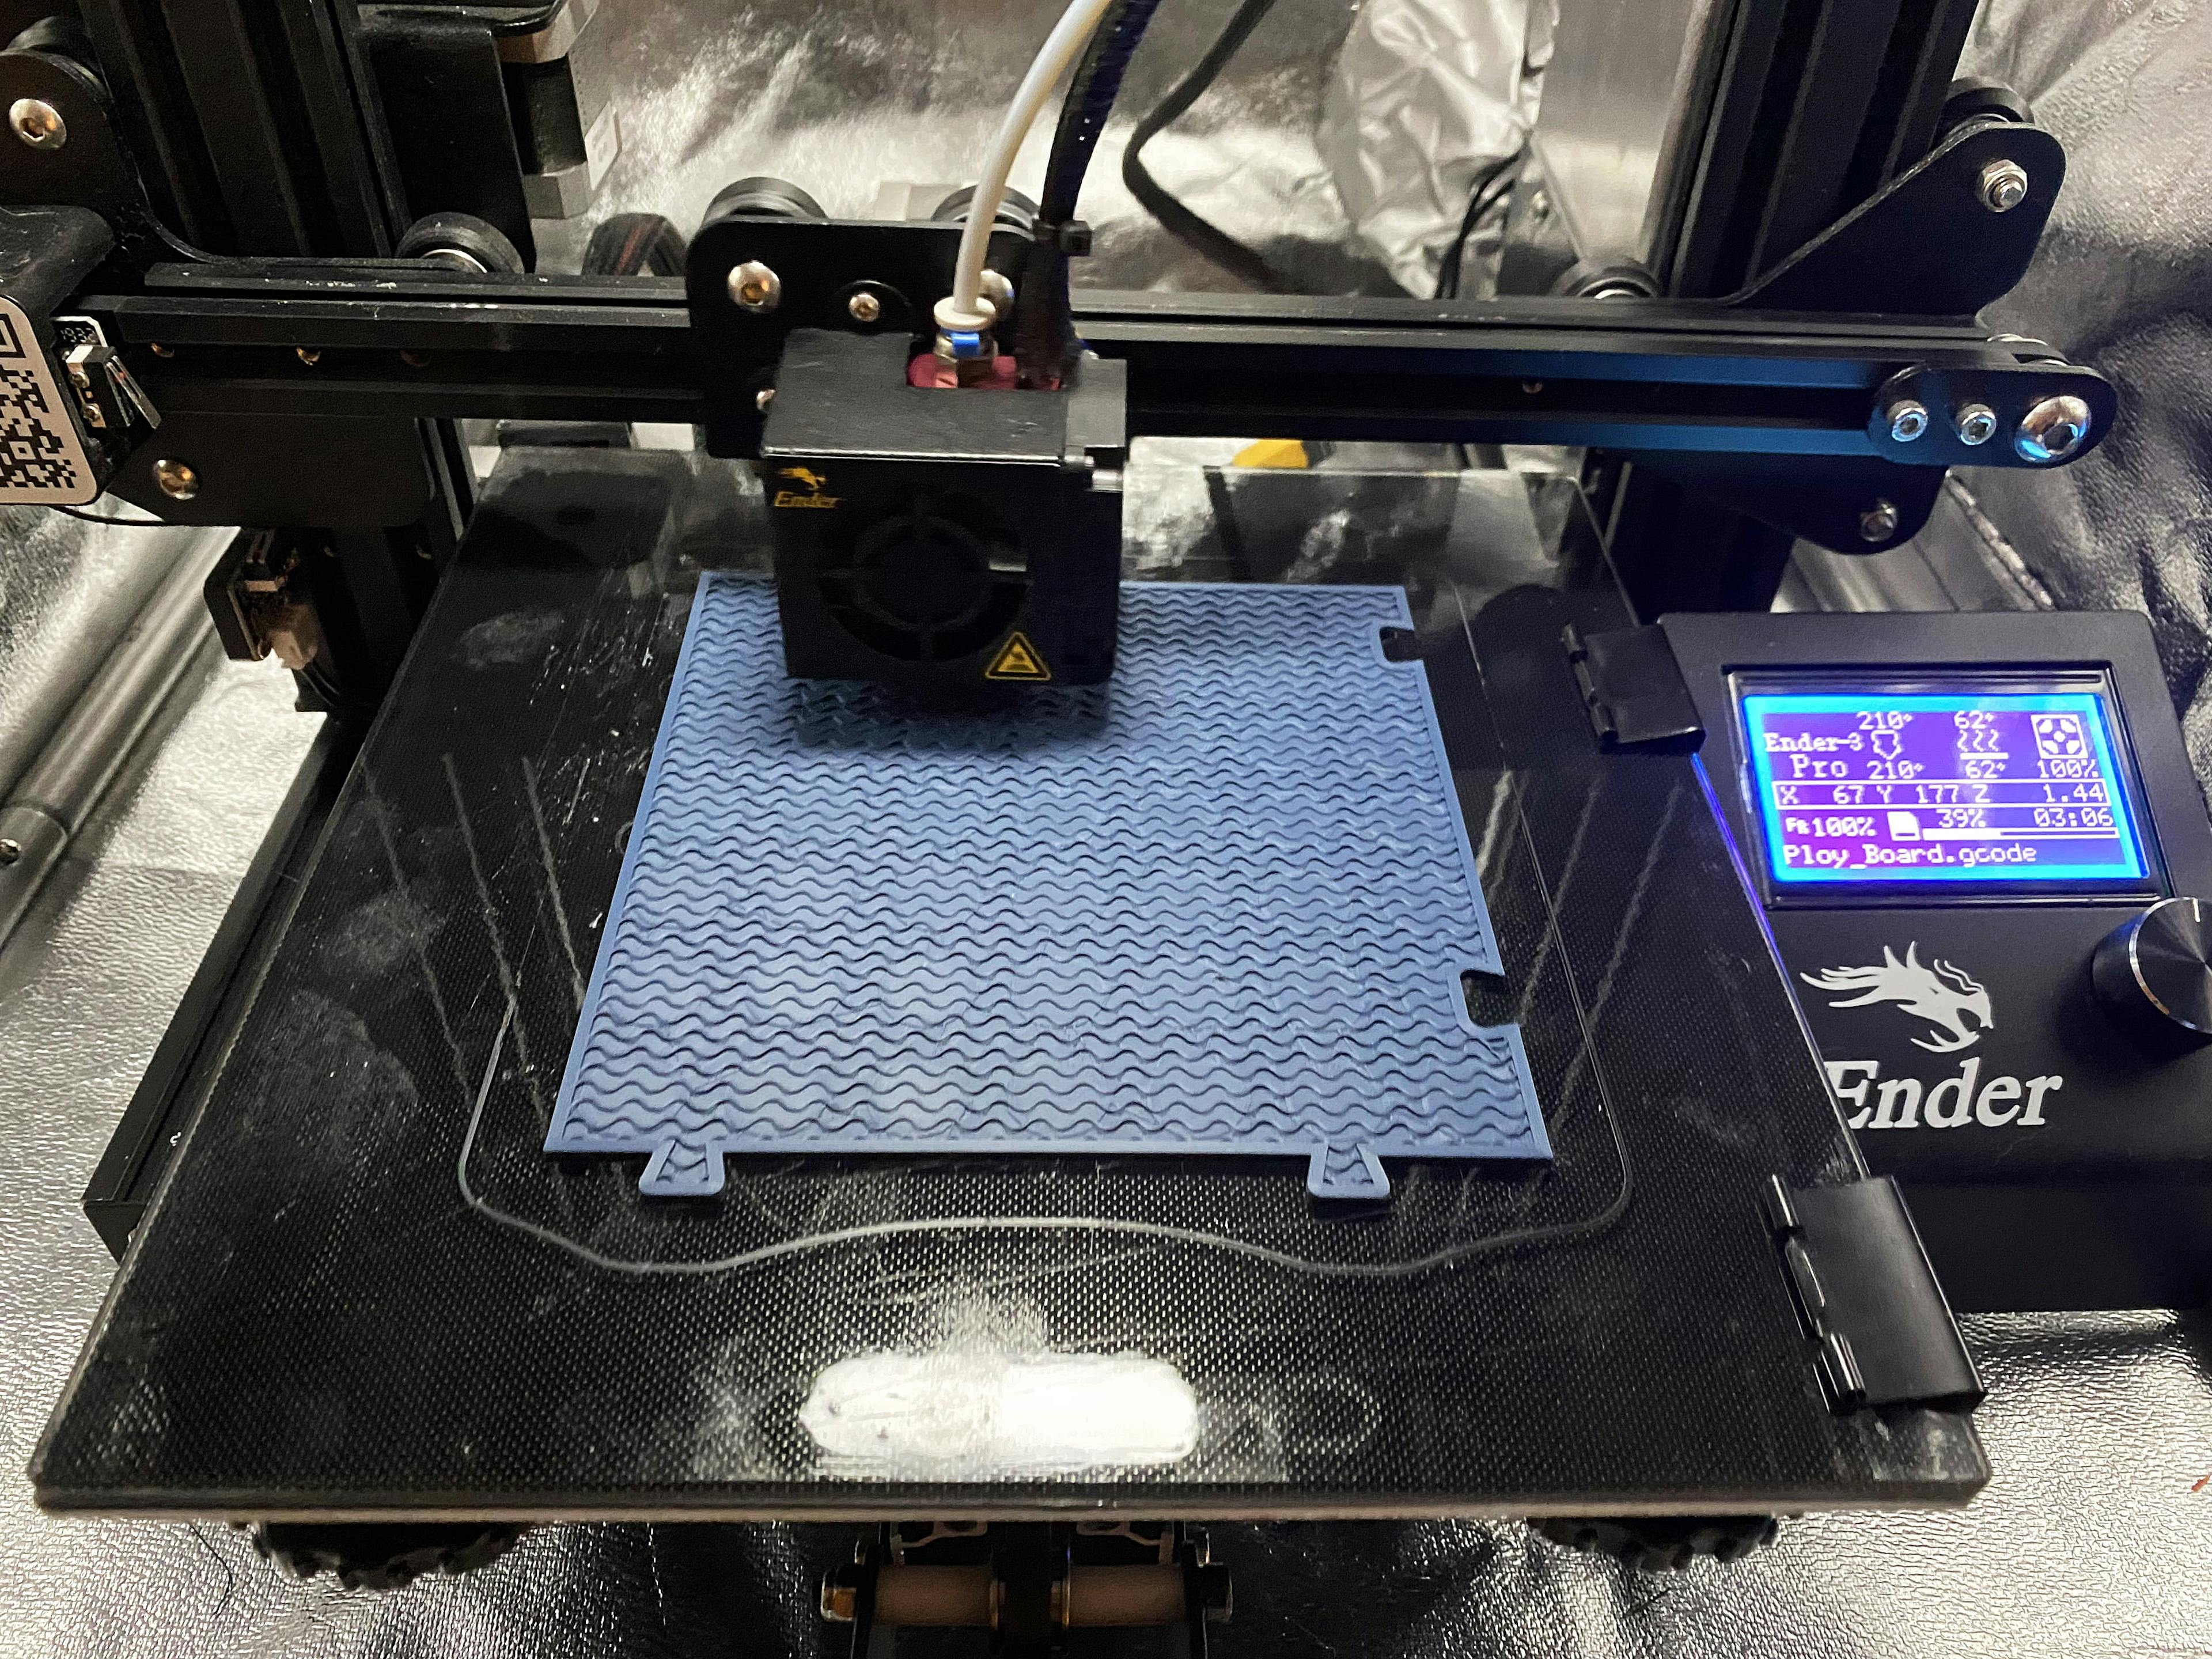
Printing the board was much easier, and I was able to get successful pieces fairly quickly. Each quarter took several hours to print, and I used PLA, instead of ABS, since no smoothing was needed. While a resin printer would probably get a smoother surface, I’m not unhappy with this end result.
The interlocking element took a couple of attempts, adjusting for the printer’s tolerance to try and get a comfortably tight fit.
The final piece was the storage box. For this, I purchased a couple inexpensive, unfinished ”cigar boxes” from a craft retailer. The size of the box was perfect for a combination of piece bins and the board.
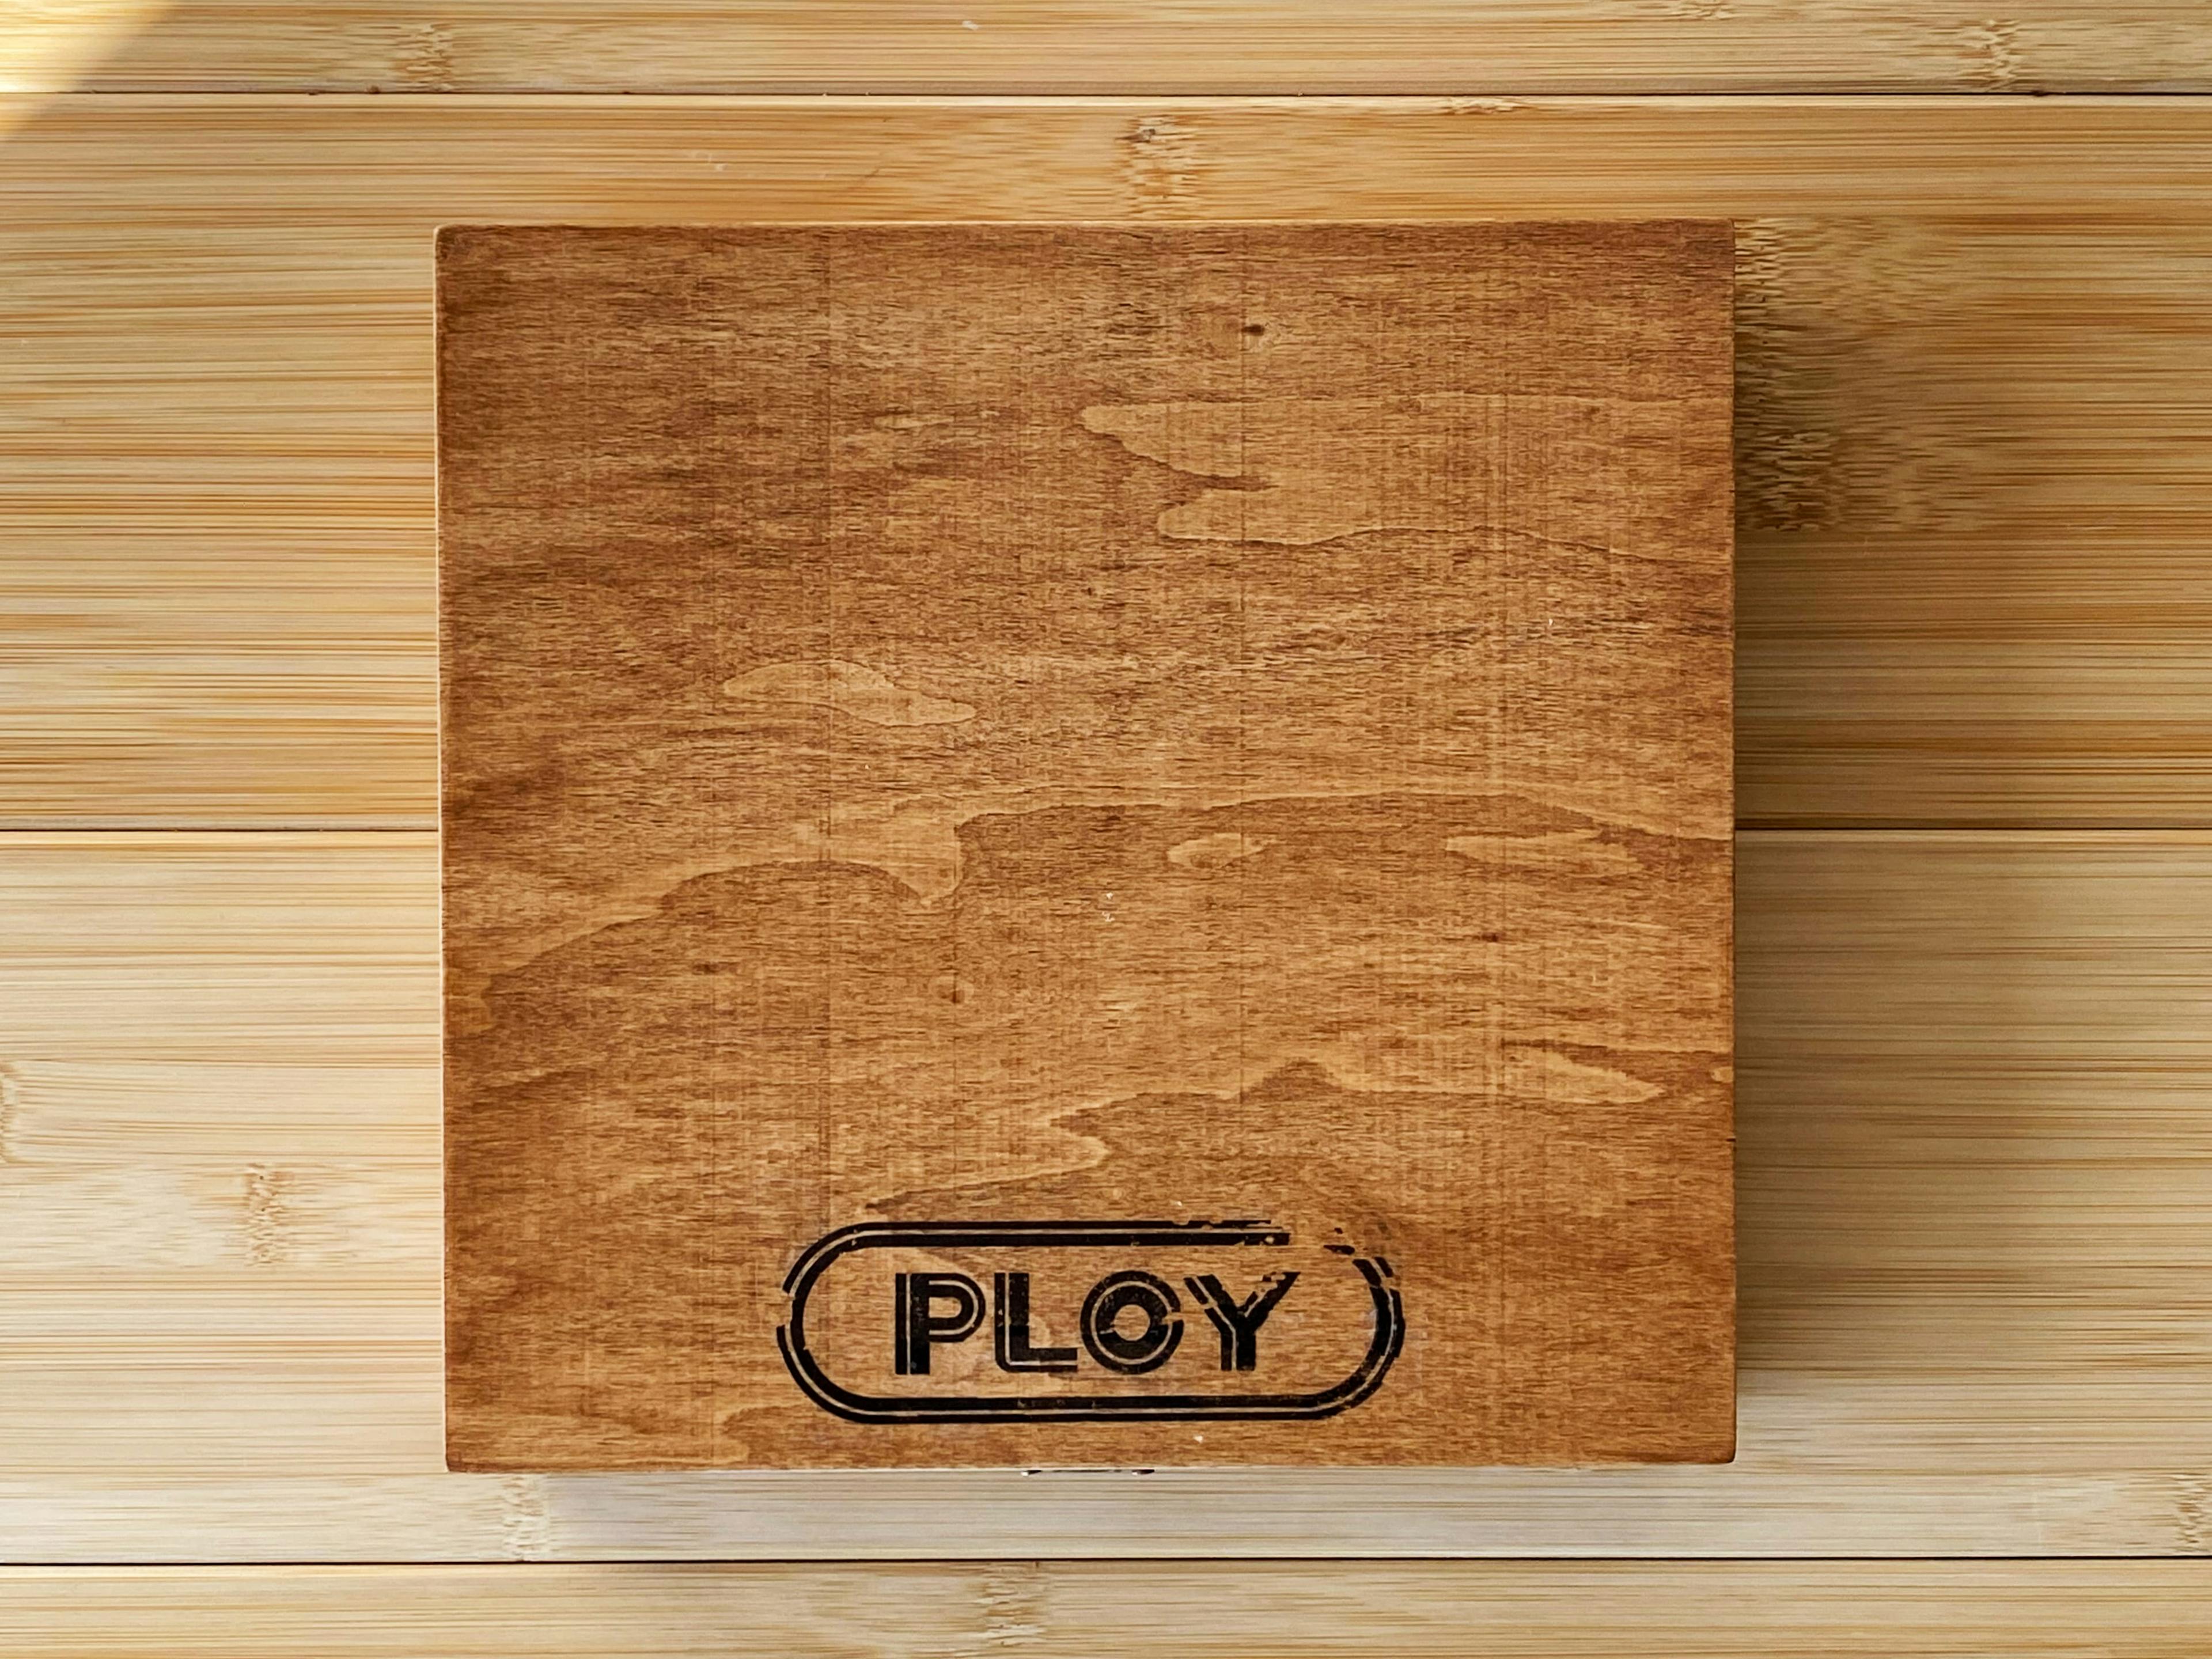
To print the logo on the box, I used a poly acrylic transfer method. This is very cool: you can transfer the toner from a laser print onto a wood surface using a poly acrylic gel.
Using some wood samples, I tested the transfer method, as well as a couple different wood stains.
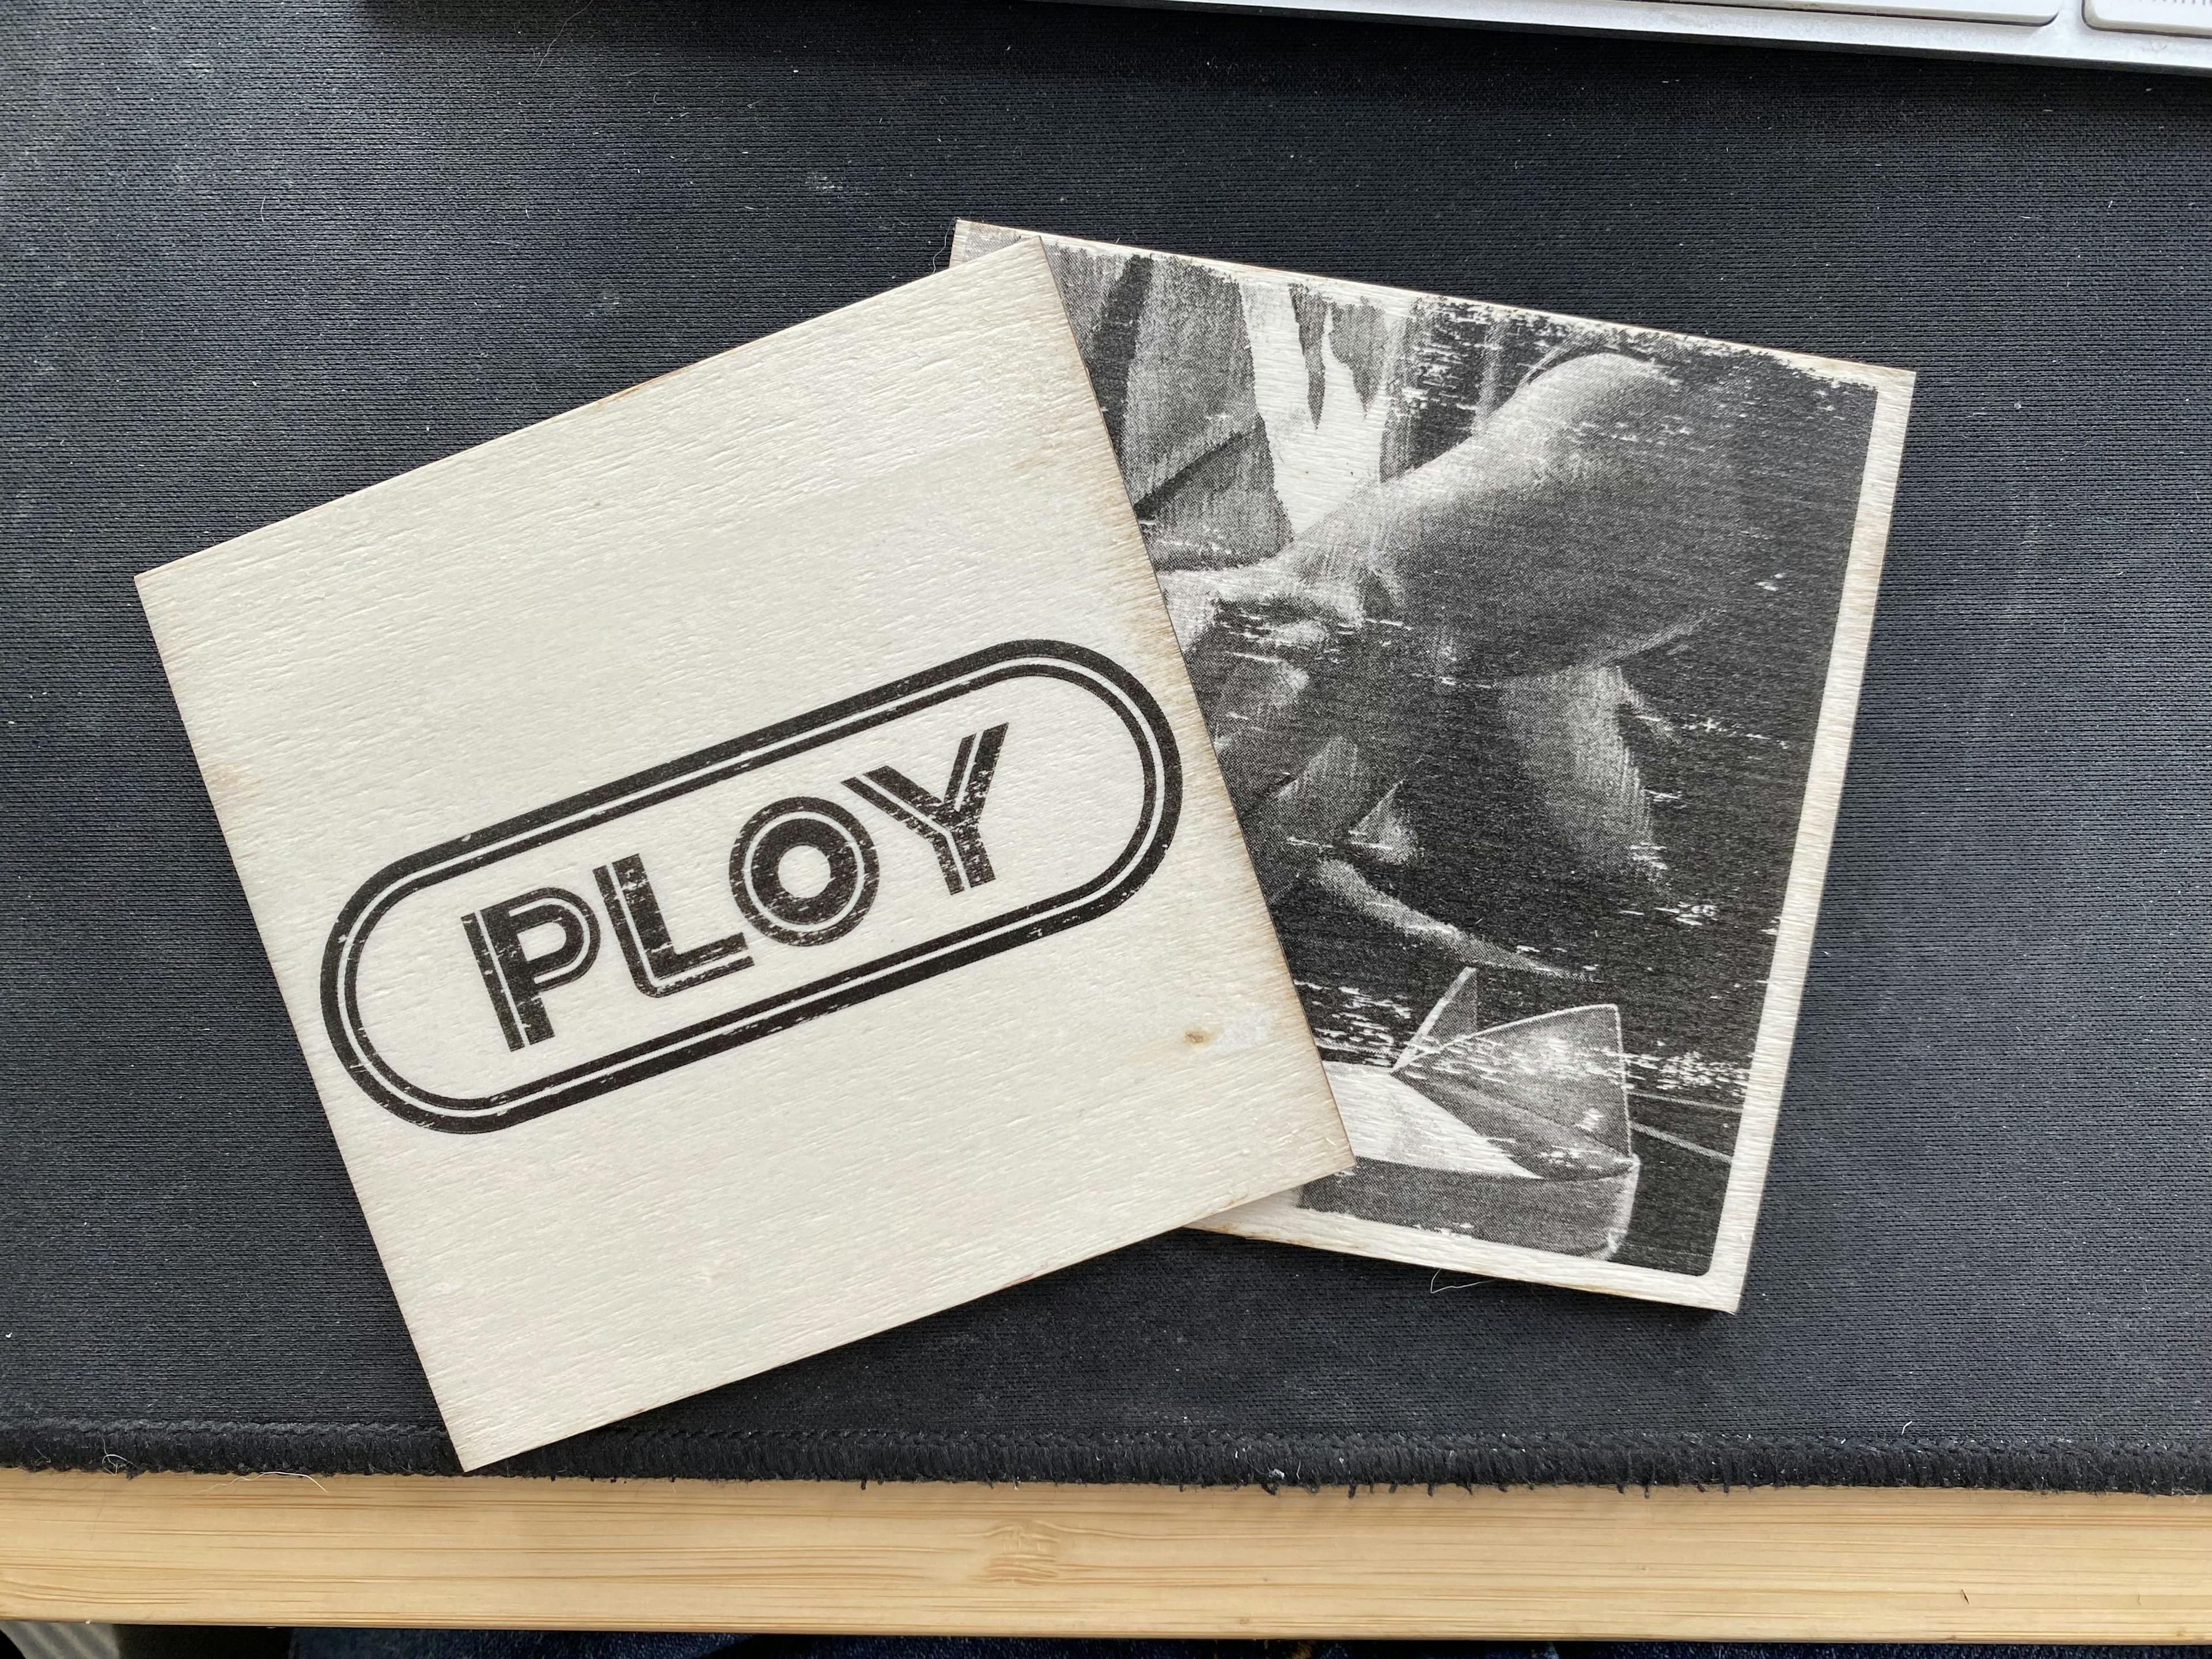
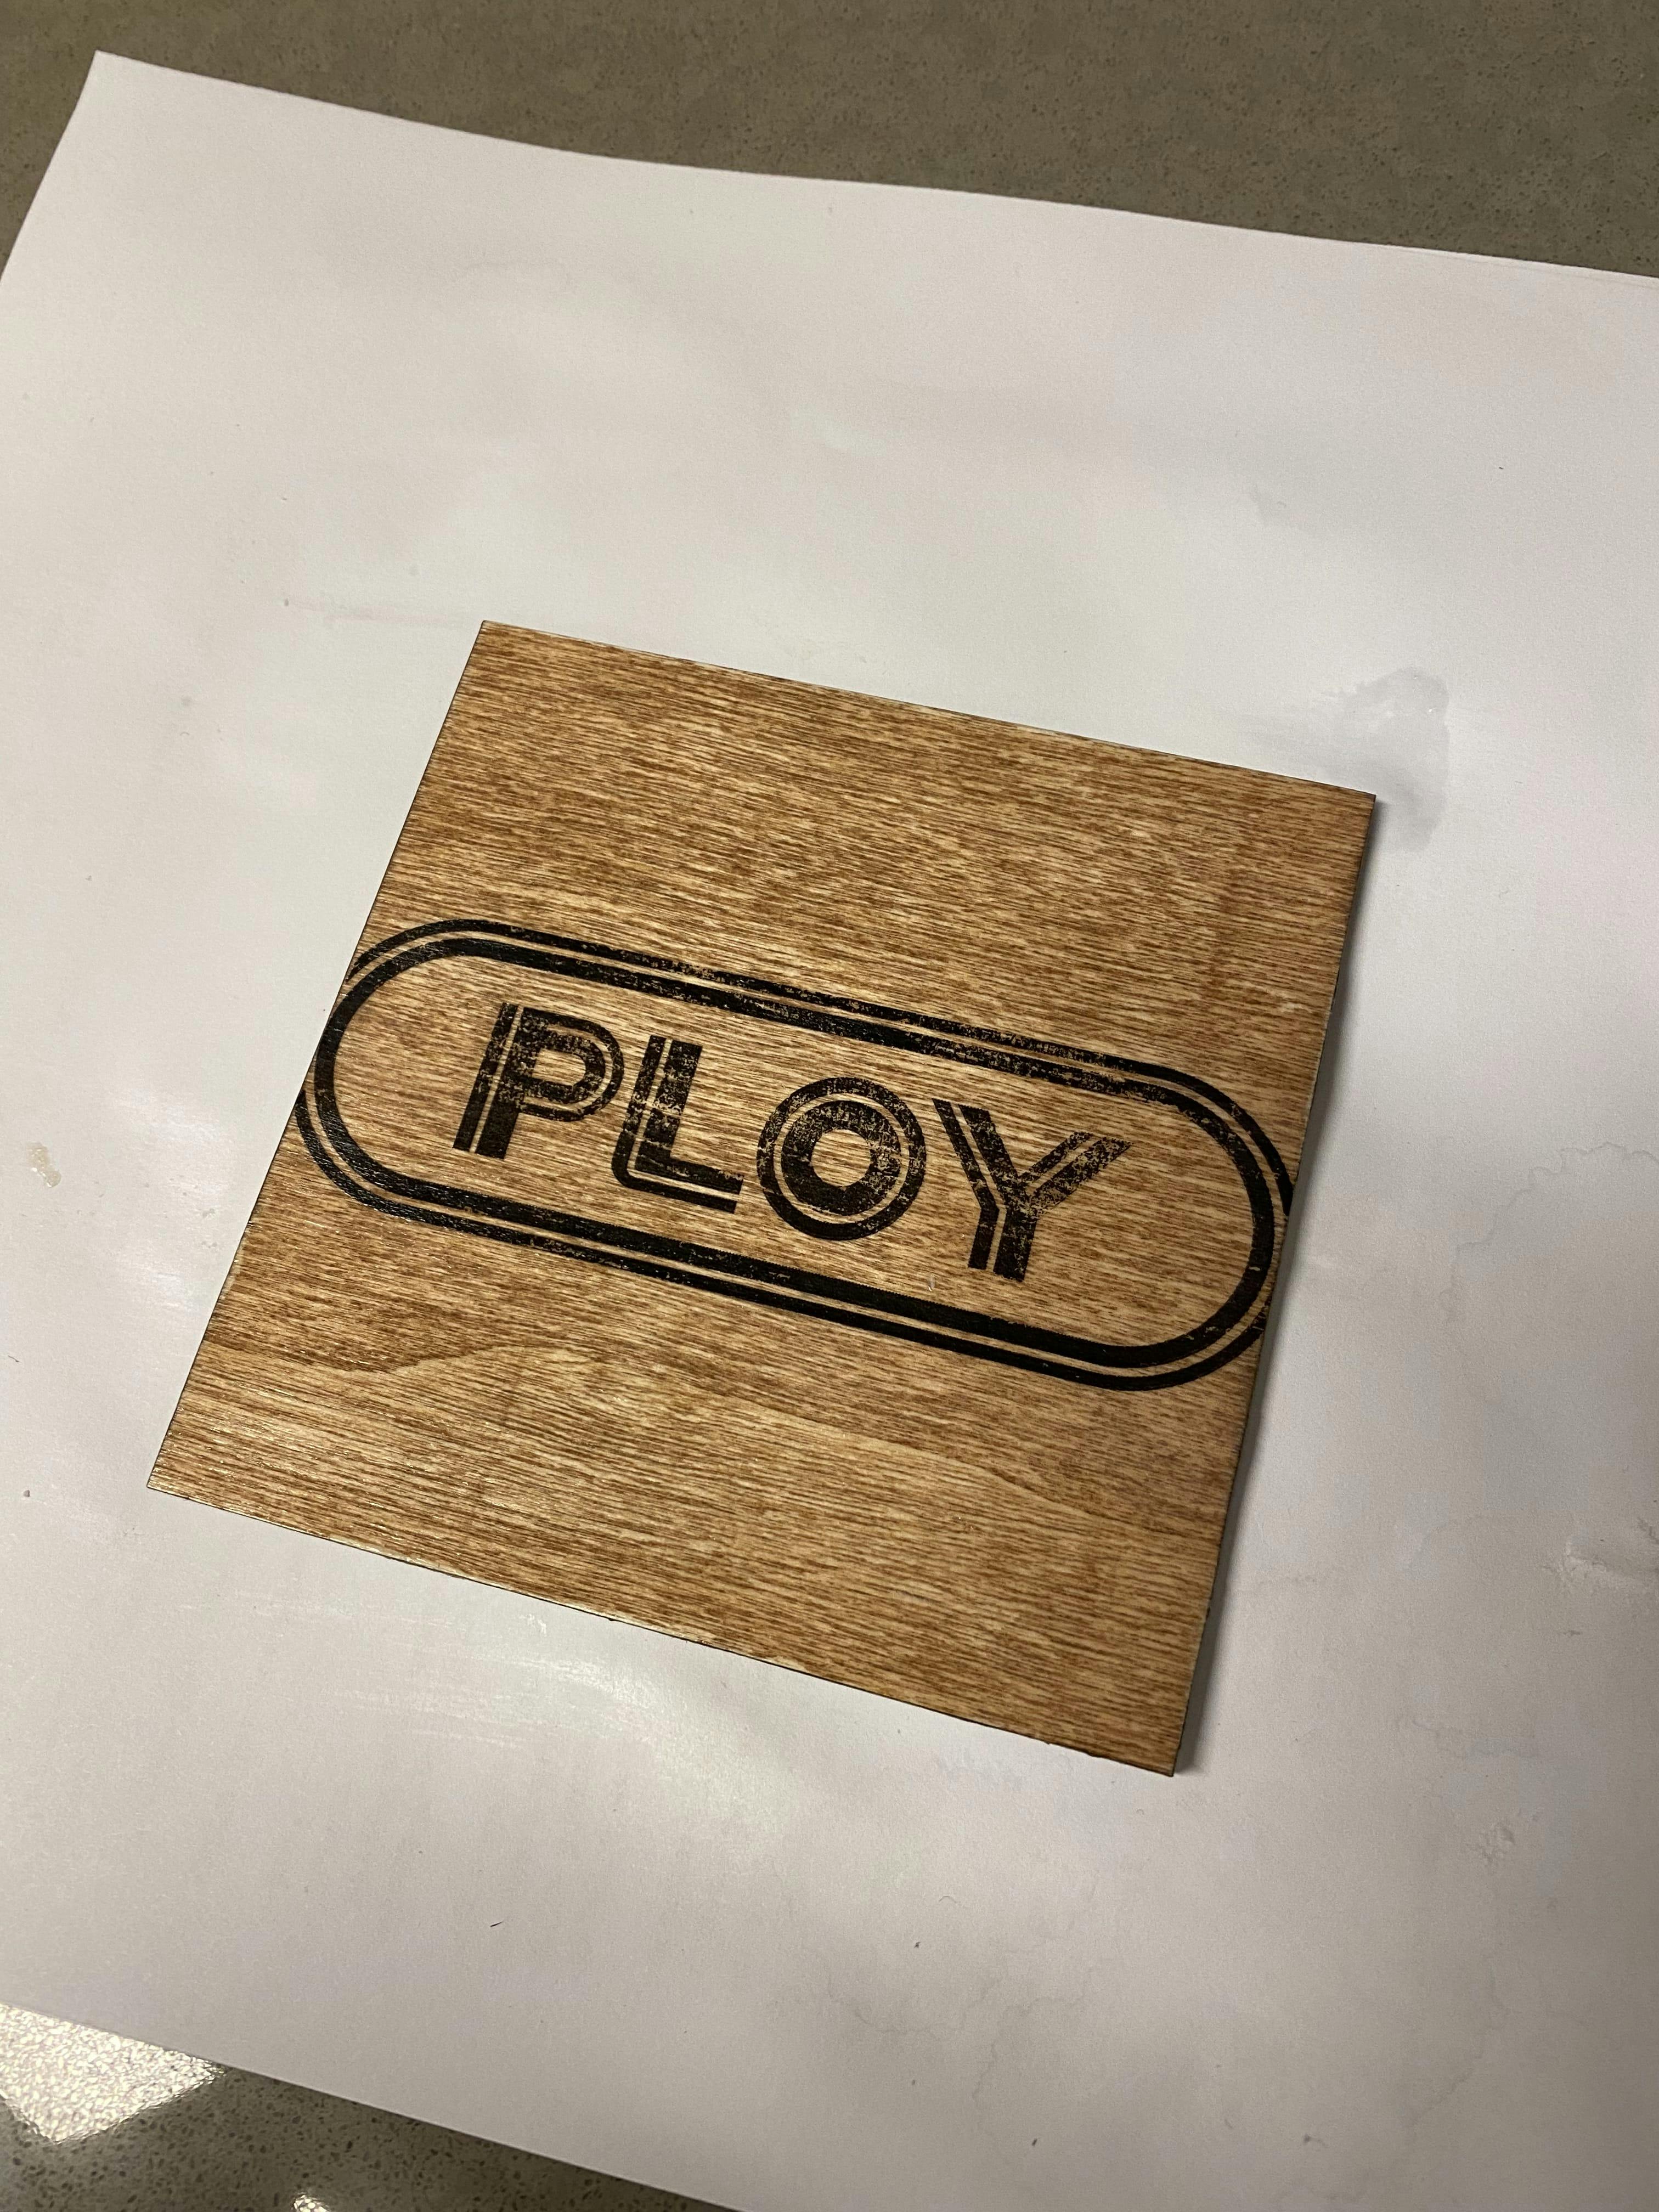
Finished transfer and wood stain.
The box was sanded to about 400 grit, to try and smooth the soft wood grain as much as possible prior to staining.
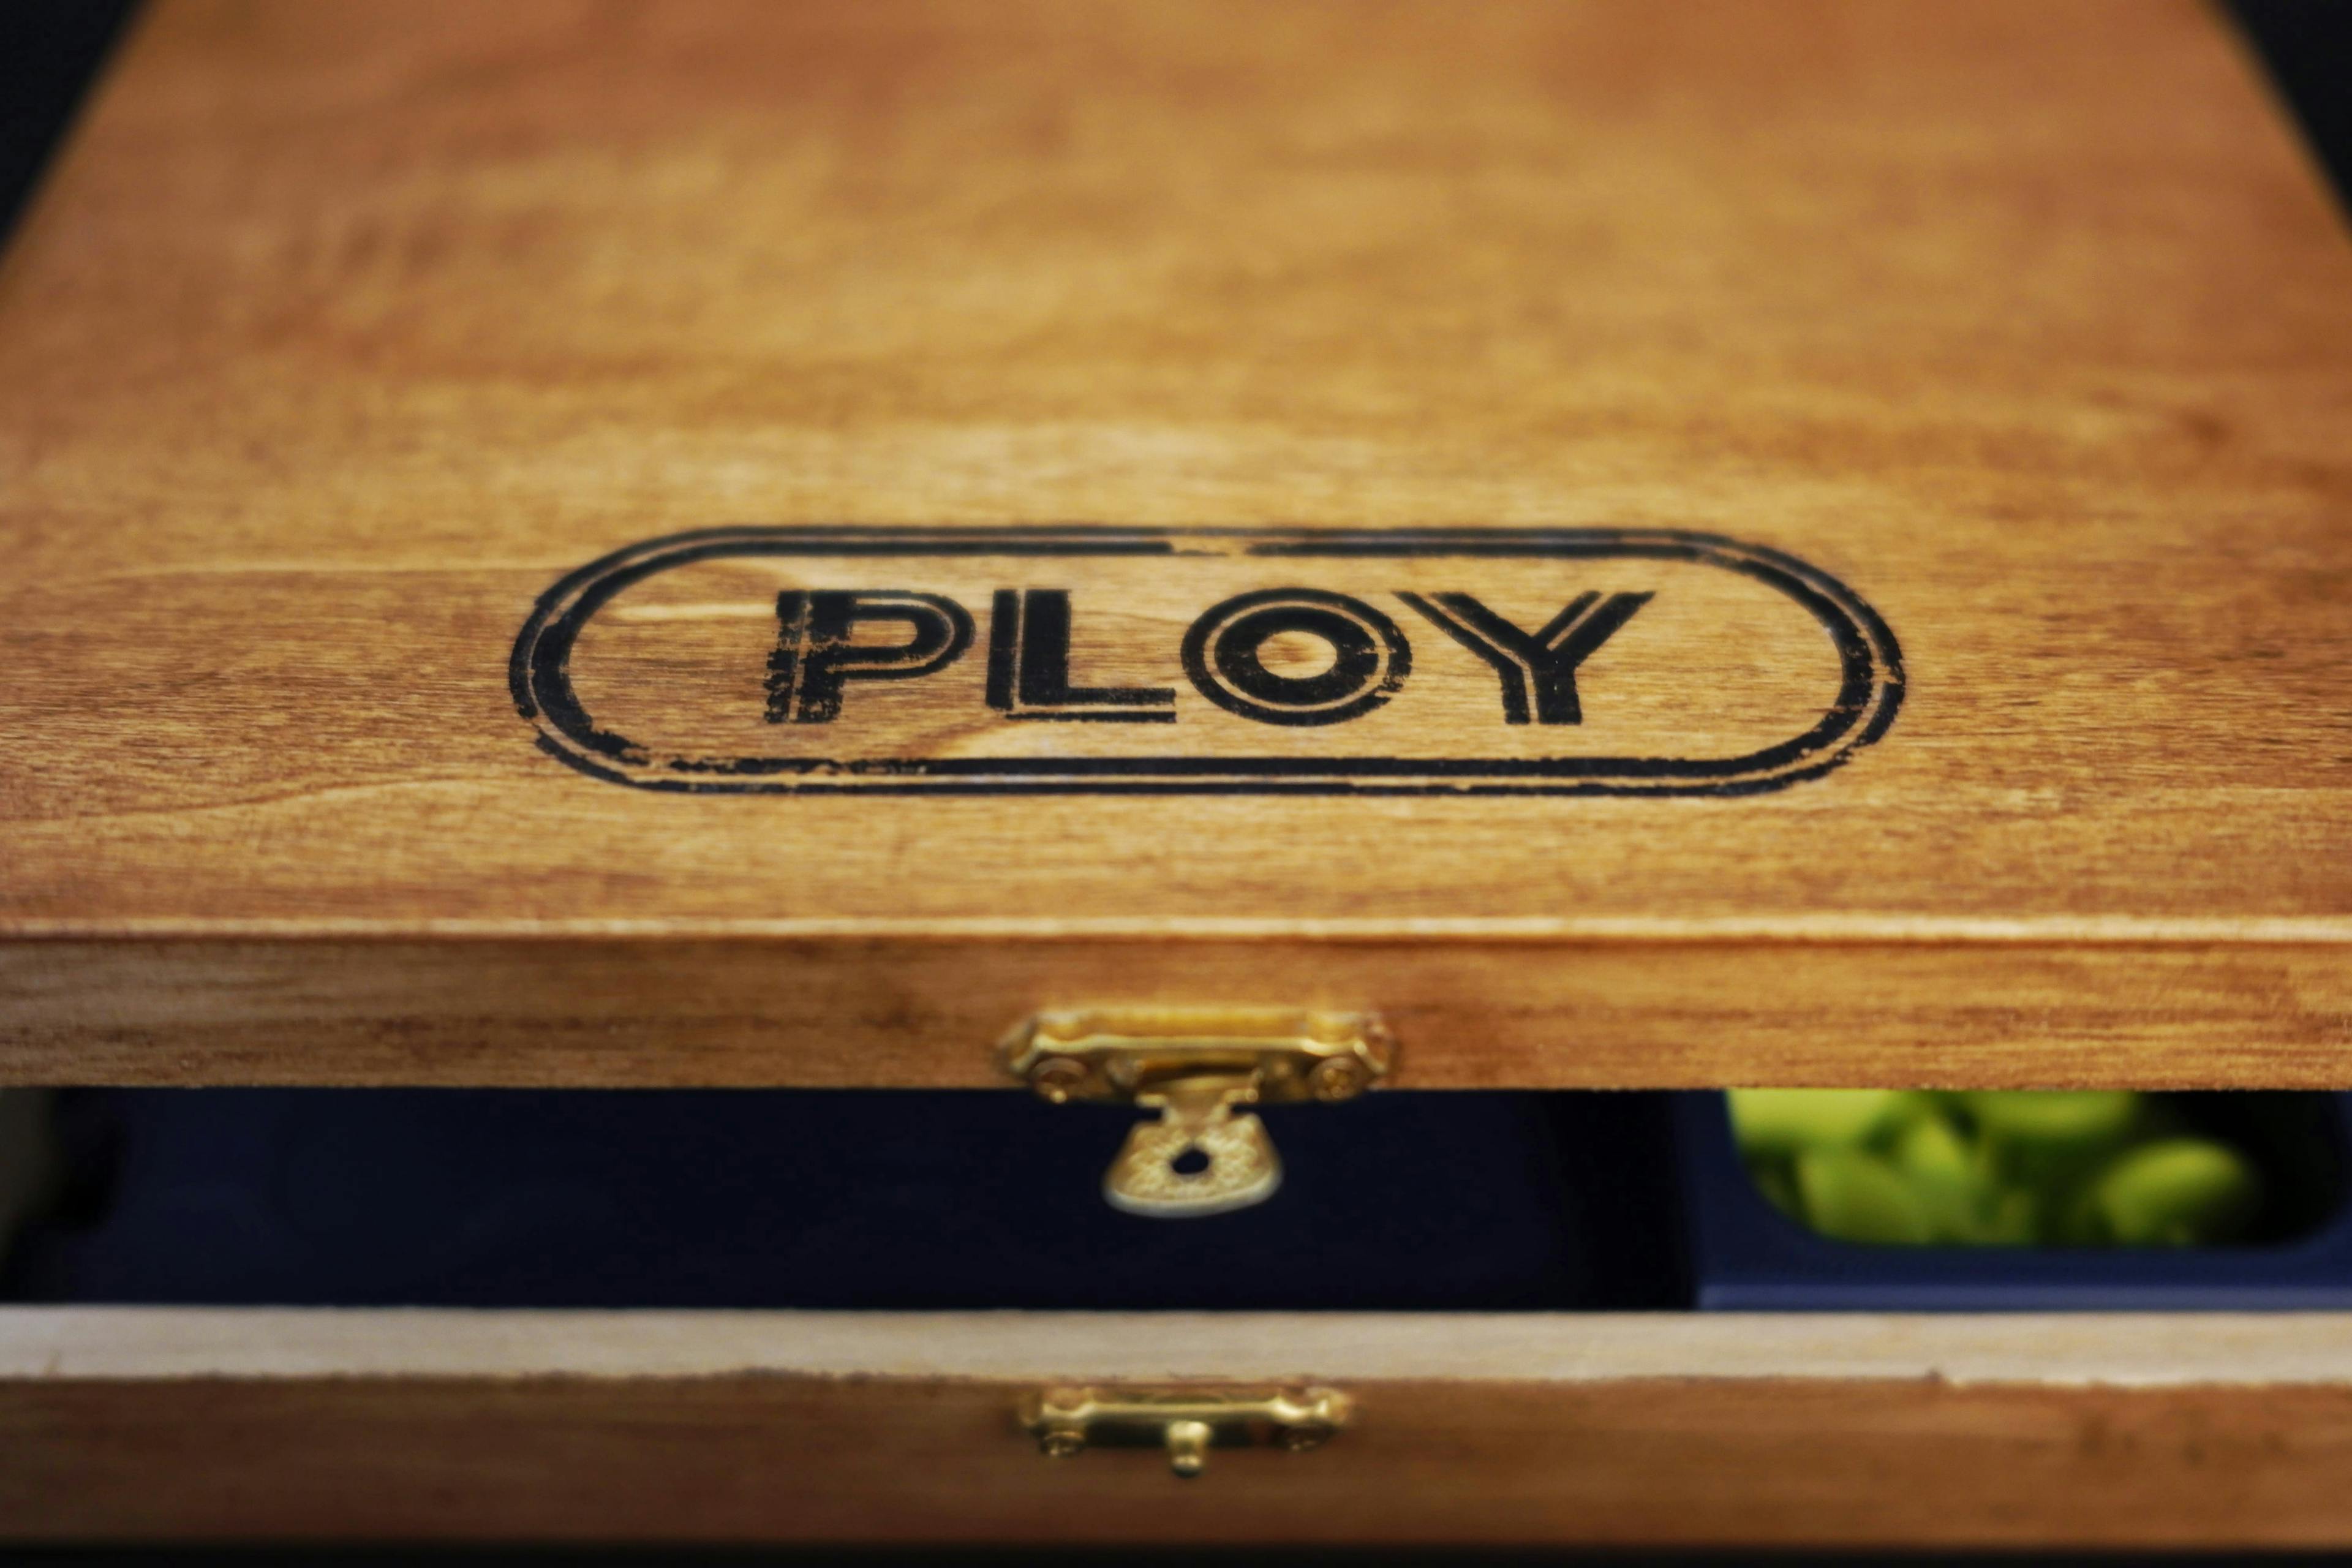
Finally, I designed a printable one-piece part that served to lock in the board pieces and provided two cups for pieces and an area for instructions or spare parts.
The inside of the box was finished with a dark felt to protect the box and pieces from damage, and to provide a more finished look.
